Convert DVD files into MP4 / H.264 with HD Decrypter and Handbrake
In this tutorial, we will learn how to convert DVD video file format to MP4 / H.264 using HD Decrypter support tool of DVDFab and Handbrake .
Handbrake is a great application to convert video file formats, but unfortunately cannot handle the copy protection process of the copyright DVD. So we will use HD Decrypter - free application of DVDFab. What HD Decrypter does is remove the copy protection on the DVD, and then copy the Video-TS and Audio-TS folders to the computer. And when copy protection is prevented, we will use Handbrake to convert this video file format to MP4 with H.264 standard.
Rip DVD
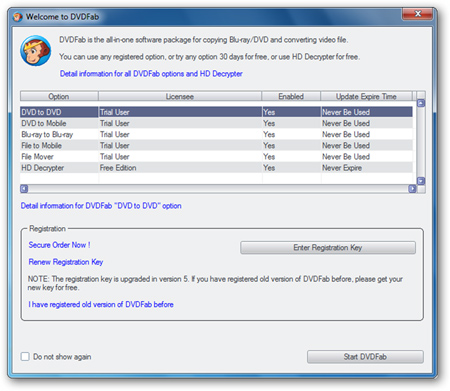
Install both Handbrake and DVDFab HD Decrypter applications, then insert the DVD into the drive and open the DVDFab program, click Start DVDFab on the Welcome screen:
The program will ask you to select the country, select any and click OK :

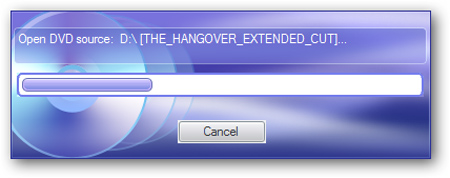
The process of analyzing data on disk begins:
And the main interface of the program appears, select Full Disc in the left window and Copy DVD-Video (VIDEO_TS folder), then click Start :

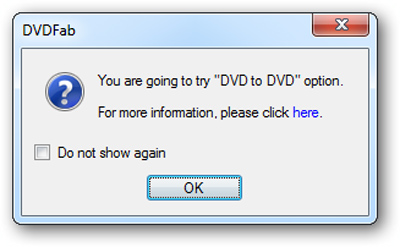
The DVD to DVD popup window appears, click OK to continue:
And the DVD video file will be copied to the hard drive:

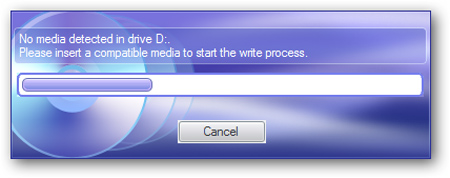
After the process is finished, the program will ask the user to insert a blank DVD into the drive to burn, but we do not intend to video file to the disc, so select Cancel and close the DVDFab application:
Convert format to MP4
Next, we will use Handbrake to start the conversion process. Open Handbrake and press the Source button at the top left, select DVD / VIDEO_TS folder :

Point to the archive folder that DVDFab HD Decrypter stores in the previous step, in the default mode of this folder at DVDFabTempFullDisc in Documents. For example, in Windows 7, C: Users% username% DocumentsDVDFabTempFullDisc [Name of Your DVD] . Then select the correct folder and click OK :

The program requires you to change the default path in Handbrake, click OK to continue:
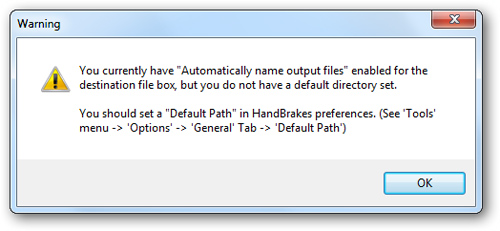
If you want to change the path of this default folder, select Tools > Options > General and Browse , select the folder to store. Then click Close :

Next, select the drop down menu in the Title section, and select the section that matches the length of the movie:
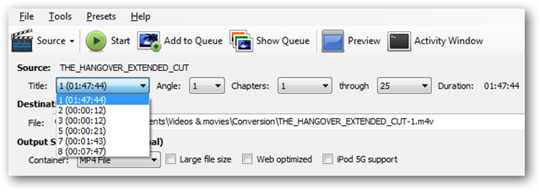
In this example, we choose MP4 format, so keep this option in the Output Settings section :

If you have not set up the archive directory in the previous step, click the Browse button in the Destination section:

Properties set
The program has a wide variety of options for setting properties, by selecting the Output Settings or Presets item in the right pane. In the Presets section there are options available for Apple products, such as iPod, iPhone or AppleTV:

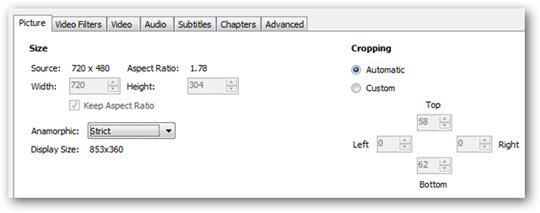
In the Picture tab, you can edit, select a fixed area size, change the Anamorphic option to Loose or Custom to change the size:
Functions in Video card to change codec standard, H.264 selection is default. In Constant Quality, it should fluctuate between 59% - 63%, if the number is greater than 70%, the product file will have extremely large capacity but the quality will not increase much:

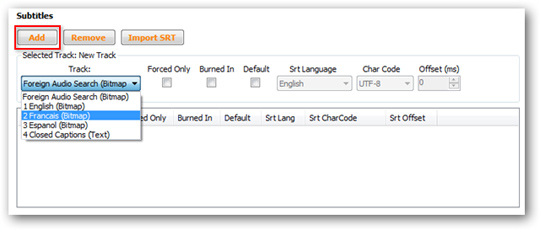
The Subtitles tab you can select the appropriate subtitles in the dropdown list and click Add to merge the file to convert:
When you're done with your settings, choose Start to begin the format conversion process:

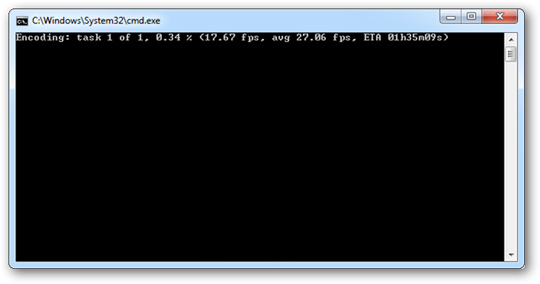
The Command window appears and you can monitor this process, with specific information such as overall time (usually a movie of nearly 100 minutes will take about 2 hours):
And this is the result after completion:
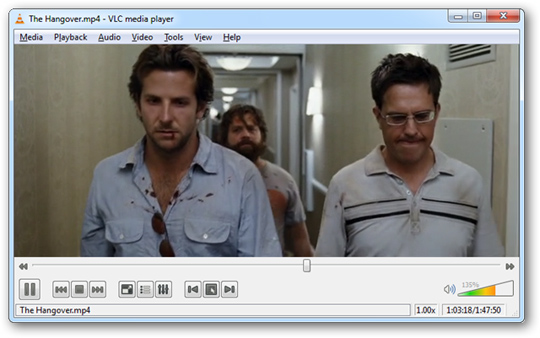
Above we have tested when leaving H.264 format with the highest quality, you can change the specifications to suit your needs. Good luck!