8 tips to take better night photos with Android phones
Capturing moments in the dark creates something special. Nighttime photos often have a different feel, a unique atmosphere that can be really fun. Most modern Android phones can handle low-light situations, and some even have a special night mode that helps you get dreamy photos. Check out these tips to improve your night mode photography skills on Android.
1. Tap your phone's Night Mode
If you have a phone from one of the leading Android manufacturers, including Google, Samsung, OnePlus or Huawei, you have access to the night photography function. On Pixel phones, this option is called Night Vision, while Samsung calls it Night Mode. Similarly, OnePlus devices have NightScape.
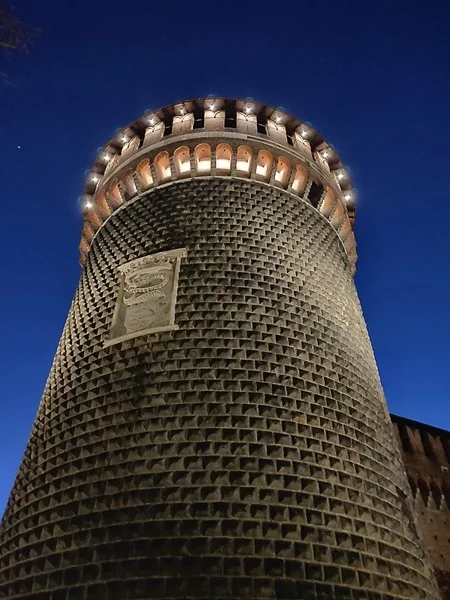
These modes can help you take stunning photos in low light without the need for flash. Some, such as Pixel's Night Sight, use AI and/or Machine Learning to increase brightness and minimize blur.
These modes work by taking multiple photos with different exposures, then merging them into a single photo, brighter and with reduced noise. It delivers photos that look significantly brighter and more detailed than standard low-light shots. If motion is detected, night mode can also optimize shooting to minimize blur caused by hand shake or subject movement.
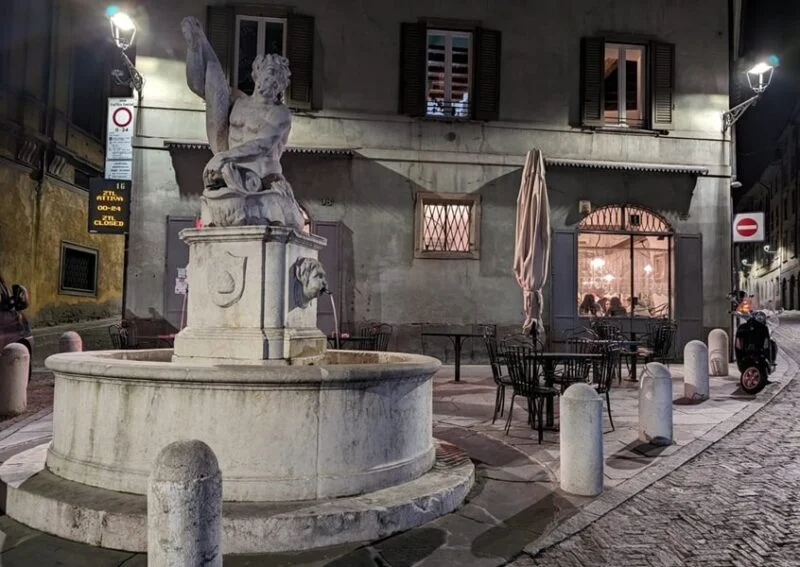
Note that this feature is usually found on high-end phones, so you might not find it if you have a low-end device.
2. Use your phone's Manual Mode
If you want to control how your phone captures night scenes, you might consider using manual mode on your Android camera. Most phone models with Night Mode also include a Manual or Pro mode to unlock creative control that the automatic setting can't.

Manual mode lets you balance light sensitivity (ISO) with shutter speed so you can capture the scene the way you envision, preserving detail and reducing noise. For example, you can set the ISO to 400 to get a great photo without using your phone's flash.
While automatic mode prioritizes faster speeds, manual mode allows you to creatively capture movement using slow shutter speeds. Furthermore, with manual mode on some phones, you can control the aperture, which affects depth of field (also known as background blur). This allows you to isolate objects or create softer, more bokeh effects that auto modes cannot achieve.
3. Try a third-party camera app
Even if your phone doesn't have Manual mode pre-installed, you can still take advantage of manual controls with the help of third-party apps. Try out the following apps and see what they can do for you, depending on the capabilities of your phone's camera.
4. Take advantage of available light
Nighttime provides plenty of artificial light for photography. Landmarks, public spaces, streets or murals are often illuminated, creating favorable opportunities for capturing attractive photos.
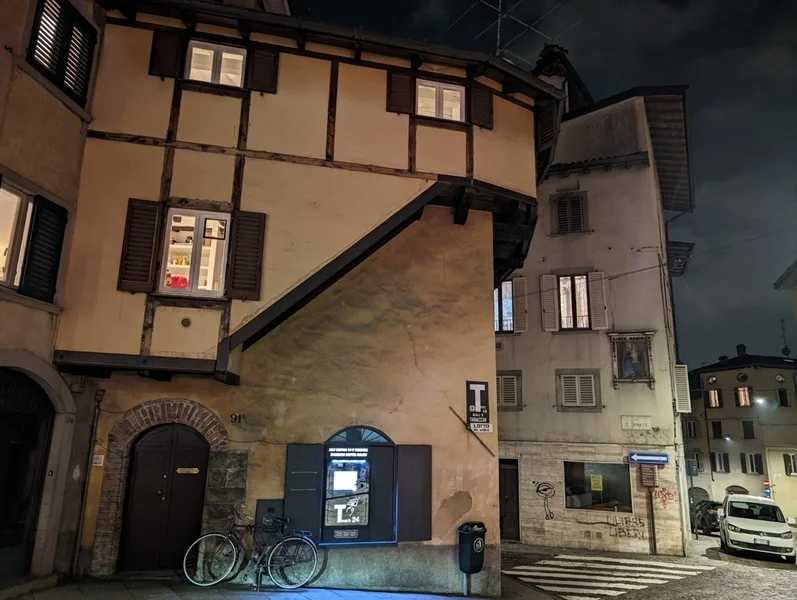
Going to a dark spot in the park will not yield the best results. Instead, walk to an illuminated fountain or any other area of interest filled with light and take photos there. If you're in an area with very poor lighting, using a flash may be effective, but the photos certainly won't be ideal.
5. Use timer mode
Using a timer at night – or even during the day – is always a good idea. Not only does it give you enough time to find the best angle, but it also helps avoid blurry photos by allowing you to steady your hand before the shutter goes off.
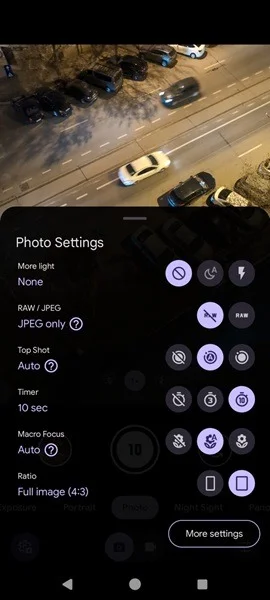
Remember that even though night mode doesn't require the use of a tripod, you'll still get the best results using it. Or if you don't have one, place your phone against a stable object. If there's nothing nearby, grip the phone tightly with both hands. For stability, hold the phone close to your chest with your elbows tucked in to minimize handshakes.
6. Try motion modes (if any)
In addition to night mode, phones like the Google Pixel offer additional features, like Long Exposure and Action Pan, that open up even more creative possibilities for photographers. These modes can help you access techniques that were previously only achievable using a tripod.
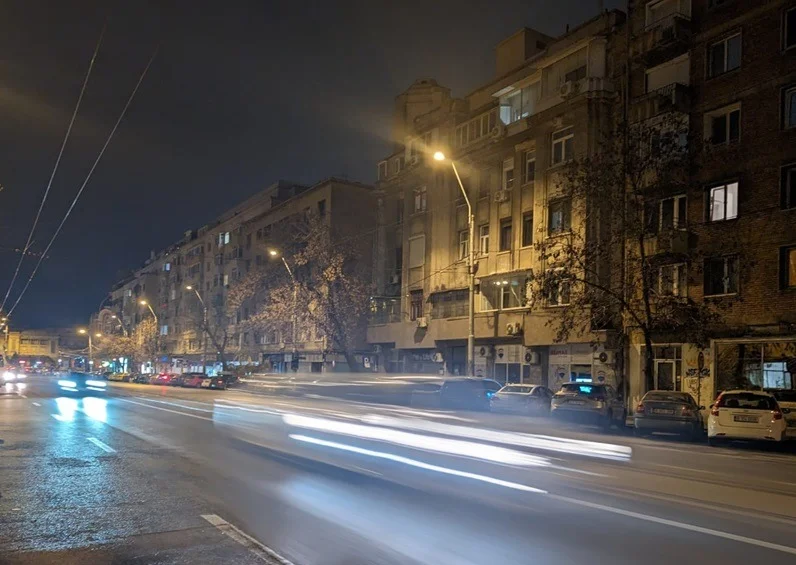
While these modes can be used during the day, they also produce stunning nighttime photos. Check out the features in your phone's camera app and see if there are any that compare. If you find a similar option, it's definitely worth a try. For example, Long Exposure mode on Pixel phones allows the camera to capture multiple frames and blur any moving objects in the frame. This mode can help you capture light streaks from traffic or make spinning objects (such as bicycle wheels) appear as ethereal discs of light.
7. Shoot in RAW format
Many phones these days offer the option to shoot in RAW format, and this might be something to consider if you plan to edit your photos afterwards. RAW files record unprocessed sensor data, giving you more ability to adjust things like white balance, exposure, shadows, and highlights than regular JPEG files. And because RAW contains more information, they can deliver sharp images with a wider range of light and dark tones.
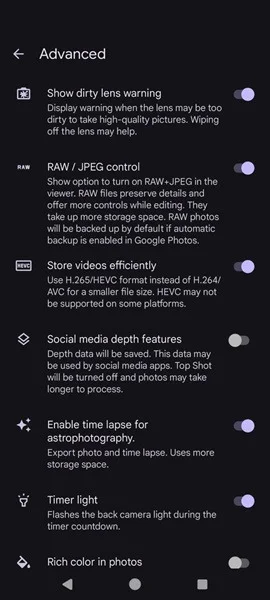
On the other hand, RAW files are significantly larger than JPEGs, taking up more storage space on your device. This can be a big drawback, especially on phones with limited storage. Additionally, editing RAW files requires more processing power and can be slower than editing JPEG images. However, for general photography, JPEG usually provides sufficient quality.
8. Edit your photos
Retouching allows you to enhance and refine captured images to achieve certain cosmetic or editing imperfections. Achieve this using a photo editing app on your Android device, or if you followed the previous suggestion to shoot in RAW format, you may need to edit with a program like Photoshop.
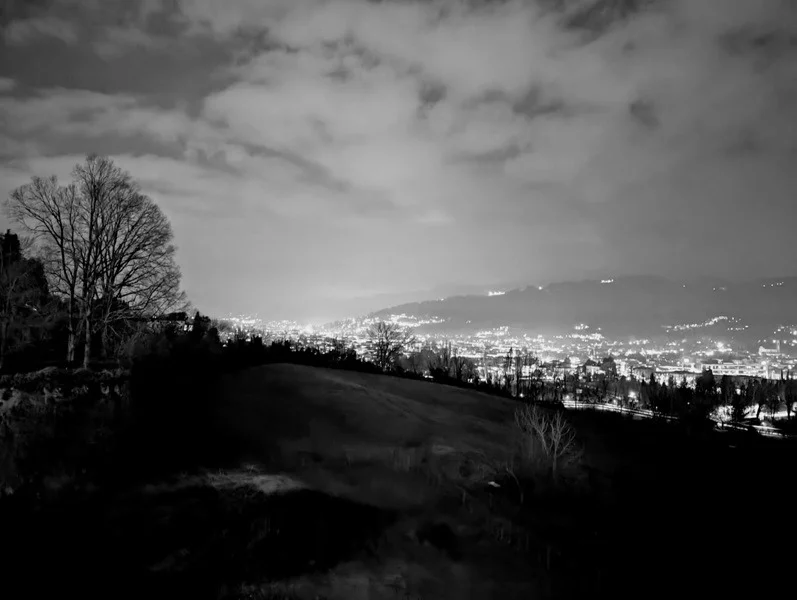
For example, you may want to increase the exposure slightly without losing the highlights. You can also use shadow adjustment to reveal details hidden in shadows without creating excessive noise. Alternatively, sharpen a bit or increase the contrast to add definition, or choose something simple like applying a filter. In the image above, the author applied the B&W preset, which revealed some hidden details of the image.