Table of Contents
This updated guide compares things to do after updating to Windows 11 and highlights the details that matter most. With the end of support for Windows 10 fast approaching, upgrading to Windows 11 Once possible is a smart move. But before you settle in with the new operating system, there are a few things to remember.
8. Reduce Taskbar Clutter
The first thing you'll notice after switching to Windows 11 is the redesigned Taskbar. it is definitely prettier, but if you're used to Windows 10, it may take a little getting used to.
for instance, centering the icons on the Taskbar can feel disorienting. By default, the Taskbar is filled with shortcuts you probably never use, like Widgets, Microsoft Teams Chat, and Copilot.
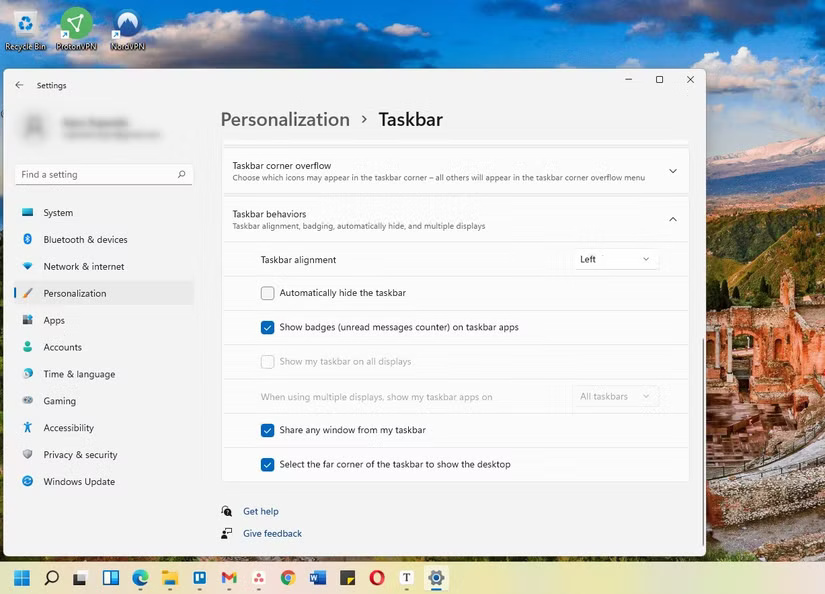
The good news is that you can tweak most of these settings to make the experience more familiar by going to Settings > Personalization > Taskbar . From there, you can realign the Taskbar, remove unnecessary shortcuts, and even enable app labels. And if you're into customization, you can even use third-party tools like TranslucentTB or TaskbarX to make your Windows 11 Taskbar transparent.
7. Install Drivers and Update the System
Even after upgrading to Windows 11, your PC may still be missing some important updates. Optional driver updates, especially for things like your graphics card, sound card, or motherboard, can make a big difference. Without them, some parts of your system may not function properly.
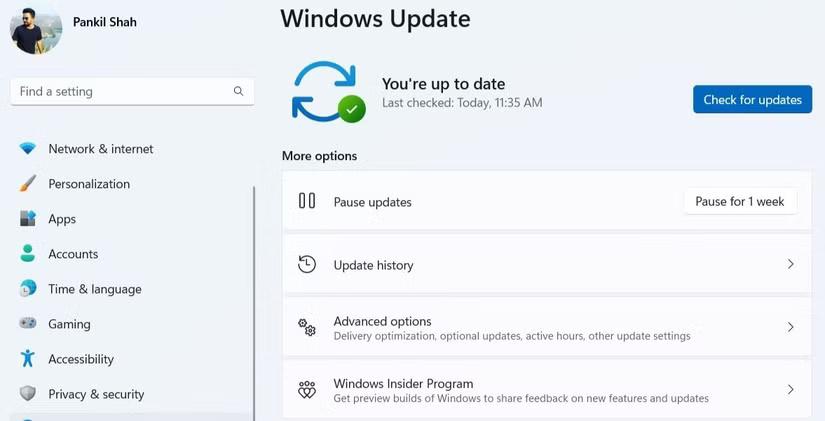
Luckily, Windows 11 makes installing these updates pretty simple. Just head to Settings > Windows Update and choose Check for updates to download and install any available system updates. Then, navigate to Advanced options > Optional updates to review and install any pending driver updates.
6. Delete Old Update Files
After upgrading, you may find that your storage space is lower than expected. This happens because Windows keeps old update files around for a while. These leftover files can take up a surprising amount of space, sometimes several gigabytes, especially after a major version change.
If your PC is running well and you're happy with Windows 11, It is best to delete old update files. Doing so can free up a significant amount of space, which is especially useful if your device has limited storage, such as a smaller SSD.
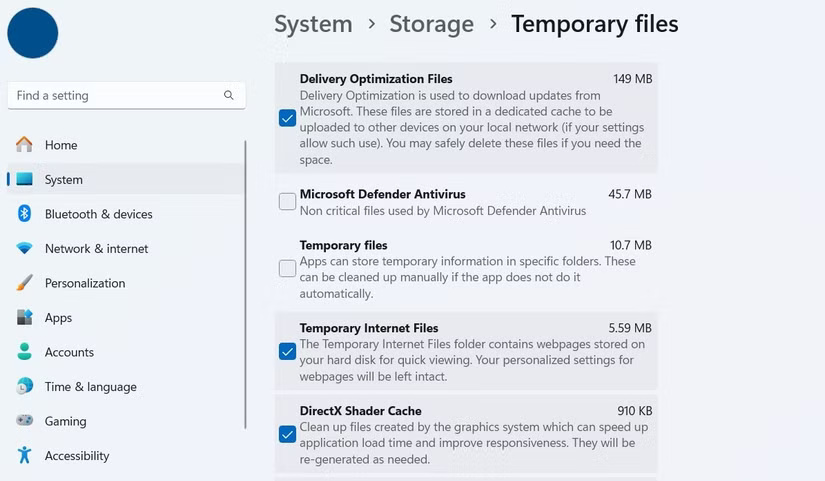
There are a few ways to delete old update files on Windows, but the easiest is through the Settings app. open Settings > System > Storage > Temporary files , then select Windows Update Cleanup , Delivery Optimization Files , and Previous version of Windows . Then, choose Remove files to confirm.
5. Remove Bloatware
Deleting old update files isn't the only way to free up storage space after an upgrade. It is best to also check for apps or programs that Microsoft may have added during the update.
This could be trial software, promotional games, or leftover utilities that you never use. While some of these programs may be harmless, they can consume valuable system resources, which is why it is best to remove them.
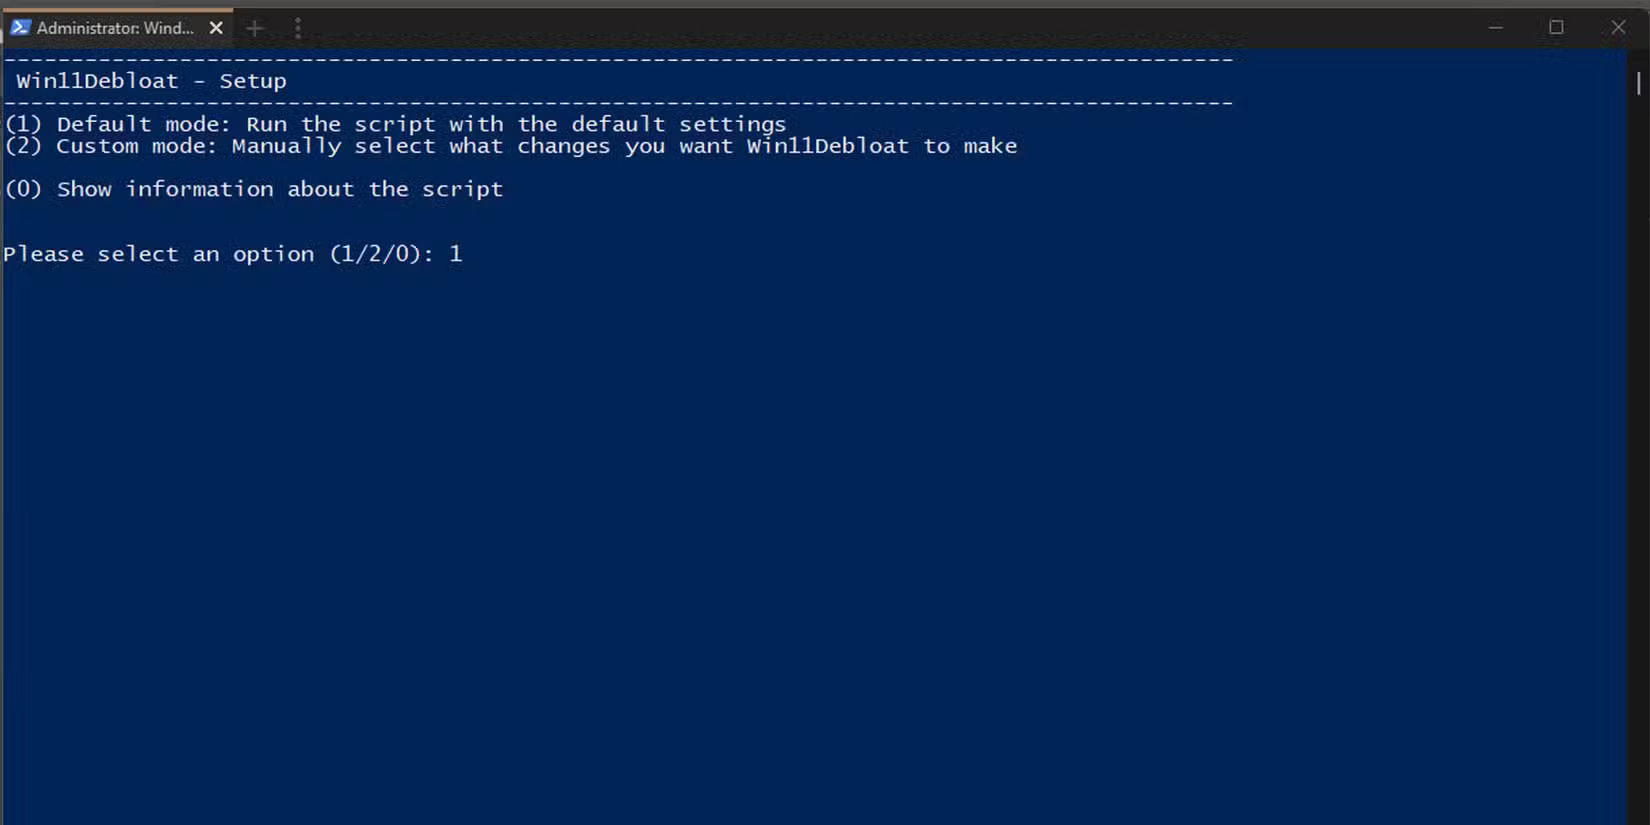
You can open Settings > Apps > Installed apps to remove these programs one by one. Alternatively, you can use a tool like Win11Debloat to remove junk software more quickly. This open-source utility can save you many time, especially if you have multiple Windows 11 PCs to clean up.
4. Review Your Privacy Settings
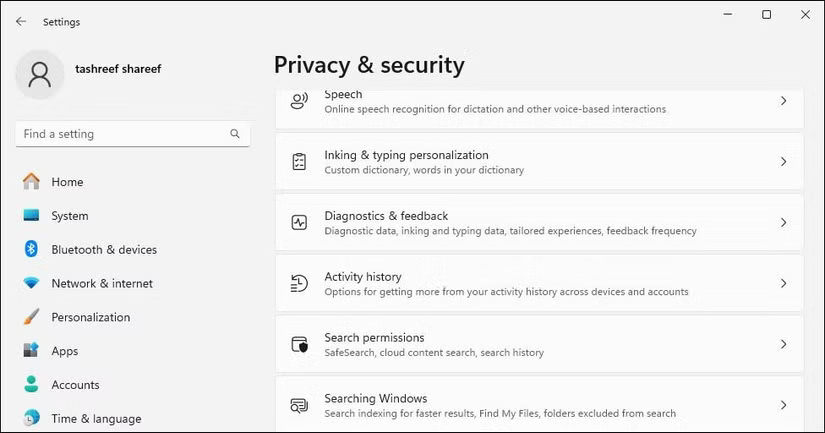
By default, Windows 11 collects all sorts of data about you to 'enhance your user experience.' If you're concerned about your privacy, take a few minutes to review these settings and turn off any that make you uncomfortable.
for instance, Windows 11 gives each user a unique advertising ID to track activity across apps and services to deliver personalized ads. You'll also want to check out the Activity History setting—this keeps a log of things like the apps you open, the files you access, and the websites you visit.
Windows also collects a variety of diagnostic data from your computer, including your browsing habits and the apps you use. Luckily, adjusting these privacy settings in Windows 11 only takes a few minutes, so it is worth taking the time to do it.
3. Change Default Apps
After upgrading to Windows 11, you may notice that some of your default apps have been switched. So it is a good idea to double-check key settings like your web browser, video player, or PDF reader to ensure they're set up the way you want them.
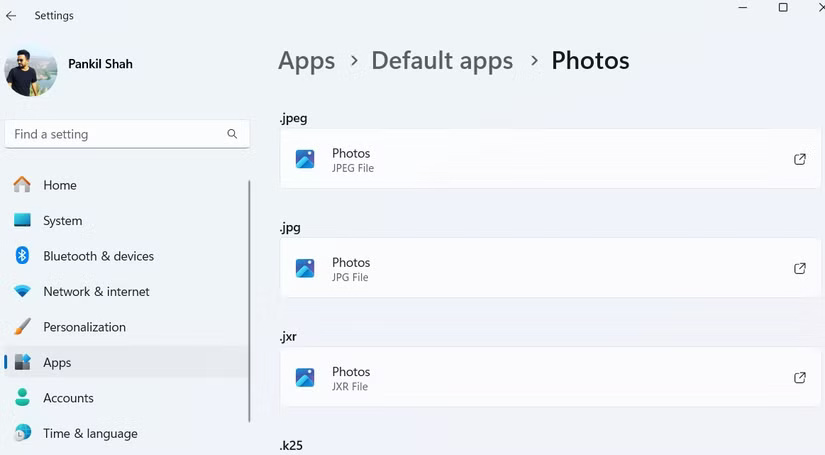
Unlike Windows 10, where changing default apps was simple, Windows 11 takes a more granular approach. You now have to specify default apps based on each file type or association type. So to use a different image viewer, for instance, you have to set it up for each image format, such as JPG, PNG, BMP, and TIFF.
This is a little more tedious, but luckily it is a one-time setup. You can open Settings > Apps > Change defaults by file type to set your favorite apps as defaults on Windows 11.
2. Personalize Windows 11
Windows 11 introduces a refreshed interface along with a host of customization options that you shouldn't miss. To get started, you can head to Settings > Personalization > Background to choose from a variety of desktop wallpapers, including static images, solid colors, or animated slideshows. In the same section, you'll find options to manage lock screen widgets or turn them off completely.
You can give your Windows 11 desktop a new look by changing the font. Or, if you want better visibility (or just a little fun), customize the style, size, and color of your mouse cursor. If you do not want to change things manually, you can open Settings > Personalization > Themes and pick a theme you like.
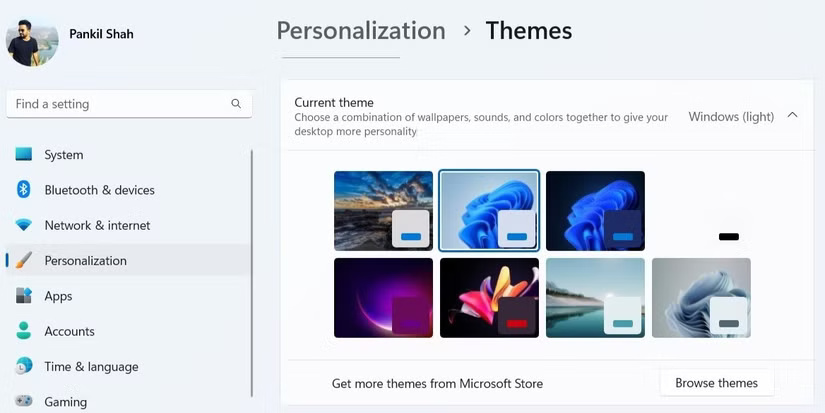
Changing your theme does not just change your wallpaper, it also updates your system sounds, cursor style, and accent color. Windows 11 only comes with a few light and dark themes, but you can find more options in the Microsoft Store.
Finally, if the default options aren't enough, you can turn to third-party tools like Start11 to completely change Windows 11. This is a paid app with a one-time fee of $9.99, but there is a free trial available - so you can try it out before you buy.
1. Explore New Features
You will find many features in Windows 11 that make it a solid upgrade from Windows 10. for instance, Copilot can help you perform tasks like summarizing documents, answering questions, and even adjusting your PC settings.
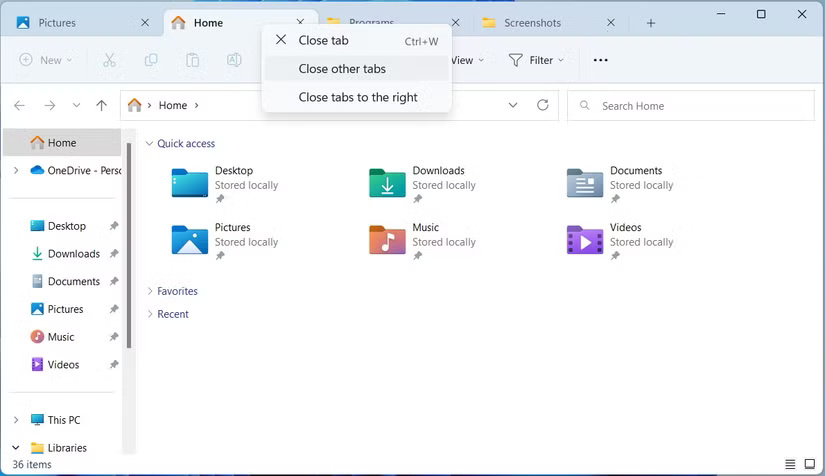
File Explorer in Windows 11 has also been significantly upgraded compared to Windows 10. One of its best features is the new tabbed interface, which lets you open multiple folders in a single window, similar to how tabs work in a browser. it is a small change, but it makes a big difference in keeping things organized and switching between folders quickly.
Windows 11 also brings smarter snap layouts, making it easier to organize open apps and multitask without any hassle. Other Microsoft apps have also received meaningful upgrades. for instance, the Snipping Tool now includes Optical Character Recognition (OCR), so you can copy text directly from a screenshot. It also comes with a built-in screen recorder, meaning you do not need any third-party tools for basic screenshot tasks.
Upgrading to Windows 11 can help your PC get up and running again. But before you start using it, it is best to make the above changes, set it up correctly, and remove anything you do not need. That way, your system will run smoothly and feel good.
FAQ
How were the things to do after updating to windows 11 options evaluated?
The comparison focuses on practical features, ease of use, limitations, compatibility, and the type of user each option is most likely to help.
Which option is best for beginners?
Beginners should prioritize a clear interface, useful documentation, reliable support, and the core features needed for their first project.
Should I choose a free or paid option?
Start with a free option when it covers your needs. A paid plan may be worthwhile when you need advanced tools, commercial rights, collaboration, or professional support.
Related Articles
 9 Things to Do Before Updating to Windows 118 minutes read
 5 Things You Need to Do After Updating to Windows 118 minutes read
 Update Windows: Complete Guide: What Are the Consequences of Restarting3 minutes read
 Important Notes Before Updating to Windows 10 October 2018 V18095 minutes read
 Windows Error: Complete Guide: Chrome, Edge and Firefox Cannot Be Opened3 minutes read
 Windows 11: Complete Guide: 5 Ways to Fix Touchpad/Trackpad Not Working7 minutes read
Reader Comments 0
Sign in with email or Google to join the discussion.