3 Ways to Change the Windows 11 Lock Screen Timeout
Changing and adjusting the screen lock timeout on a Windows 11 computer is one of the tricks that helps users customize the time to best suit their needs. Setting a screen lock timeout on a Windows 11 computer allows the computer to automatically lock during periods of inactivity, helping users avoid unwanted attention from those around them..
By default, Windows 11 automatically turns off the screen after 5 minutes when not charging and 15 minutes when plugged in. With the instructions shared below, you can change the screen lock timeout on Windows 11 to your liking. When the computer screen is off, you can simply move the mouse, touch the touchpad or touchscreen, click the mouse or touchpad button, or press any key on the keyboard to turn the screen back on.
How to set a screen lock timeout on Windows 11
Table of Contents:
1. Setting up Power & Battery .
2. Setting up Power Plan .
3. Using Command Prompt .
How to change the lock screen timeout on a Windows 11 computer.
1. Change the screen lock timeout on Windows 11 through Power & Battery Settings.
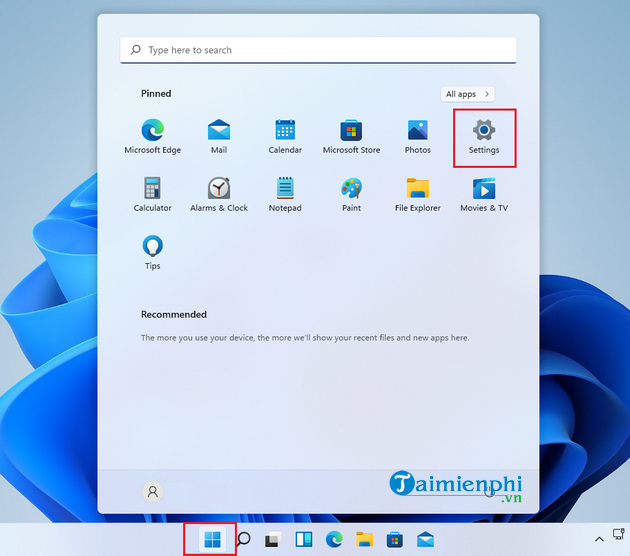
Step 1: Click the Windows icon on the taskbar and select Settings, or press the Windows + I shortcut to open the settings application.
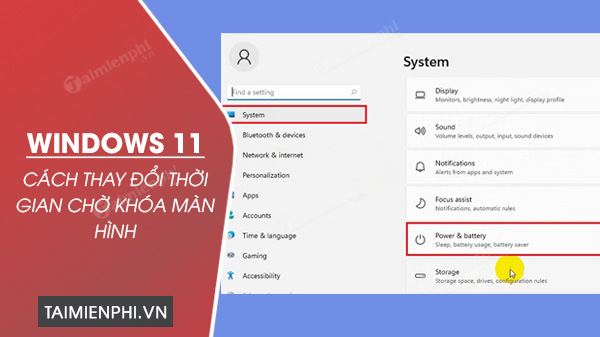
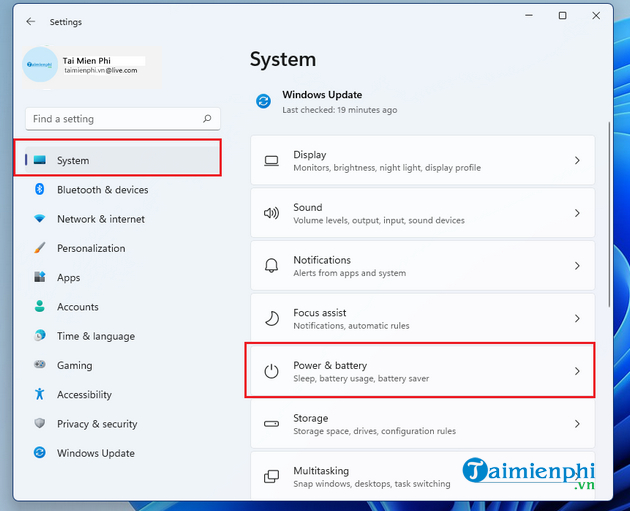
Step 2: In the Settings window , click on System in the left pane and Power & battery in the right pane.
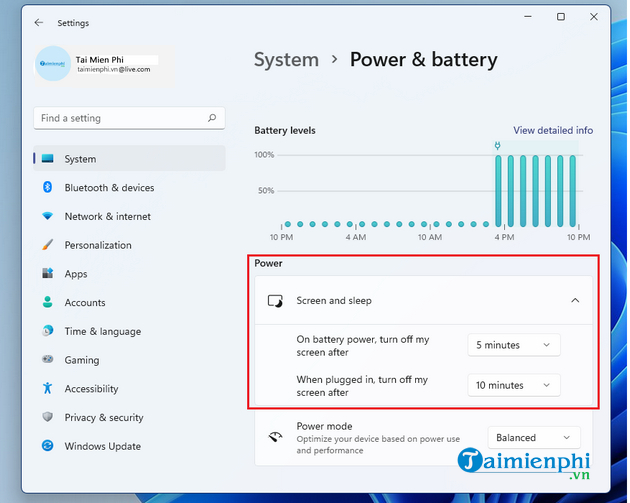
Step 3: Now, scroll down to the Power section and click on Screen & sleep.
Step 4: Choose your desired screen lock timeout for Windows 11 in the " On battery power, turn off my screen after" and " When plugged in, turn off my screen after" sections.
So you've finished setting your screen lock timeout. Additionally, if you want to enable or disable sleep mode on Windows 11, you can also follow the instructions in the article below.
2. Change the screen lock timeout on Windows 11 via Power Plan settings.
Step 1: Type " Control Panel" into Windows Search and click on the corresponding search result.
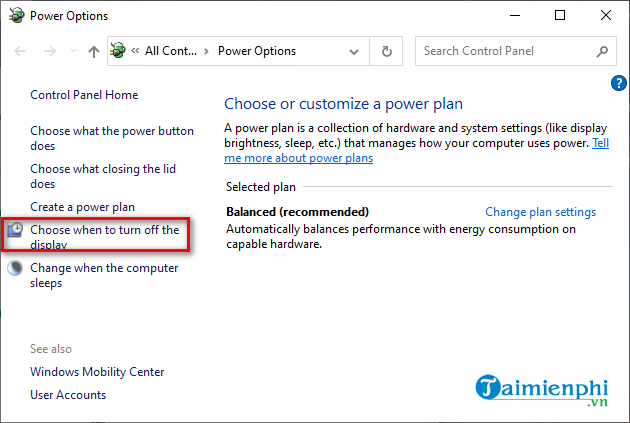
Step 2: Select Power Options and click on the " Choose when to turn off the display" link in the left-hand panel.
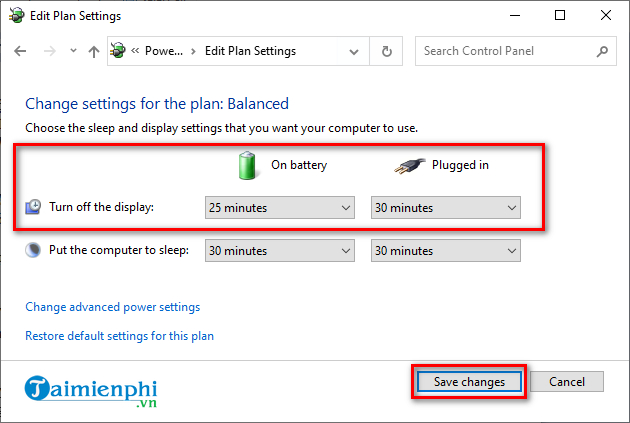
Step 3: Now, under "Turn off the display ," select your desired Windows 11 screen lock timeout from the "On battery" and " Plugged in" menus . Then, click "Save changes" to save the changes.
Additionally, you can also change the lock screen timeout on Windows 11 through the Advanced Power Plan settings of any default or custom Power Plan, following these steps:
Step 1: Type " Control Panel" into Windows Search and click on the corresponding search result.
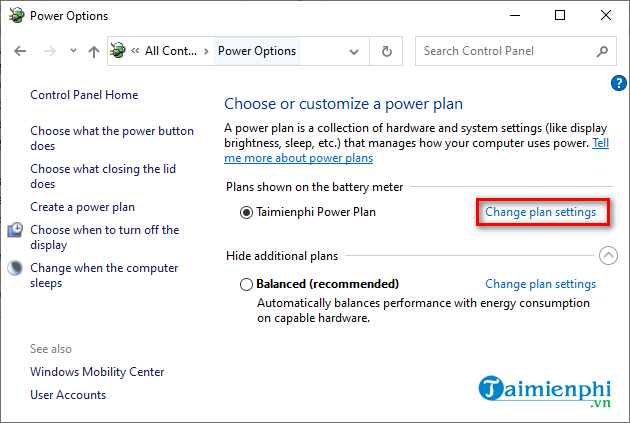
Step 2: Select Power Options and click the "Change plan settings" link next to the custom Power Plan or any existing Power Plan.
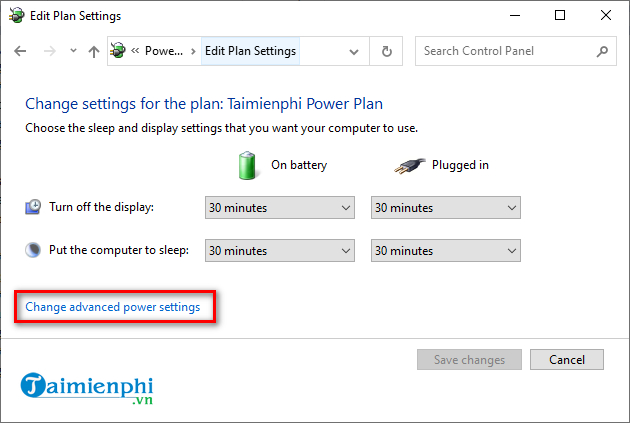
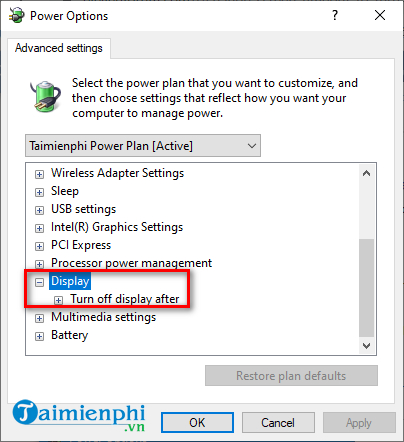
Step 3: Click on Change advanced power settings.
Step 4: Scroll down and click on Display and expand the Turn off display after option.
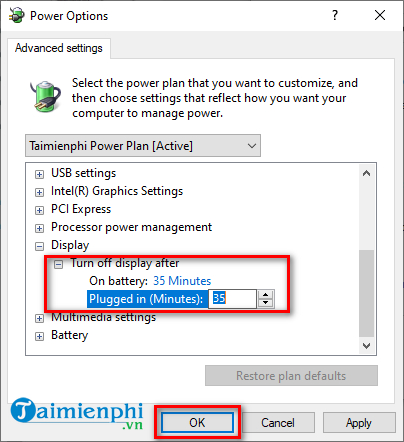
Step 5: Here, select your desired Windows 11 screen lock timeout from the On battery and Plugged in menus . Then, click OK to save the changes.
This is also a fairly simple way to change the screen lock timeout on a Windows 11 computer. Just follow the steps above and you'll be done.
3. Setting the screen lock time on Windows 11 via Command Prompt
Step 1: Type " cmd" into Windows Search and click on Command Prompt from the search results.
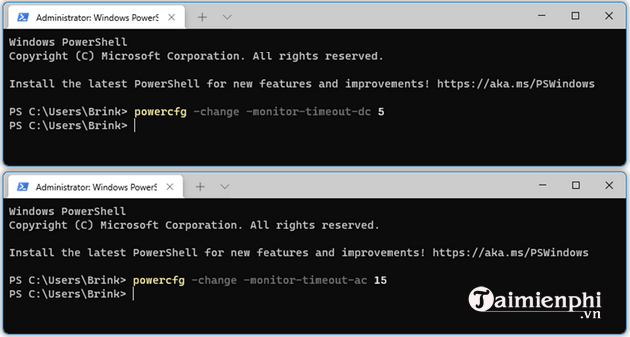
Alternatively, you can type "Windows PowerShell" into Windows Search and click on the corresponding search result to open Windows PowerShell and specify the screen lock timeout for your Windows 11 computer there.
Step 2: Enter the command below and press Enter.
- On battery
powercfg -change -monitor-timeout-dc
or
powercfg /SETDCVALUEINDEX SCHEME_CURRENT 7516b95f-f776-4464-8c53-06167f40cc99 3c0bc021-c8a8-4e07-a973-6b14cbcb2b7e
- Plugged in
powercfg -change -monitor-timeout-ac
or
powercfg /SETACVALUEINDEX SCHEME_CURRENT 7516b95f-f776-4464-8c53-06167f40cc99 3c0bc021-c8a8-4e07-a973-6b14cbcb2b7e
- Replace "minutes" in the above commands with the desired screen lock timeout duration in minutes for Windows 11.
- Replace "seconds" in the above commands with the desired screen lock timeout duration in seconds for Windows 11.
In summary, TipsMake has shared with you a few ways to change the screen lock timeout in Windows 11. You can also apply these methods to Windows 10. If you have any questions or suggestions, feel free to leave your comments in the section below the article.