How to change Windows 11 screen lock timeout
By default, Windows 11 will turn off the screen after a certain amount of time. Users can choose a screen timeout of one minute or longer, or you can stop the screen from turning off completely.
Table of Contents
By default, Windows 11 will turn off the screen after a certain amount of time. Users can choose a screen timeout of one minute or longer, or you can stop the screen from turning off completely. Below are instructions on how to change the screen lock timeout on Windows 11.
Change Windows screen lock timeout via Settings
Step 1:
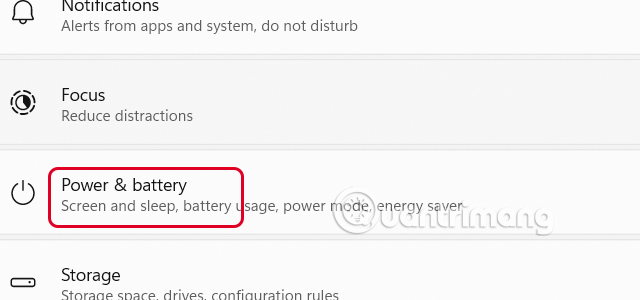
Open Settings then click on System on the left side and select Power & battery on the right side of the interface.
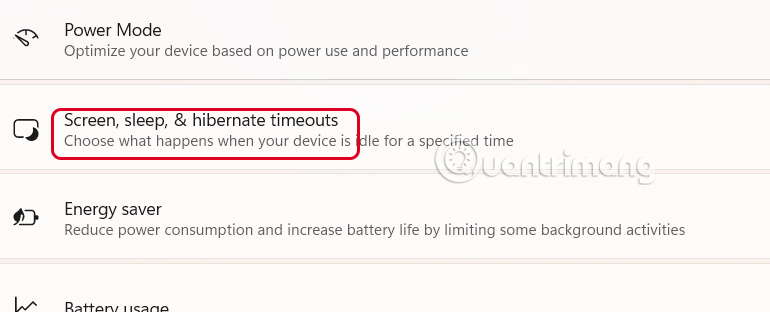
In the new interface, users select Screen, sleep to adjust.
Step 2:
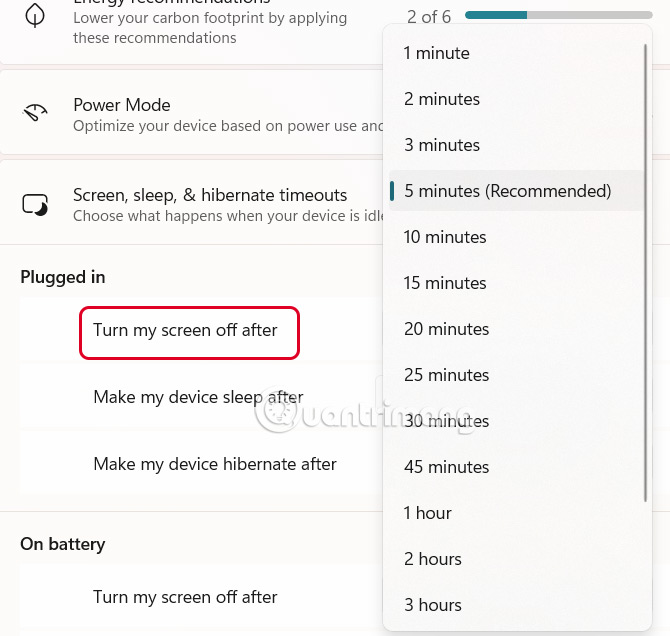
In the Plugged in section, in the Turn my screen off after section , you choose the screen lock time you want.
How to change screen lock timeout via Control Panel
Step 1:
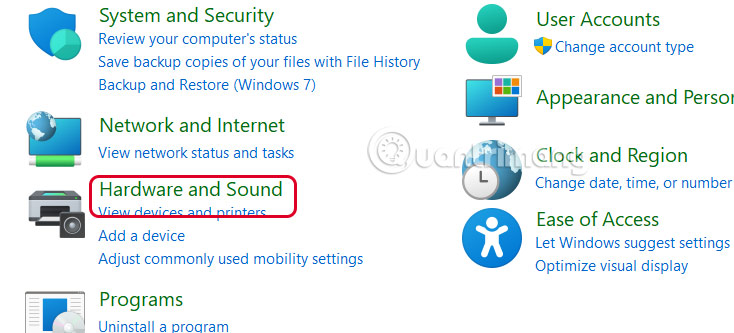
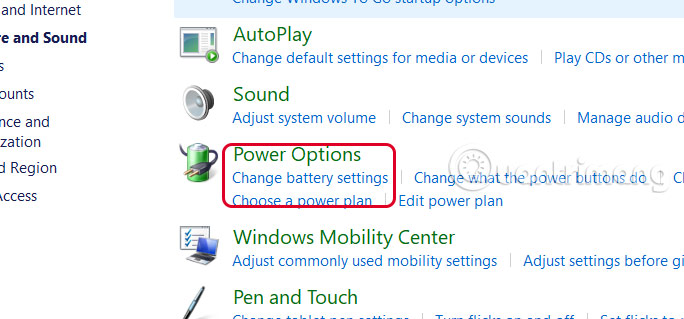
Users open Control Panel then select Hardware and Sound .
In the next interface, click on Power Options .
Step 2:
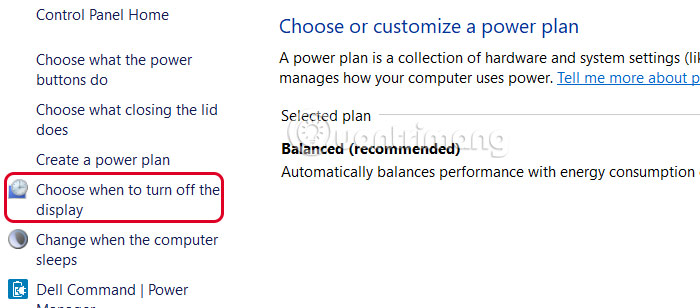
Next, the user selects Choose when to turn off the display or Change when the computer sleeps on the left side of the interface.
Step 3:
At Turn off the display , we also choose the screen lock time we want.

Instructions to change screen lock timeout via Powercfg Command
Step 1:
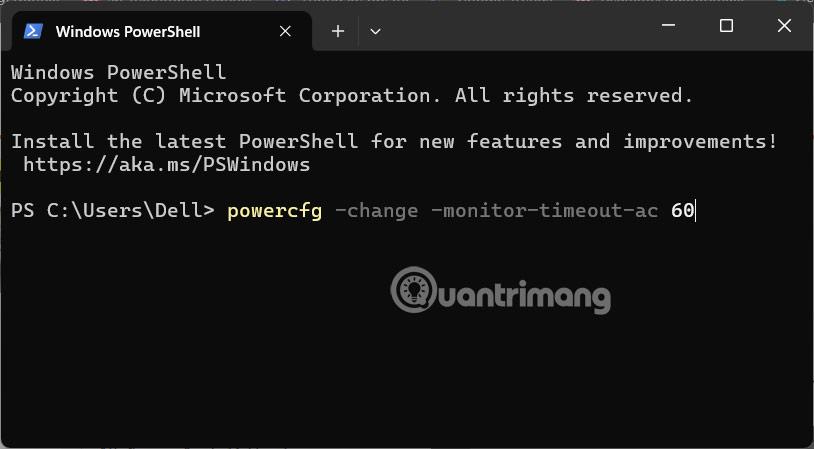
Open Terminal and enter the command below to change the screen timeout when the computer is plugged in. Change 60 to the desired time in seconds.
owercfg -change -monitor-timeout-ac 60
Or if the machine is running on battery, enter the command below.
powercfg -change -monitor-timeout-dc 60
Was this article helpful?
Your feedback helps us improve.
Related Articles
 How to Change Windows 11 Lock Screen Timeout3 minutes read
 How to change screen lock timeout in Windows 106 minutes read
 3 Ways to Change the Windows 11 Lock Screen Timeout5 minutes read
 How to change lock screen and screensaver timeout settings on Windows8 minutes read
 How to change the lock screen background in Windows 105 minutes read
 Tricks to customize the Windows 10 lock screen7 minutes read
Reader Comments 0
Sign in with email or Google to join the discussion.