Steps to fix lost NODE.dll file error on Windows 10, 11
1. What is NODE.dll file?
NODE.dll is a file available on the Windows operating system and they are located in the system32 or SysWOW64 folder. The task of the NODE.dll file is to link the software on the computer to use the same connected features. In case the computer loses the file or the NODE.dll file is corrupted, the applications will not be able to start and report an error.
2. How to fix missing NODE.dll file error on Windows 10, 11 computers
Currently, on Windows 10, 11 there are different ways to handle the error of missing NODE.dll file on the system. Here are the most effective ways to fix the missing NODE.dll file on Windows 10 and 11.
Fix missing NODE.dll error on Windows 10, 11 with SFC scan command
SFC scan command will help you recover system files quickly, extremely effective in finding lost files.
Step 1: Open the Start Menu, enter Command Prompt and select Run as administrator to open with Admin rights.

Step 2: Then, copy the command below and paste it into the system to launch.
Sfc/scannow
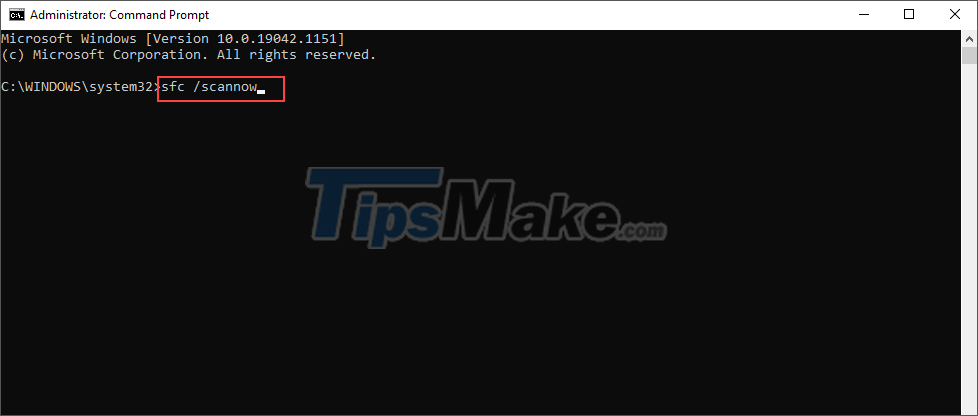
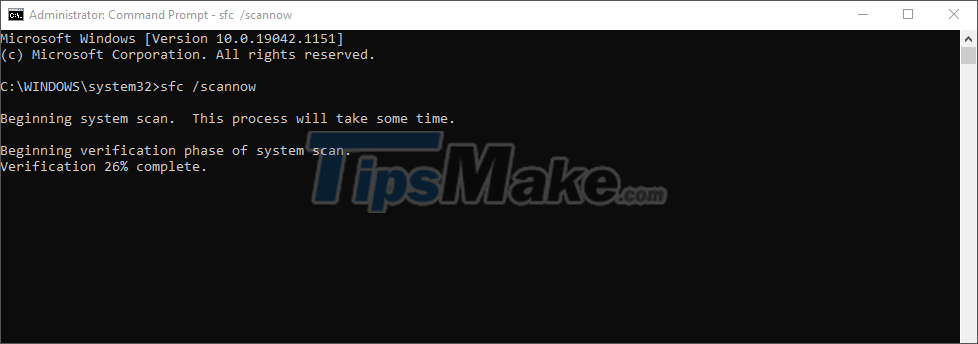
Step 3: The data scanning process will take about 5-10 minutes and you just need to wait until it's done. When the scan is complete, restart your computer and open the applications to check.
Fix missing NODE.dll error on Windows 10, 11 with DISM . scan command
In addition to scanning the SFC command, you can also scan the DISM to quickly search for system files and fix Windows errors.
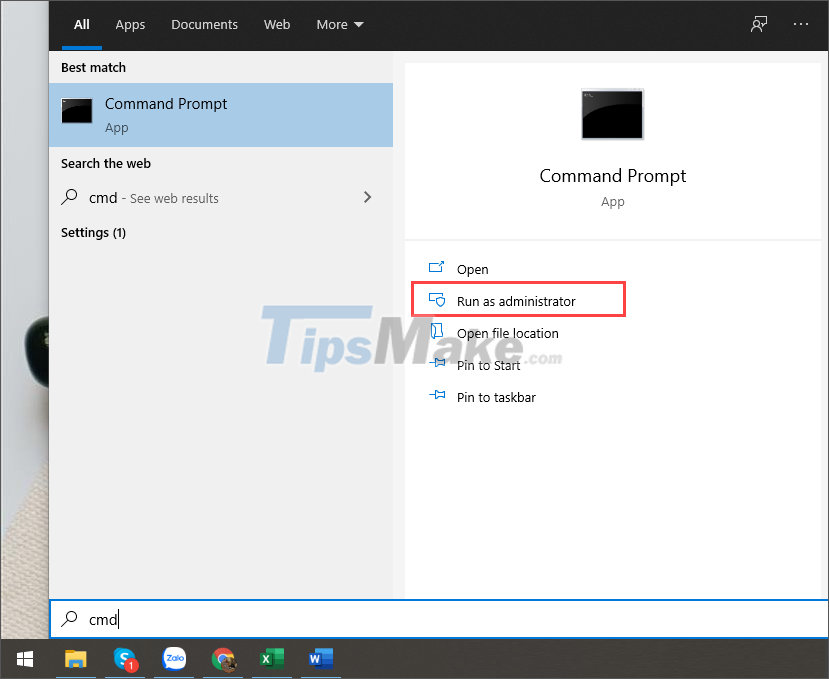
Step 1: Open the Start Menu, enter Cmd and select Run as administrator to open it with Admin rights.
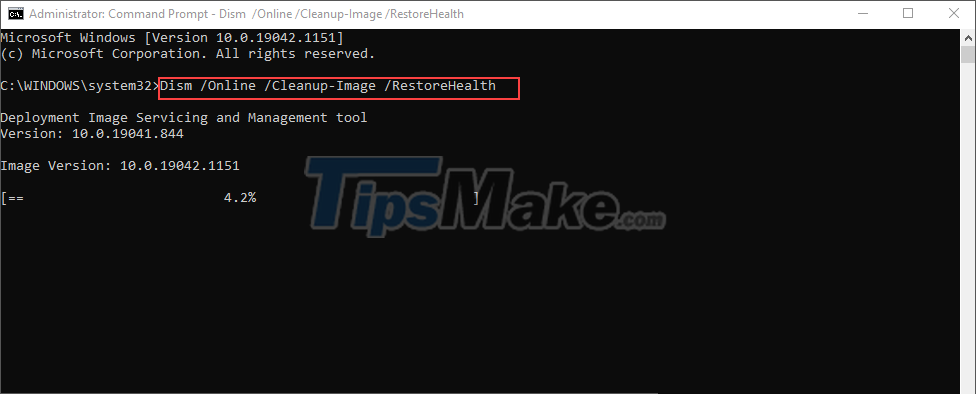
Step 2: Then, enter the command below into the system to start scanning DISM quickly. When the DISM scan command is successful, please restart the computer and check.
Re-enable NODE.dll to fix errors on Windows 10, 11
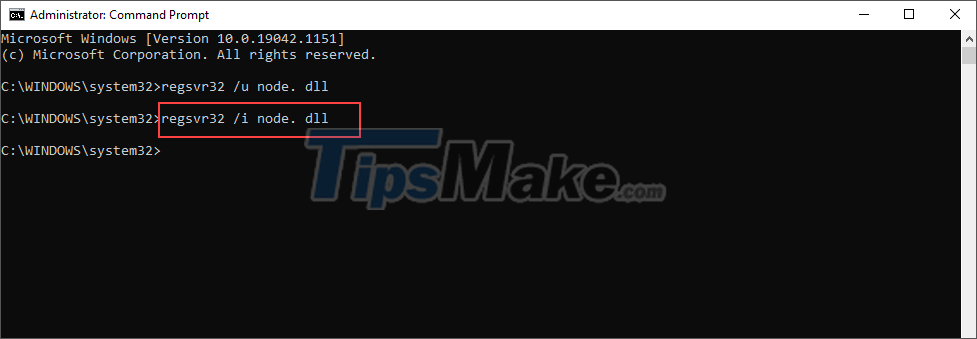
In case a rescan of the system data does not help the NODE.dll file to be restored, you can also choose to re-register to activate it from the beginning.
Step 1: Open Cmd on your computer by entering cmd in the Start Menu and select Run as administrator.
Step 2: Then copy the command below and paste it in Cmd to unregister NODE.dll.
regsvr32 /u node.dll

Step 3: Finally, you just need to copy the command below and paste it into your system to re-enable NODE.dll on your computer.
regsvr32 /u node. dll
In this article, Tipsmake has shown you how to fix the error of losing the NODE.dll file on Windows 10, 11. Good luck!