Instructions on how to fix the error of the computer not recognizing the printer
The computer saying 'Windows cannot connect to the printer' when you connect to the printer is a fairly common error in the printing process. To fix the error that the computer does not recognize the printer, please follow the instructions below!
Table of Contents
1. Restart the Print Spooler service
Step 1: Press the key combination Window + R> Enter services.msc.

Step 2: Double-click the Print Spooler item in the Name column.

Double-click Print Spooler
Step 3: A new window will appear. Under Service status, click Stop.
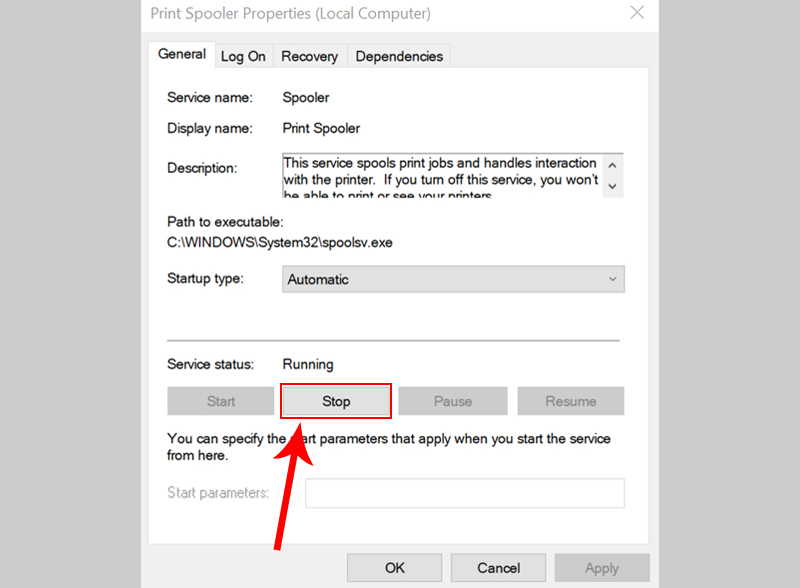
Select Stop at Service status
Step 4: Select Start> Select OK.

Select Start to reopen the service and click OK
Once done, check that the computer has received the printer yet!
2. Uninstall printer driver
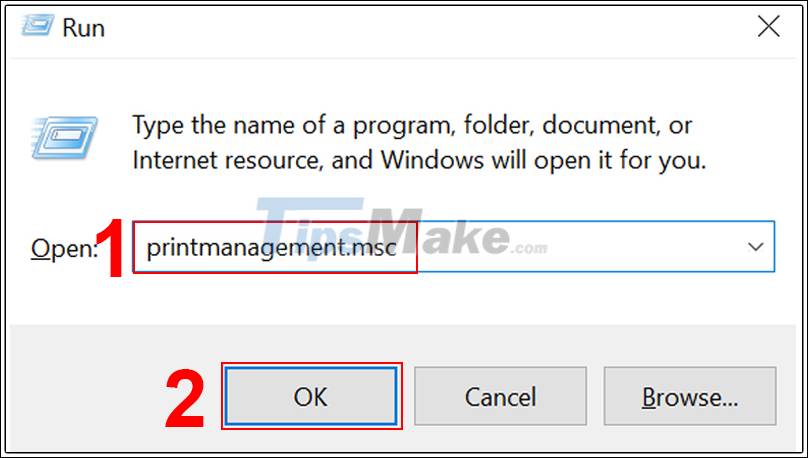
Step 1: Press the key combination Window + R> Enter printmanagement.msc> Click OK.
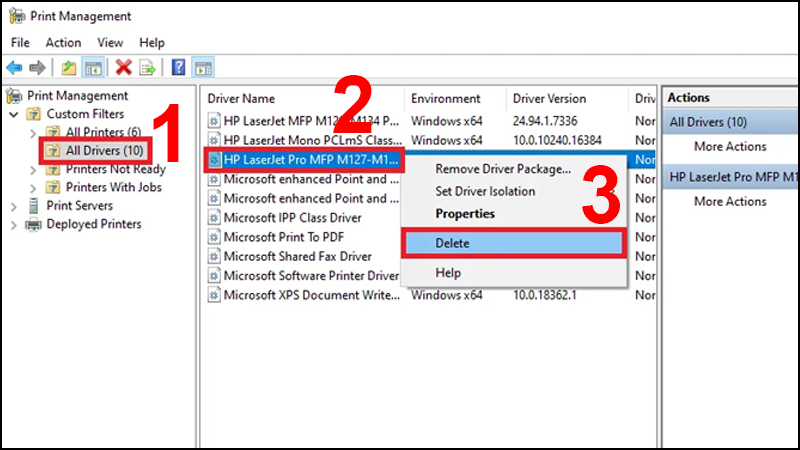
Step 2: Print Manager window appears. You double-click on All Drivers> Right-click the printer driver name> Select Delete.
Step 3: Visit the manufacturer's homepage to download and install the latest printer driver version.
If you have multiple drivers, do the same to remove all the drivers.
3. Create a new local port
Step 1: Enter Control Panel in the search box> Open Control Panel.

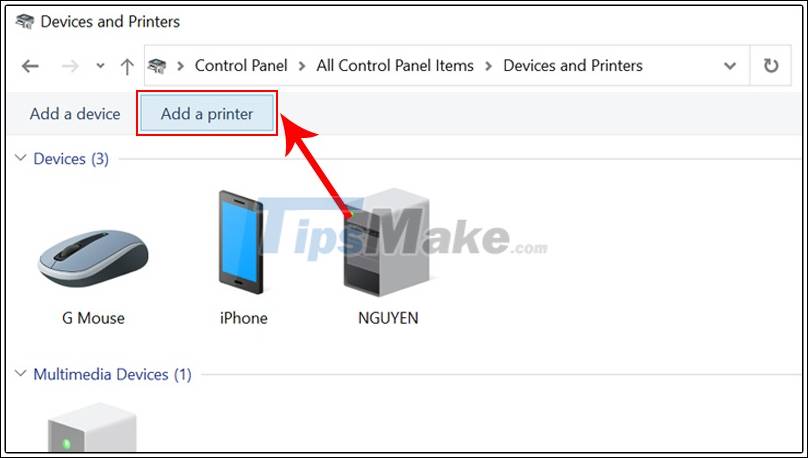
Step 2: In View by select Large icons> Click on Devices and Printers.
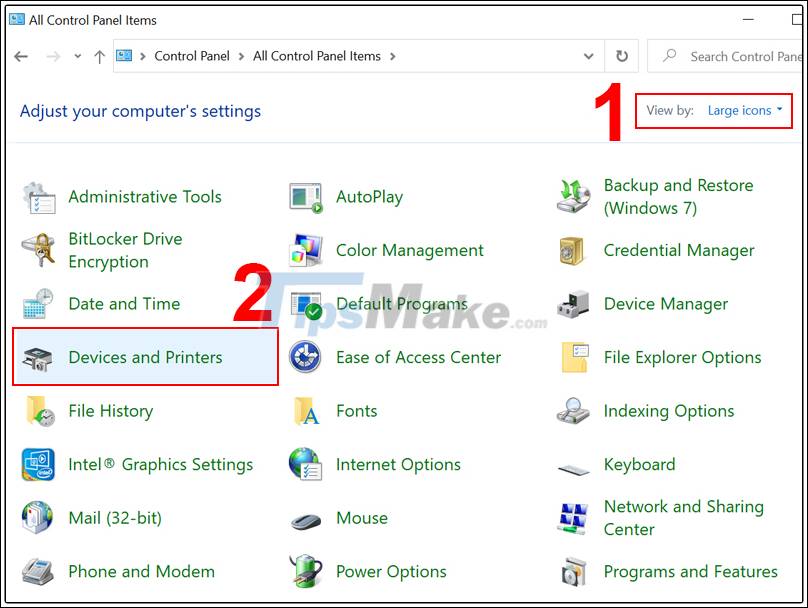
Leave View by in Large icons and select Devices and Printers
Step 3: Click on Add a printer.
Step 4: Select Add a network, wireless or Bluetooth printer.
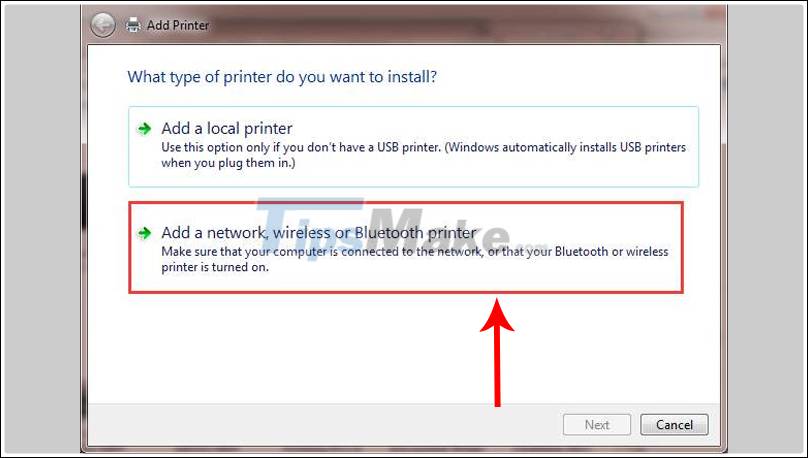
A new window appears, click Add a network, wireless or Bluetooth printer
Step 5: Tick select Create a new port> Change the Type of port to Local Port> Select Next.
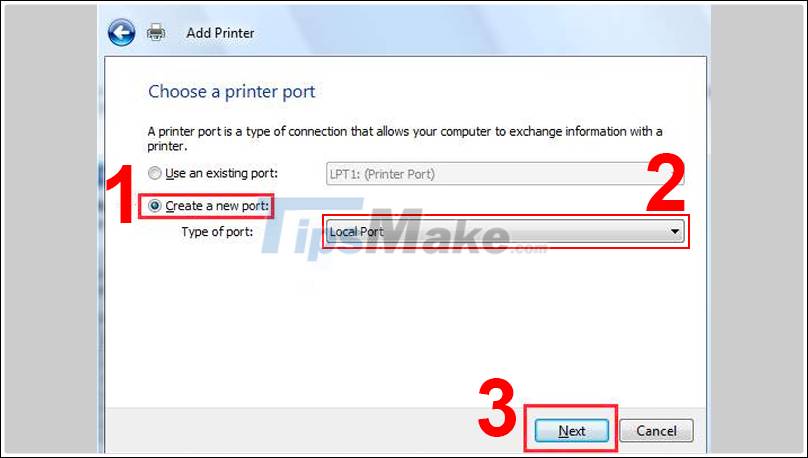
Tick Create a new port, change the type and choose Next
Step 6: Enter the printer's address> Select OK.
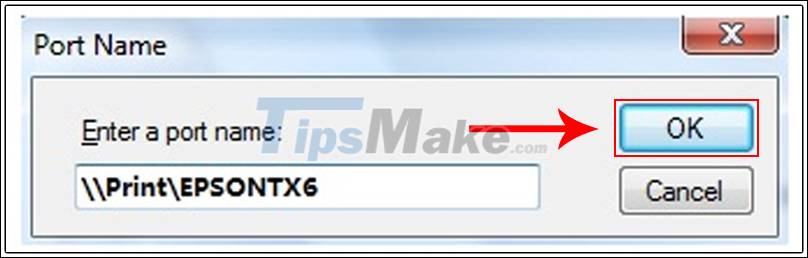
Enter the printer's address in the Port Name window
Step 7: Select the printer model from the folder> Select Next.
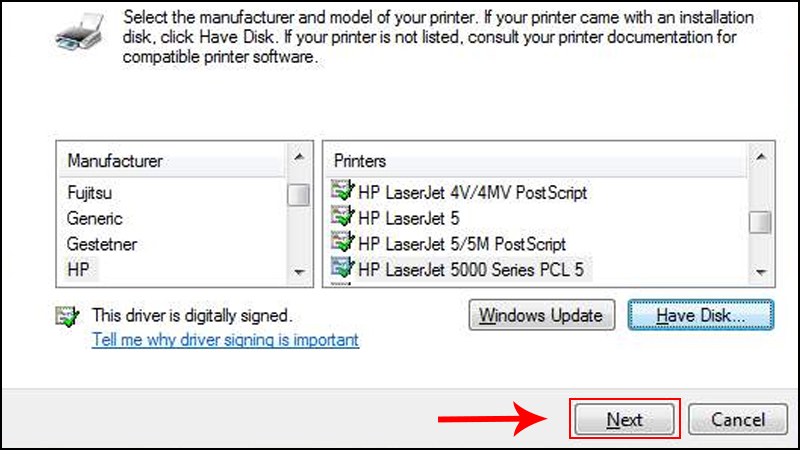
Click Next after you finish selecting the printer model
Then follow the system's instructions to complete the printer adding process.
4. Copy "mscms.dll" manually
Step 1: Open the folder C: Windowssystem32> Find and open the file named mscms.dll.
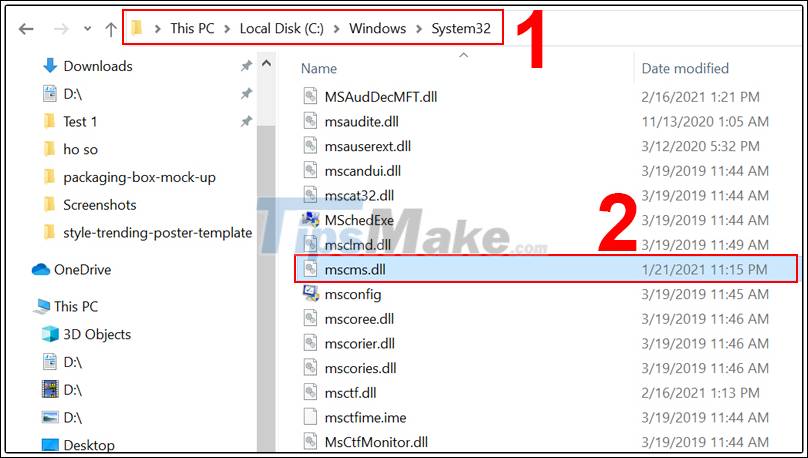
Find the file named mscms.dll
Step 2: Copy the file to the following path:
- With 32-bit version of Windows: C: windowssystem32spooldriversw32x863.
- For 64-bit versions of Windows: C: windowssystem32spooldriversx643.
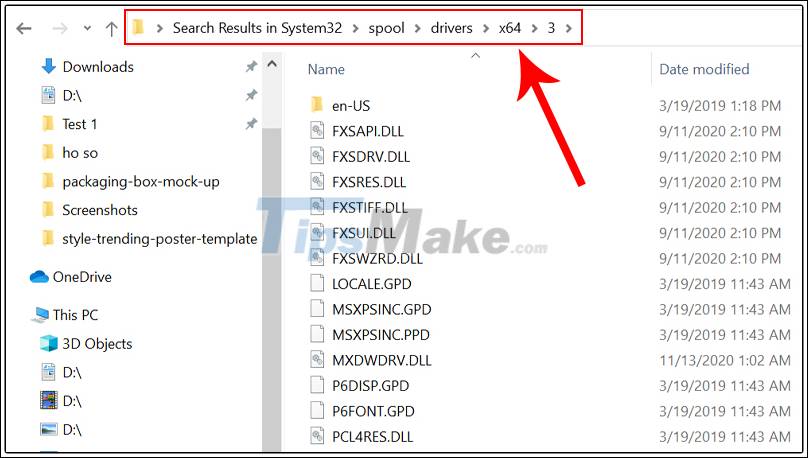
Copy file mscms.dll to the path as shown
Once done, reconnect and check if the computer has recognized the printer yet!
Recently, there are instructions on how to fix the computer that does not recognize the printer, and wish you success!
Was this article helpful?
Your feedback helps us improve.
Related Articles
 Canon 2900 printer not recognizing ink cartridge, how to fix it.5 minutes read
 How to fix offline errors of printers on Windows 1010 minutes read
 6 Ways to fix computer not recognizing wired mouse, USB5 minutes read
 Instructions for renaming the printer on Windows 103 minutes read
 How to fix Windows errors not connected to the printer8 minutes read
 Common HP printer error codes and how to fix HP printer errors16 minutes read
Reader Comments 0
Sign in with email or Google to join the discussion.