PhotoShop: Create your own Christmas cards
Christmas is coming!Have you prepared gifts for your loved ones?A card for relatives and friends is indispensable for Christmas.More specifically, this card is because you 'design' yourself.This tutorial will help you easily create a unique card using a Photoshop program.
Create a new file in Photoshop ( File > New ) of size 1280x1024 px and 72 dpi .
Using the Rectangle Tool (U) to draw the background of the picture.

Go to Blending Options > Gradient Overlay
Set the following parameters for this background layer
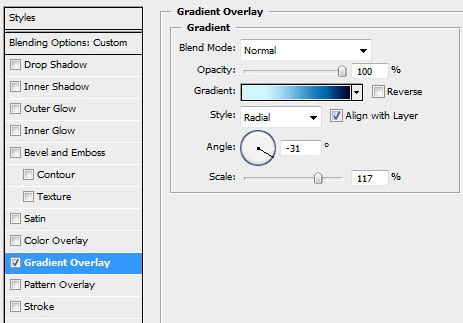
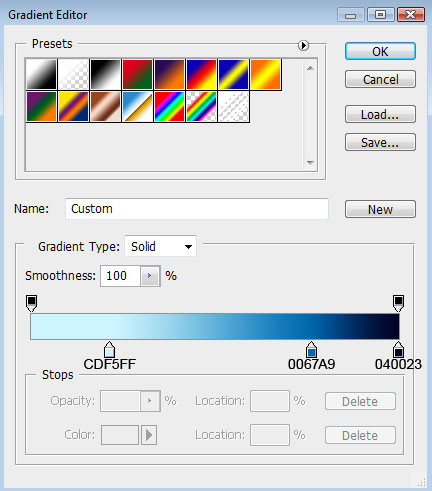
Gradient parameters:

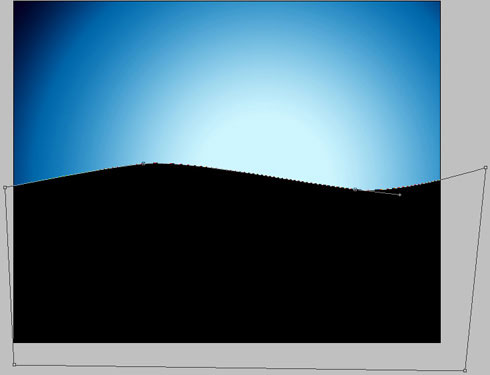
Next, we'll draw to the snowy part, apply the Pen Tool (P) and Convert Point Tool to edit the created image.
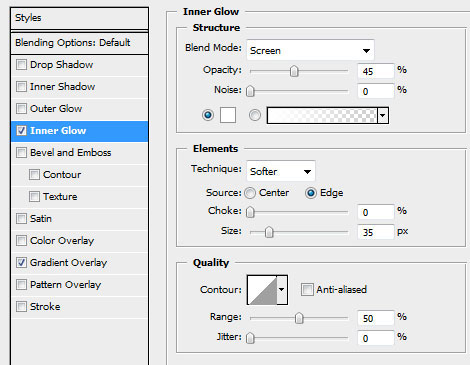
Set the new layer in Blending Options > Inner Glow
Part Blending Options > Gradient Overlay
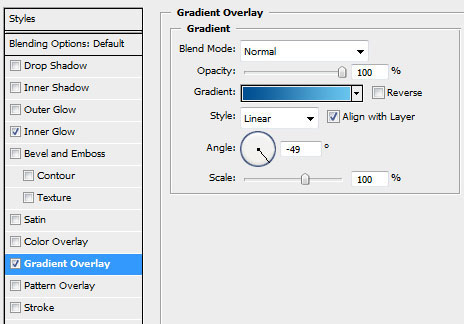
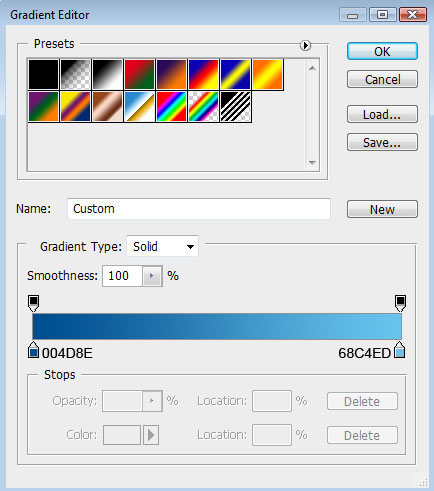
Gradient parameters:

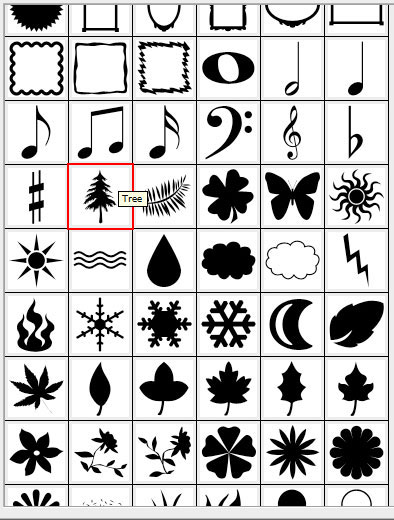
Next select the Custom Shape Tool (U) . In the Shape section on the toolbar above and select the pine tree icon (if you don't see a pine tree icon, click the arrow button left> select All > OK ), choose the color # 003274

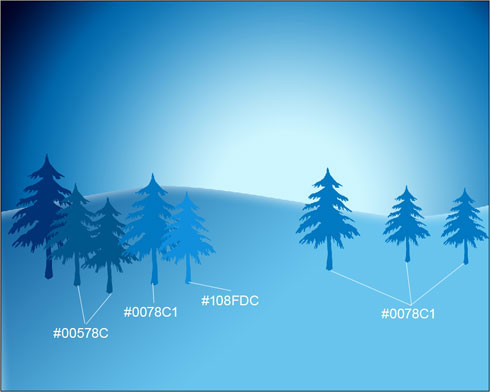
Let's create some more pine trees with different colors, use the Free Transform option to adjust different sizes for each small tree, you can create a picture as follows
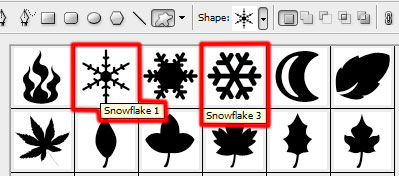
Use the Custom Shape Tool (U) again , choose different snowflake icons of different sizes to add points to the painted background.

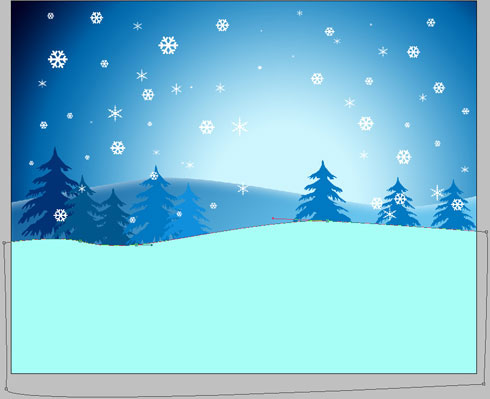
Continue to paint the second snow hill by using the Pen Tool (P) and Convert Point Tool , the color is # A7FEF6.
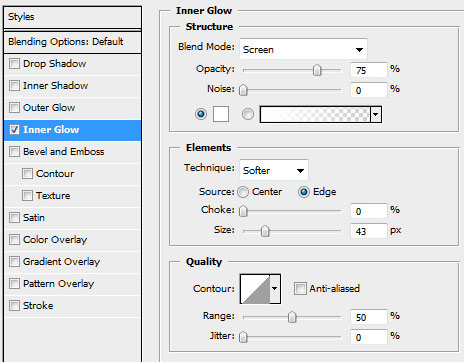
Parameters in the section: Blending Options > Inner Glow

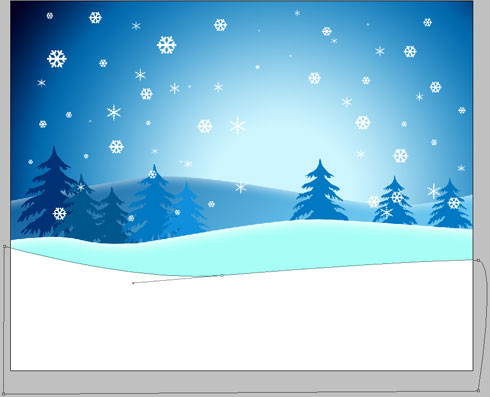
Draw the next hill
Parameters in the section: Blending Options > Inner Glow
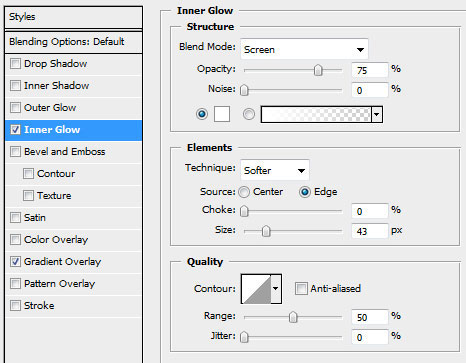
Part Blending Options > Gradient Overlay
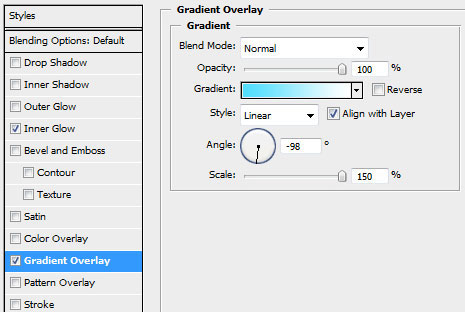
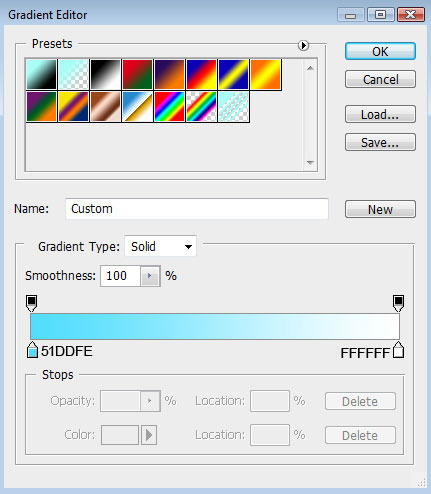
Gradient parameters:

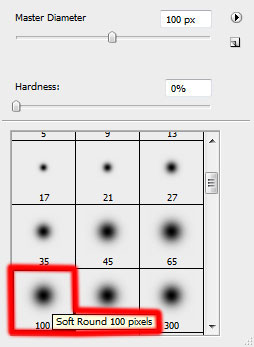
Create a new layer ( Create new layer ), use the Brush Tool (B) standard with 20% Opacity to create shadows on the snowy background.

Next, use the Ellipse Tool and draw a snowball that will be the snowman's leg.
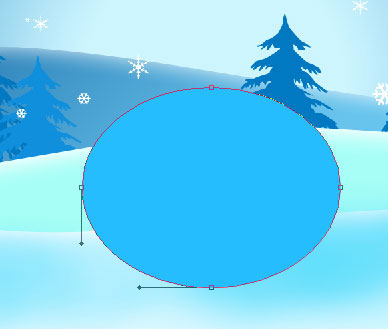
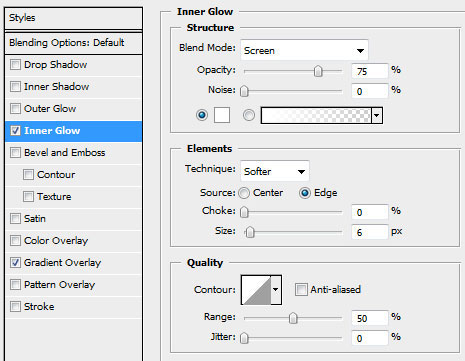
Parameters in the section: Blending Options > Inner Glow
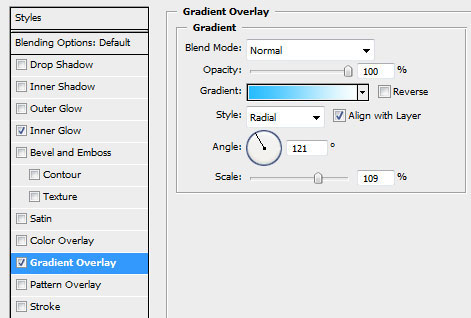
Part Blending Options > Gradient Overlay
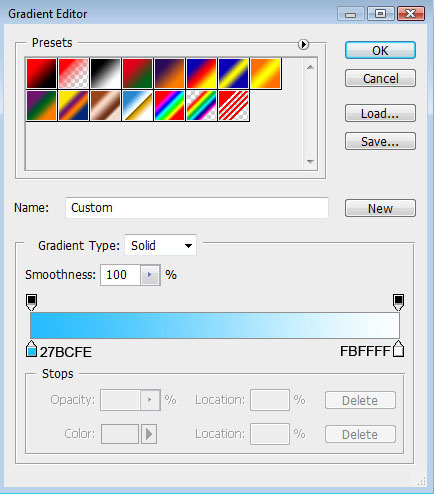
Gradient part parameters:

Create two more copies of the newly created snow ball layer, using the Free Transform tool to drag the copies down and place them in the position like the following image:

Use the Ellipse Tool (U) to draw the buttons on the image of the snowman.
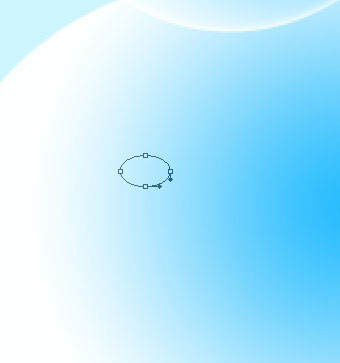
Parameters for the button button layer: Fill 0%
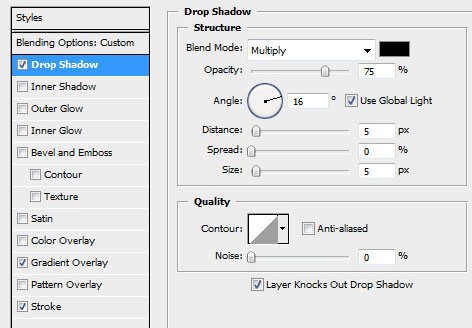
Part Blending Options > Drop Shadow
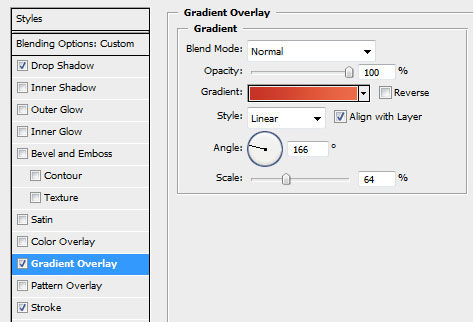
Part Blending Options > Gradient Overlay
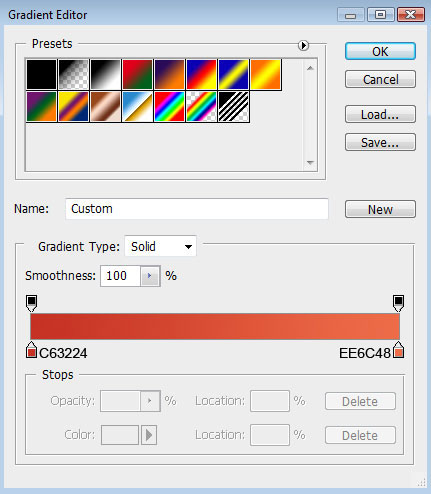
Gradient part parameters:
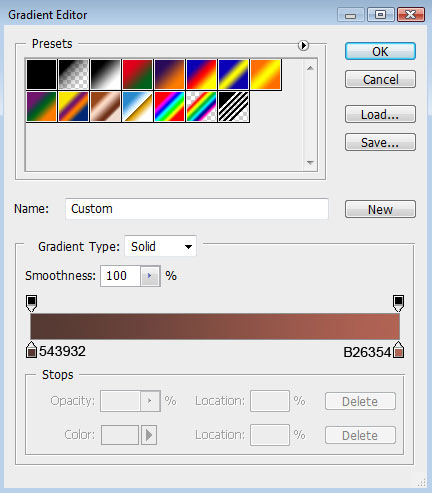
Part Blending Options > Stroke
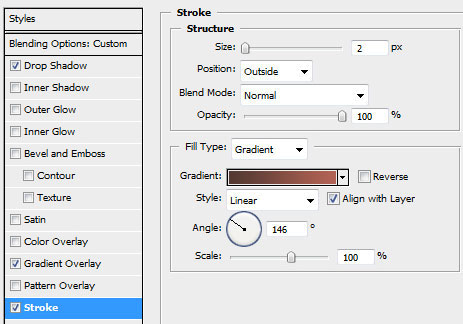
Gradient part parameters:
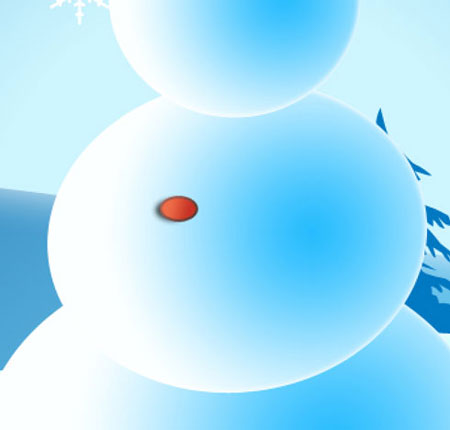
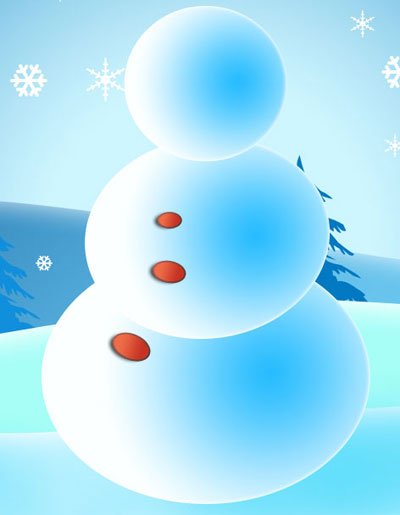
Create 2 more copies of the button and use the Free Transform tool to resize them accordingly, placing them in the following positions:
Continue using the Ellipse Tool (U) to draw the nose for the snowman:
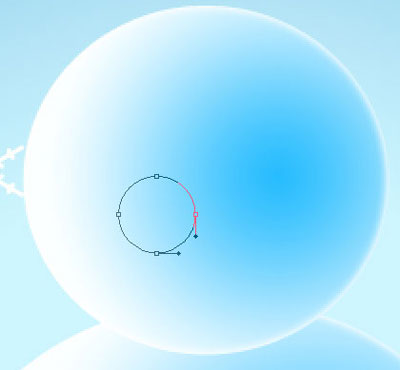
Snow nose layer parameters: Fill 0%
Part Blending Options > Inner Shadow
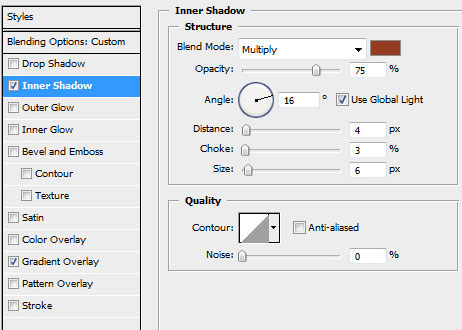
Part Blending Options> Gradient Overlay
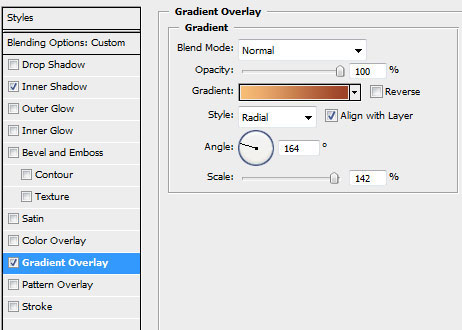
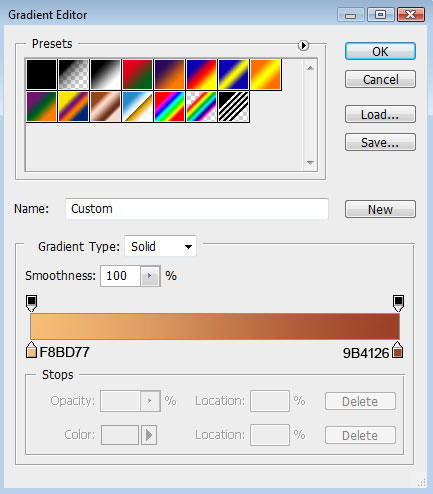
Gradient parameters:
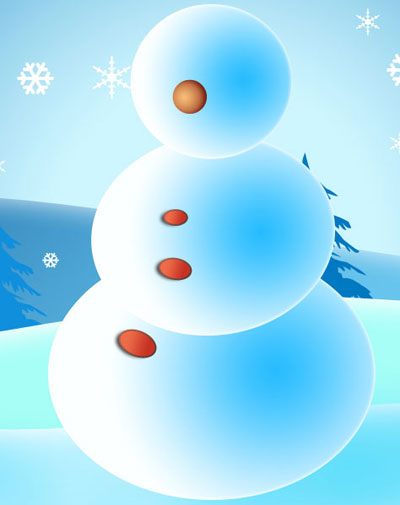
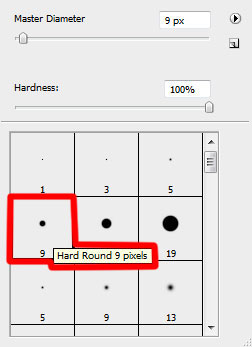
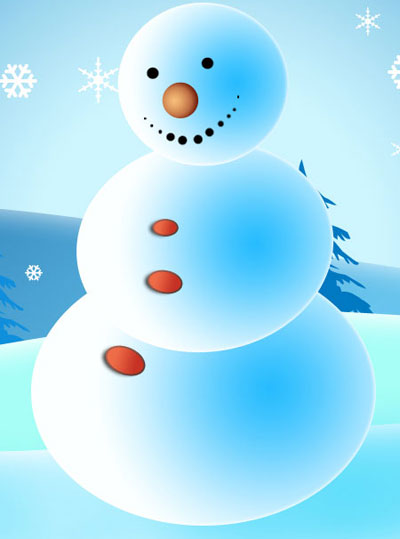
Create a new layer and use the standard Brush Tool (B) to draw the eyes and mouth of the snowman. The color of the components is black.
Use the Line Tool (U) to draw a shape of a stick like the following figure for the snowman. The color of this image is also black.
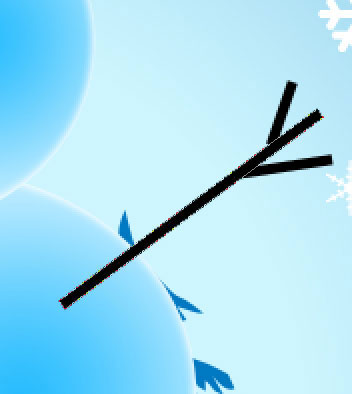
Put all snowman hand-painted layers (in this case, 3 branches) onto the same layer. You can hold down Ctrl , select each layer and then press Ctrl + E. Next create a copy of the created layer, use the Free Transform tool to rotate the tree to the other side to create the second hand. Drag a little bit of this arm to create a degree to match the shadow on the snowman.

So you have completed your card photo background. Add the content of the Christmas greeting to a certain location on this picture, then send it to your friends and relatives.

Merry Christmas!
You should read it
- ★ How to create a free online Christmas card
- ★ Instructions for using Photoshop CS6 (Part 5): Create christmas cards with snowflakes on a red background
- ★ How to make Christmas cards with unique 3D Christmas trees
- ★ How to create Christmas cards on smartphones
- ★ Add a simple way to make beautiful Christmas cards