Learn about the Security Configuration Wizard in Exchange Server 2007 - Part 1
In the following article, we will introduce you some basic characteristics of Security Configuration Wizard - SCW of Exchange Server 2007, with the main purpose of minimizing the possibility of attack on the system. Exchange server by turning off services, ports, features and programs is not really necessary ...
Table of Contents
TipsMake.com - In the following article, we will introduce you some basic characteristics of security tool Security Configuration Wizard - SCW of Exchange Server 2007, with the main purpose is to minimize the possibility Attack the Exchange server system by turning off services, ports, features and programs that are not really needed . In fact, SCW is a feature of Windows Server 2003 SP1, but is not pre-installed in the default mode, and is not part of the Exchange Server server, but only with a few basic setup steps. can overcome this shortcoming and fully support Exchange Server 2007.
Install SCW in Windows:
First, you need to make sure that the system is installed or upgraded to Service Pack 1 for Windows Server 2003 . Then, click Start> All Programs> Control Panel> Add / Remove Programs> Windows Components , scroll down and check the Security Configuration Wizard box as shown below:
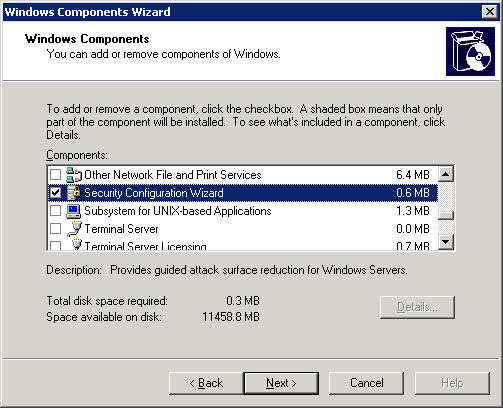
Then click Next> Finish . We will see the system displaying a shortcut outside the desktop, you can refer to some information here during the operation later.
Register file Exchange 2007 XML:
Once we have completed the installation of SCW, we need to go to the next step: register - register the Exchange Server 2007 configuration file. As mentioned above, SCW is not really part of Exchange 2007 , so you need to do this process to assign the configuration and set up to SCW.
Technically, when Exchange Server 2007 is installed, the default XML configuration file will be copied to the Exchange Server scripts directory. Back up 1 copy of the original XML file with the * .bak extension, then copy it to the installation directory on the server. When done this way, the XML file will contain the correct path to the related services. The scripts folder created in the default mode is c: Program FilesMicrosoftExchange Serverscripts
In fact, there are two ways to register XML files, first is the manual way - use Command Prompt and the second way is to use the PowerShell command. For Command Prompt, you type:
scwcmd register / kbname: Ex2007KB / kbfile: "% programfiles% MicrosoftExchange ServerscriptsExchange2007.xml"
After pressing Enter, the system will display the results as shown below:

For servers that are serving the Edge Transport role, we can use the following command:
scwcmd register / kbname: Ex2007EdgeKB / kbfile: "% programfiles% MicrosoftExchange ServerscriptsExchange2007Edge.xml"
For PowerShell , open the Exchange Management Shell , then go to the scripts folder and type the command:
Register-ExchangeSCW.ps1 –register
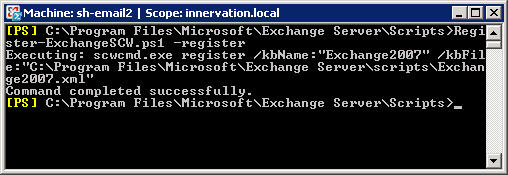
Quite simple and easy to understand, the above script will indicate the exact role of the server and install the appropriate XML file. If you want to reverse the above process, we just need to type the command:
Register-ExchangeSCW.ps1 -unregister
The next thing to do here is to create and apply policies to the server. One very important point to note here is that all applications and utilities, services must be installed on the server before running SCW. Because when applying policies, then installed applications will not work properly, the relevant ports - Ports can be turned off, so SCW should be the last step.
And before applying any policy, check the entire installation process on the server by reading the log file. With the Edge Transport server, the system will display strange messages during the policy creation process compared to other server types, but the same process is still the same, nothing else.
Create Exchange policy for SCW:
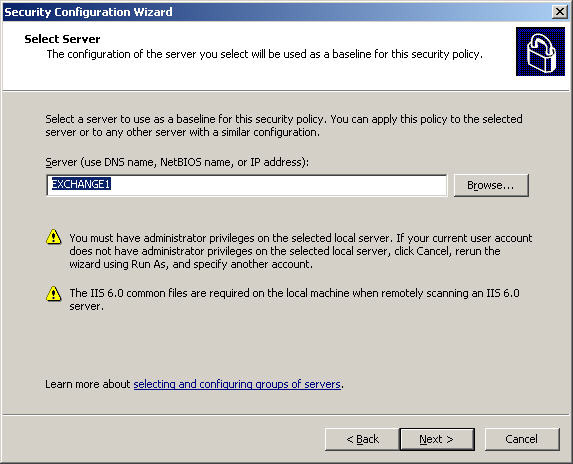
To do this, we need to have the highest level of control and access to the server. Click Start> All Programs> Administrative Tools> Security Configuration Wizard to start. In the Welcome screen for the Security Configuration Wizard screen, select Next> Create a new security policy and Next . In the Select Server section , enter a name or just the path to the server to create the policy, then click Next as shown below. The selected server will be the basic basis of all the policies that were created afterwards, if in case you have multiple servers that need to be processed, you only need to do it on 1 server and apply to all the remaining components. :
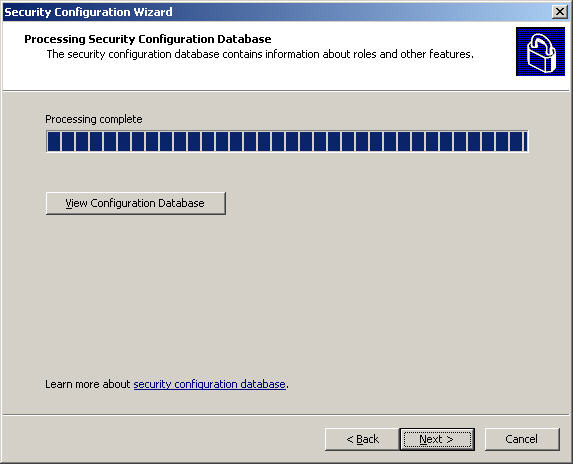
At the Process Security Configuration Database screen , the overall server inspection system again, we click Next to continue:
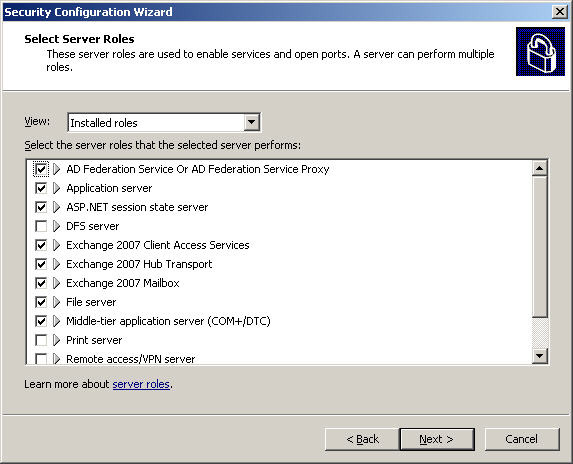
Then, select Next at the Role-Based Service Configuration section . Check the selected roles on the Select Server Roles screen, as shown in the figure below including Client Access, Hub Transport, and Mailbox. Click Next:
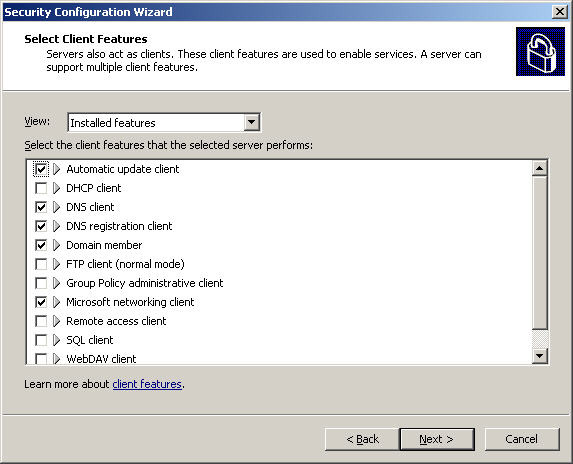
Verify that the included features are installed in the Select Client Features section:
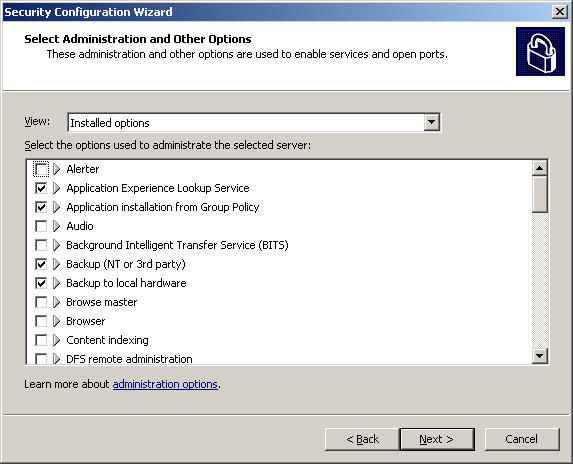
And the options at the screen Select Administration and Other Options:
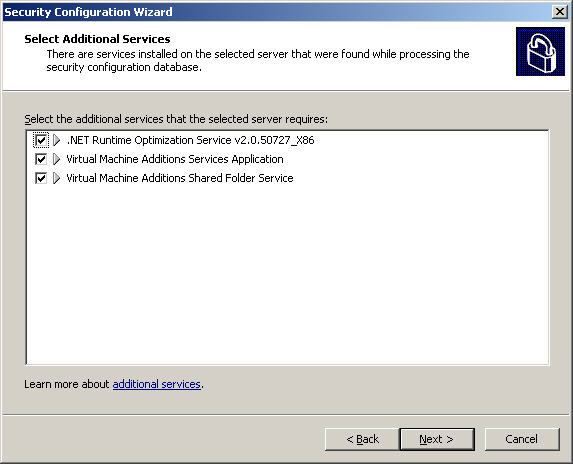
The services installed in the Select Additional Services section:
The system will ask the user how to deal with unclear or unspecified services, we will have 2 options here: Do not change the startup mode of the service and Disable the service . You can change it again later:

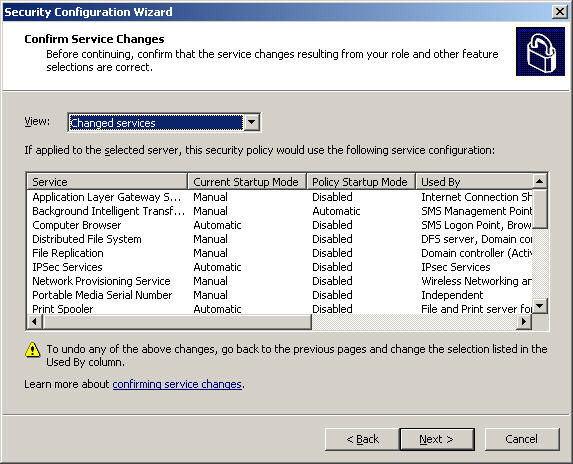
After that, the system will display the list of changes that will be applied when the policy is launched. You should consult carefully here to avoid possible confusion, click Next to continue:
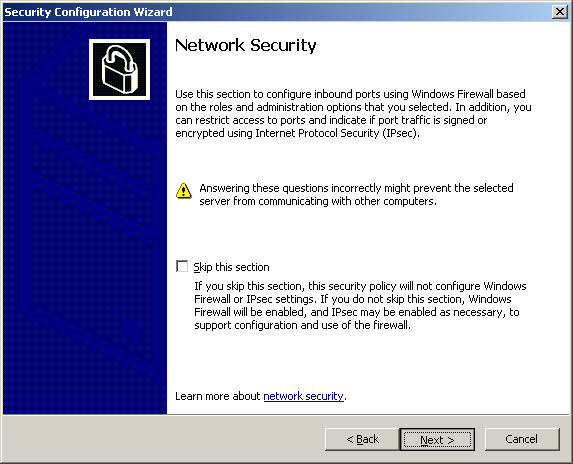
Once in the Network Security section, we can configure and set up the port server with the Firewall. Click Next:
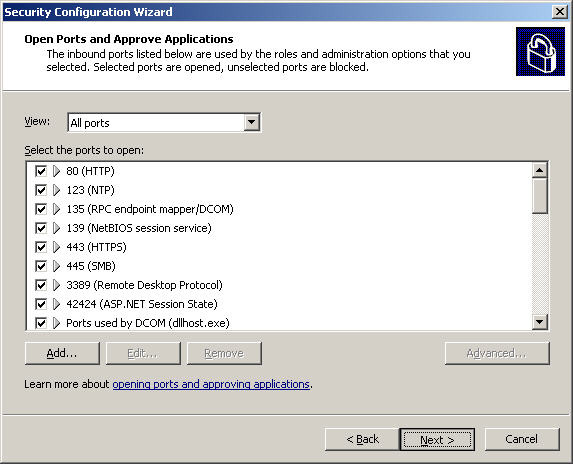
The system will display the ports in use in the Open Ports and Approve Applications section:
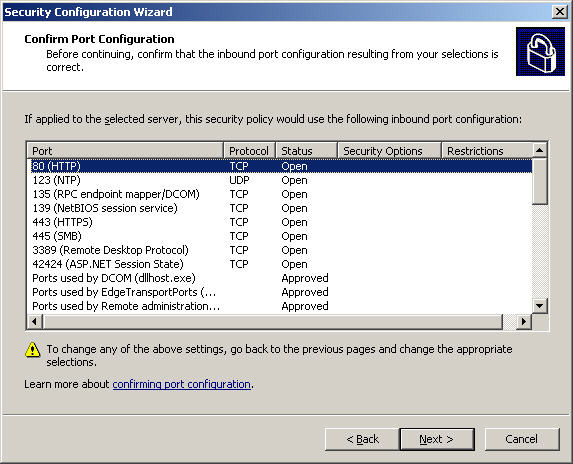
At the next Confirm Port Configuration screen, check if there is any change compared to the previous screen:
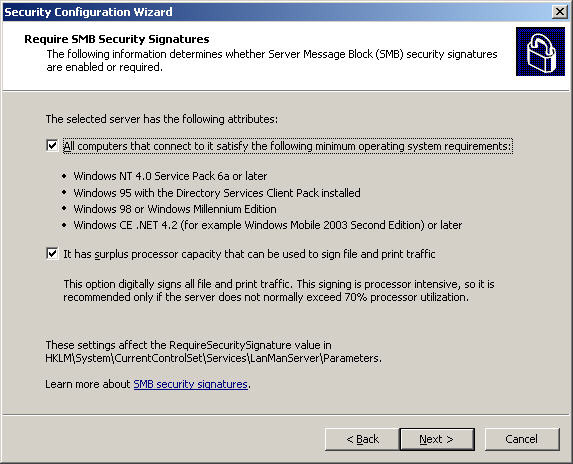
Select Next at the Registry Settings screen, check both of All computers that connect to it satisfy the following minimum requirements operating system and It has the surplus processor capacity that can be used to sign the file and print traffic in the Require SMB Security section. Signatures:
Select the Domain Accounts check box at the section shown below as Outbound Authentication Methods:
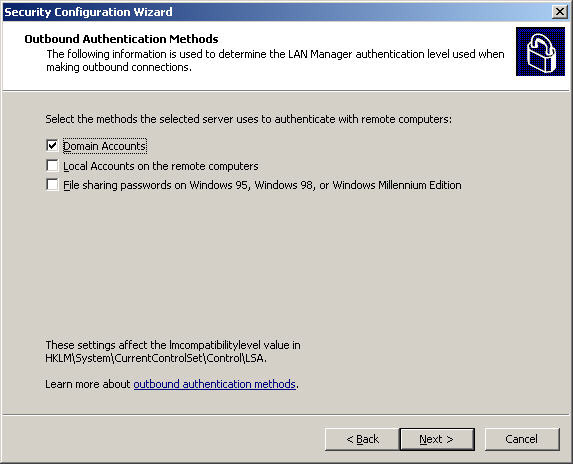
Next, select Windows NT 4.0 Service Pack 6a or later in the Outbound Authentication section using Domain Accounts , uncheck the other fields if the server is a domain controller and hold the FSMO role and click Next . At the next Registry Settings Summary screen, double check the settings again and select Next as shown below:

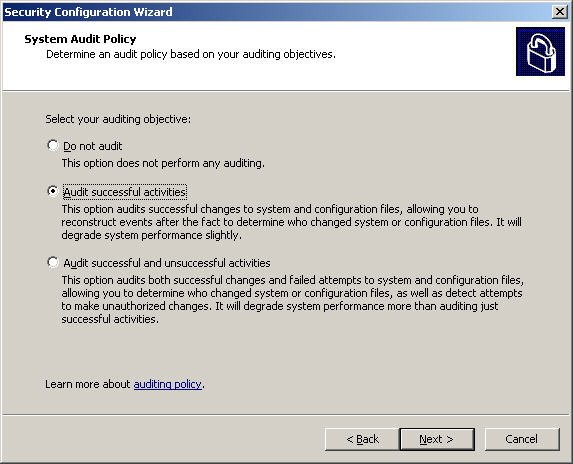
The SCW Audit Policy section will set up the operation, monitoring and inspection of the Exchange server, click Next at the Audit Policy screen. Next is the System Audit Policy section , you choose the option that best suits the system. However, we should not choose the Do not audit section , because the options here are sorted in ascending order, and similarly that the server will have to work more to record the events that happened. . Then click Next :
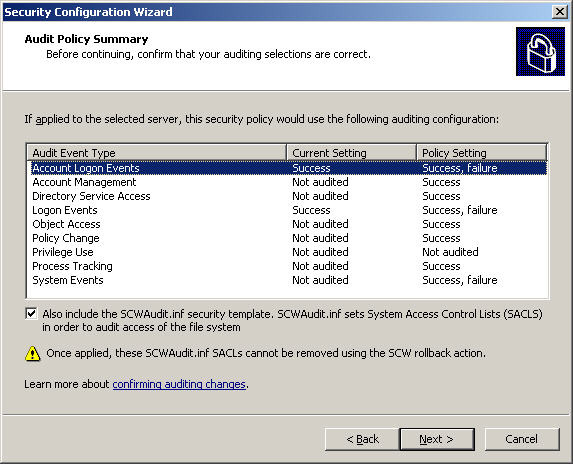
When you arrive at the Audit Policy Summary screen, double-check the changes here and click Next:
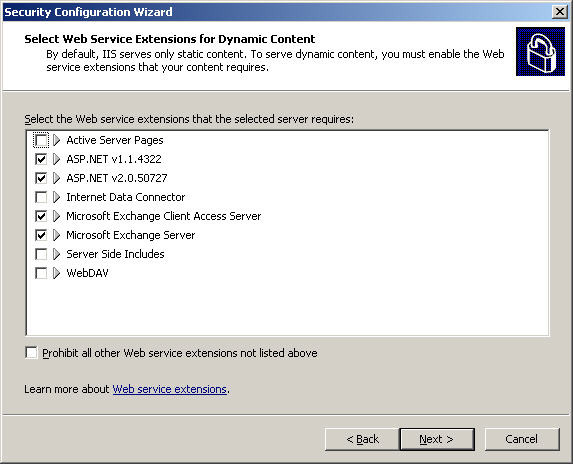
Select Next at Internet Information Services , check all related services selected at the Select Web Service Extensions for Dynamic Content screen . For a normal Exchange server, you need to have ASP.NET v2.0.50727, Microsoft Exchange Client Access Server, and Microsoft Exchange Server, select Next to continue:
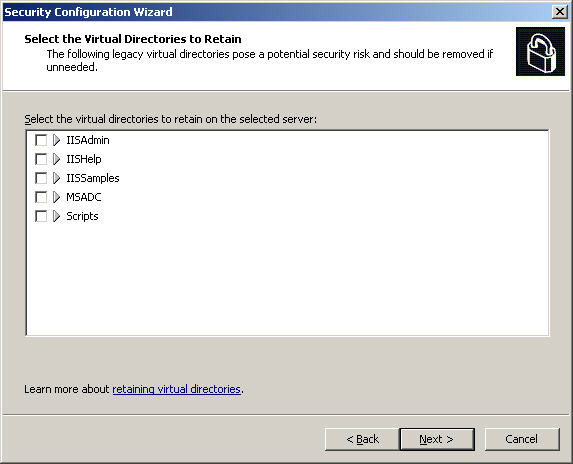
In the Select the Virtual Directories to Retain section , select the virtual directory as part of the application to allow. For example, in the picture below, we omit the check mark in all cells:
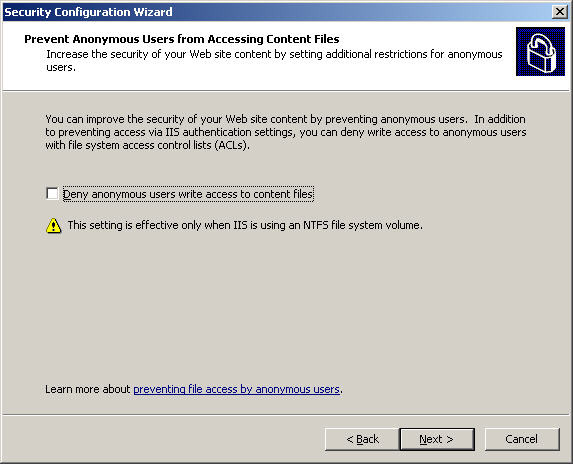
Similarly, do not select the Deny Accessing Content box at the Prevent Anonymous Users from Accessing Content Files screen , because if checked, the system will prevent access to some other features such as Outlook Web Access . Click Next :
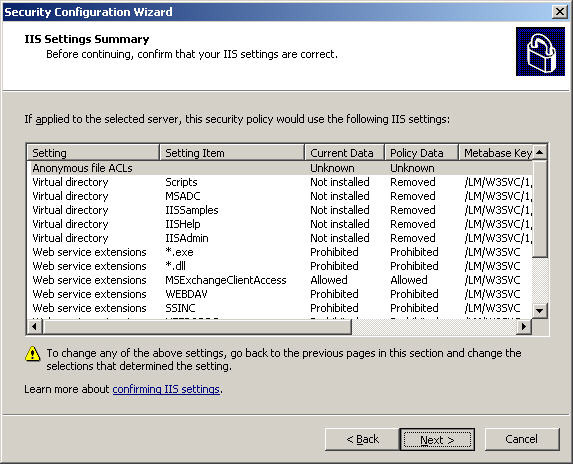
When you switch to the IIS Settings Summary section , check the changes after being applied. If you are not really satisfied, click Back to reset, then click Next :
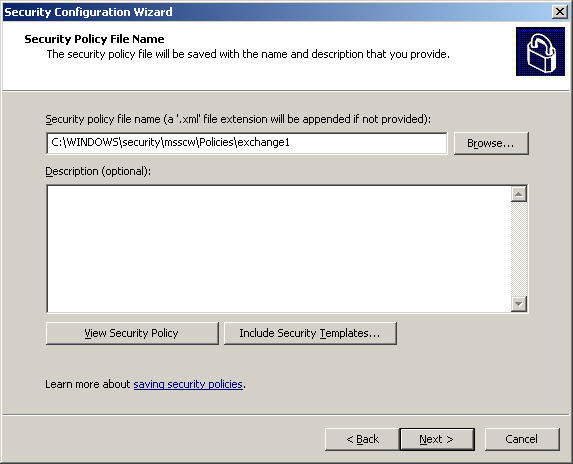
At the Save Security Policy screen, you name and briefly describe the policy:
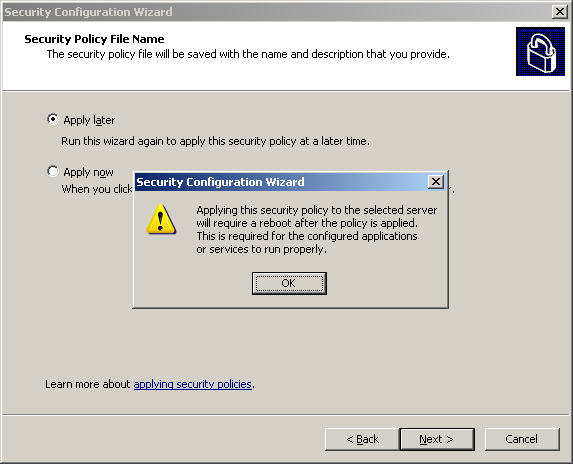
At this point, the system will display a message asking if you want to apply the policy now or later, and this application will need to restart the system once. Select 1 of the 2 options and click Next:
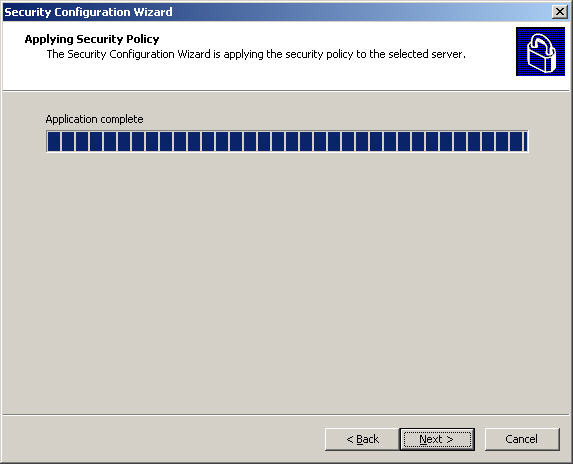
If you select Apply now, the system will apply changes from policy and server as shown below. Continue clicking Next when done:
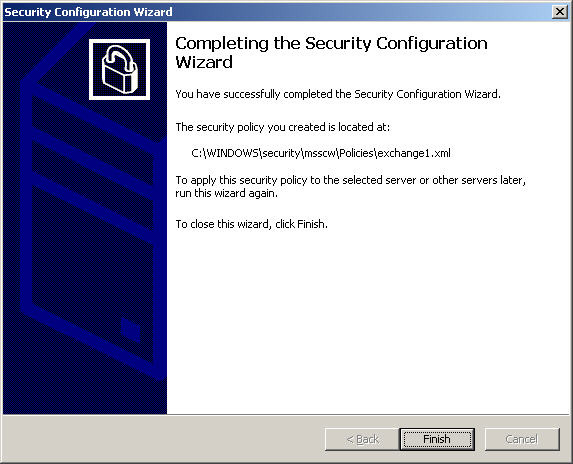
Click Finish as shown below, at this point the system will not restart automatically, but we must do it manually:
After that, you need to verify all the newly installed services, features and applications work properly and according to our requirements, check the log files if the system If there is an error or give warning information, the email data is sent and received correctly or not . In the later part of the article, we will learn how to apply policy on many other servers. each other, as well as the restoration of the original policy. Good luck!
Was this article helpful?
Your feedback helps us improve.
Related Articles
 Transfer from Linux Mail Server to Exchange Server 2007 (Part 1)10 minutes read
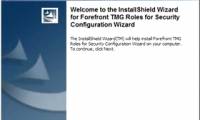 Use the Security Configuration Wizard with TMG 201012 minutes read
 Mobile communications with Exchange Server 2007 - Part 1: New device features and improvements10 minutes read
 Transfer Exchange 2003 to Exchange 2007 (Part 1)8 minutes read
 GroupWise to Exchange 2007 - Interoperability and transformation (Part 6)15 minutes read
 Discover EMC in Exchange Server 2010 (Part 2)4 minutes read
Reader Comments 0
Sign in with email or Google to join the discussion.