Table of Contents
UltraISO is a Windows utility for opening, editing, creating, and mounting disc-image files. The installation is straightforward, but the screenshots below are from an older release, so the current installer may use slightly different wording.
Before you begin: Download UltraISO from its official site or another source you trust. Check that the installer is the expected file before allowing it to make changes to Windows.
1. Download and open the installer
Download the UltraISO setup file, then open it. If Windows shows a User Account Control prompt, verify the publisher and choose whether to continue.
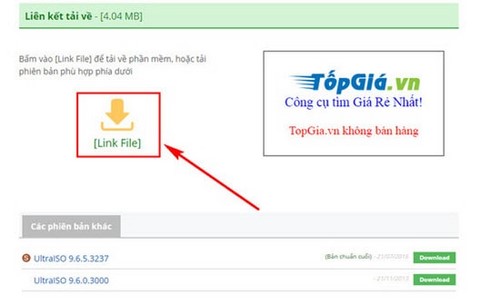
2. Accept the license agreement
Read the agreement. Select I accept the agreement only if you accept the terms, then choose Next.
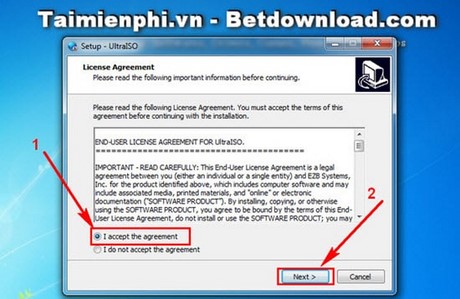
3. Choose an installation folder
Keep the default folder unless you need to install the program elsewhere. Select Browse to change it, then choose Next.
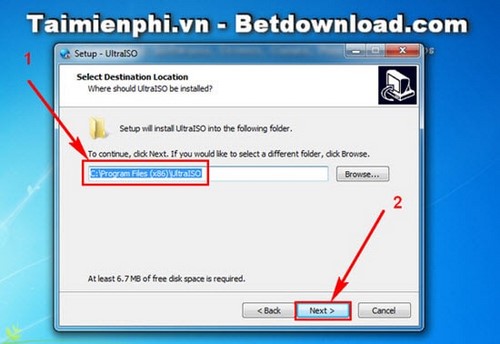
4. Review shortcuts and file associations
Choose whether setup should create a desktop shortcut. If the installer also offers file associations, select only the disc-image formats you want UltraISO to open by default.
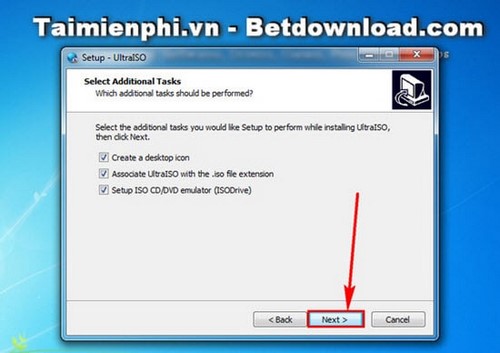
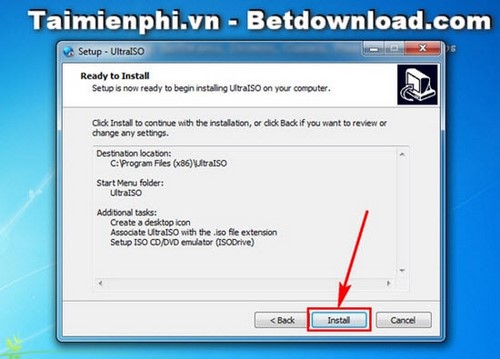
5. Install UltraISO
Review the selected options, then choose Install. Wait while setup copies the program files and installs any required virtual-drive components.
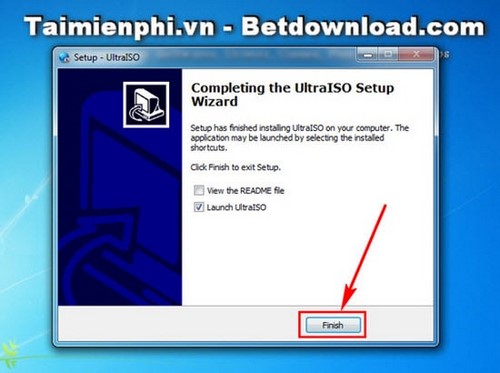
6. Finish setup
Select Finish when installation completes. Restart Windows if the installer requests it.
Open UltraISO from the Start menu or desktop shortcut.
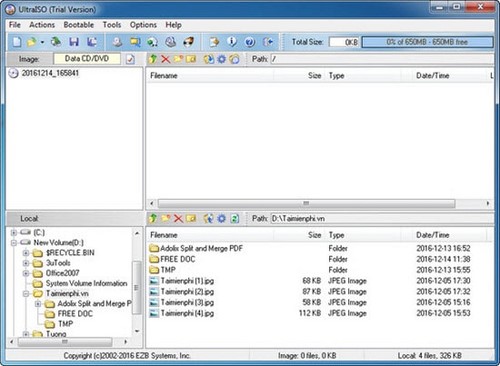
What to do after installation
If you want to open or mount a disc image, follow TipsMake's broader guide to using UltraISO. Eject a mounted image when you finish, and do not run executable files from an ISO unless you trust its source.
If UltraISO does not fit your workflow, compare it with other ISO file reading tools. Current Windows versions can also mount standard ISO files directly in File Explorer, so a third-party utility may not be necessary for basic access.
Related Articles
 Create a Virtual Drive Using UltraISO on Your Computer4 minutes read
 What Is UltraISO? Instructions for Downloading, Installing and Using6 minutes read
 Back Up DVD/CD/VCD Discs to ISO Using UltraISO4 minutes read
 Ultraiso - Download Ultraiso5 minutes read
 How to Installing Virtual Drive4 minutes read
 How to Create a Virtual Drive with UltraISO Software3 minutes read
Reader Comments 0
Sign in with email or Google to join the discussion.