Table of Contents
VirtualBox can run Android-x86 in an isolated virtual machine, letting you test the operating system without replacing Windows or changing your computer's partitions. The screenshots in this guide come from an older Android-x86 and VirtualBox release, so some labels may look different in current versions.

Before you begin
- Install VirtualBox.
- Download an Android-x86 ISO image from a source you trust.
- Create a backup of any important VirtualBox machines before changing virtual-disk settings.
The partitioning and formatting steps below affect the new virtual disk, not your physical drive. Check that the installer has selected the correct virtual disk before confirming any write or format operation.
1. Create the Android virtual machine
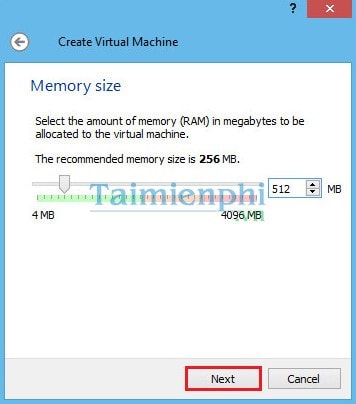
Open VirtualBox and select New. Give the machine a recognizable name and choose a Linux-based guest type that matches the Android-x86 image you downloaded. Allocate memory and processors conservatively so the host computer remains responsive.
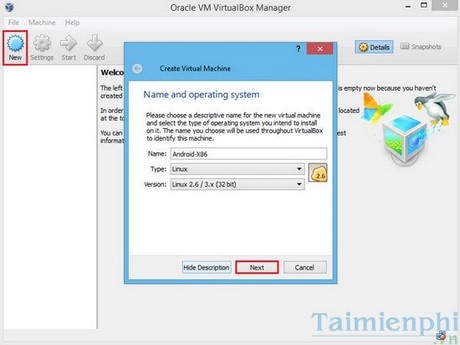
Continue to the virtual hard-disk screen.
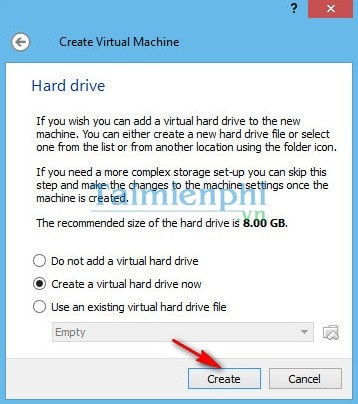
Select Create a virtual hard disk now, then choose Create.
The original setup uses VHD (Virtual Hard Disk). VirtualBox's native VDI format also works for a VM that will remain in VirtualBox; keep VHD if you need compatibility with other virtualization software.
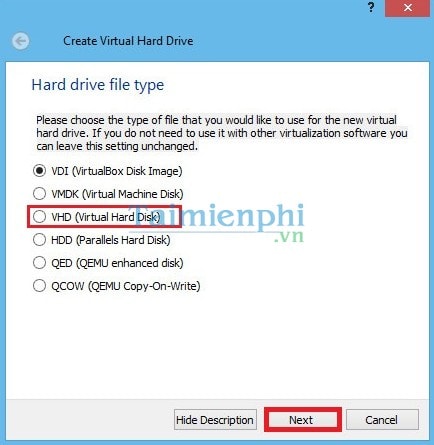
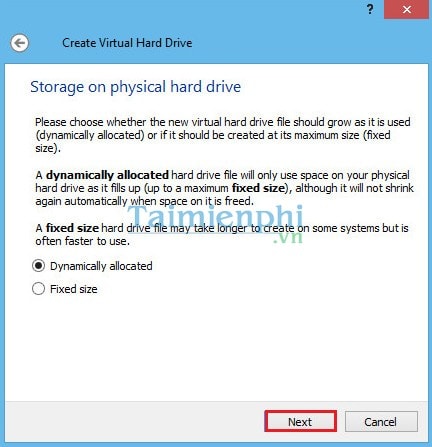
Choose dynamically allocated storage unless you specifically need a fixed-size disk.
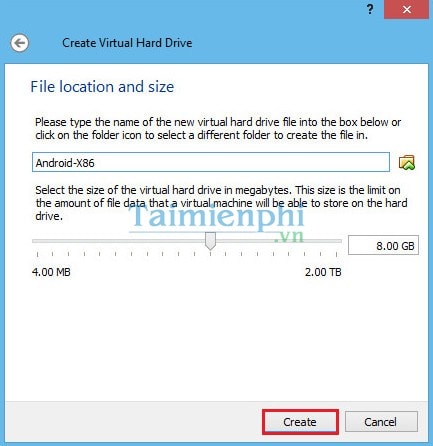
Set the virtual disk's location and capacity, then select Create.
2. Attach the Android-x86 ISO
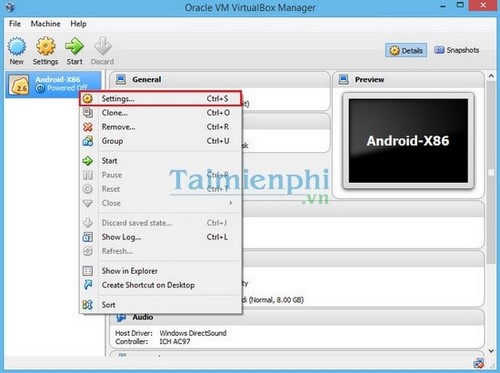
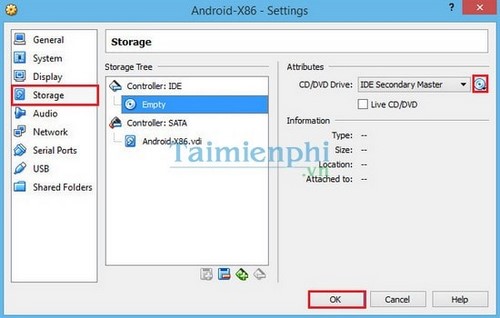
Select the new VM and open Settings > Storage.
Select the empty optical drive, choose the disc icon, and attach the Android-x86 ISO file.
Start the VM. At the Android-x86 boot menu, choose the installation option rather than a live-session option.
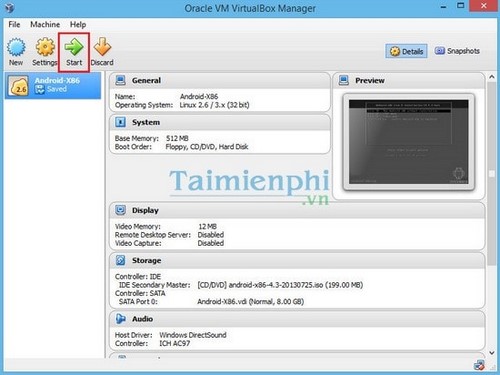
The menu wording varies by Android-x86 release. Choose the option that installs Android-x86 to the virtual hard disk, as shown in the screenshot.
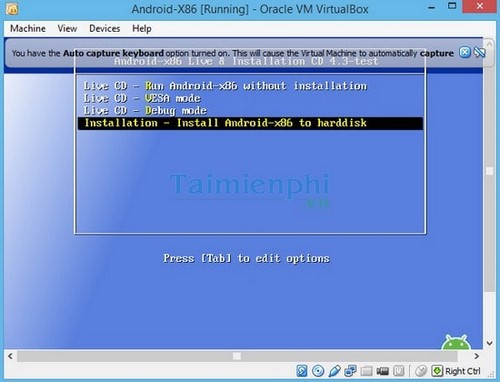
3. Create a bootable partition
Choose Create/Modify partitions.
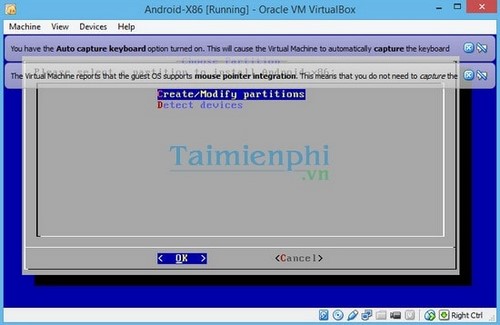
In the partition tool, select New and press Enter.
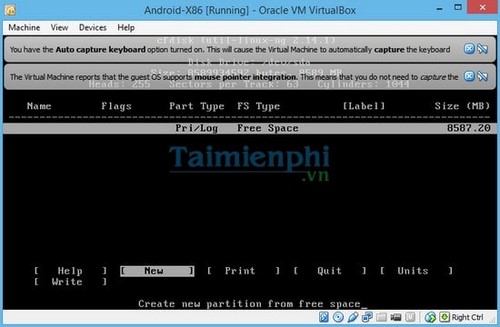
Choose Primary, accept the desired size, and confirm.
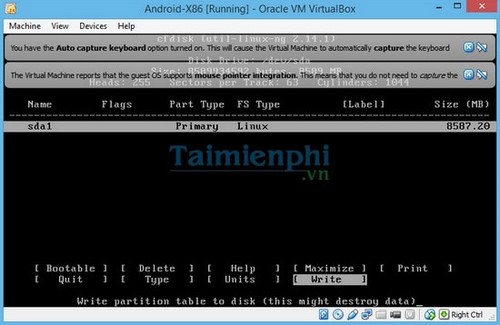
With the new partition selected, choose Bootable. Then choose Write to save the partition table.
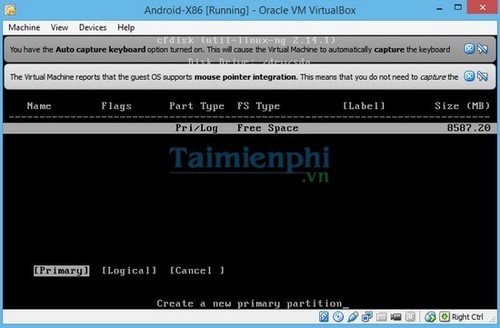
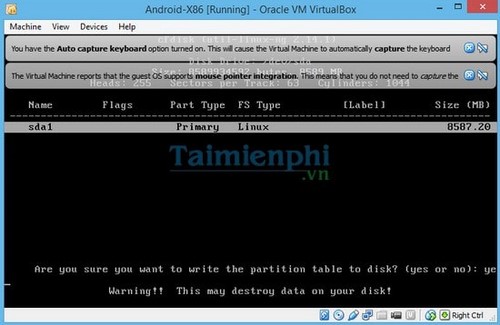
Type the confirmation requested by the installer and press Enter. This is the point at which the virtual disk's partition table is written.
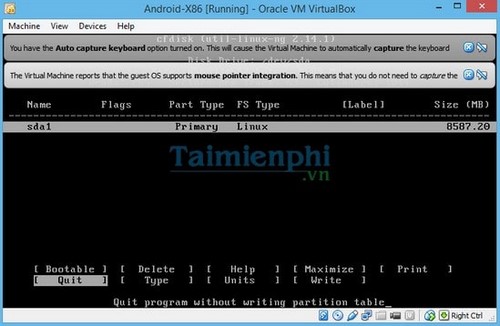
When the write completes, choose Quit.
4. Format the partition and install Android-x86
Back at the partition list, select the newly created partition.
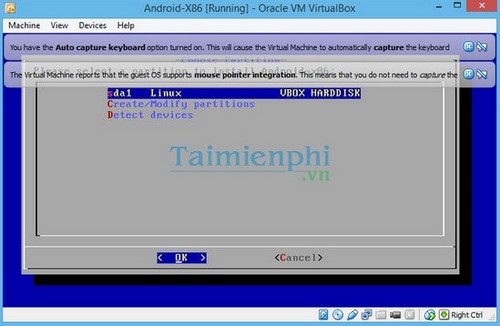
Choose ext3 when prompted for a filesystem, then confirm the format operation.
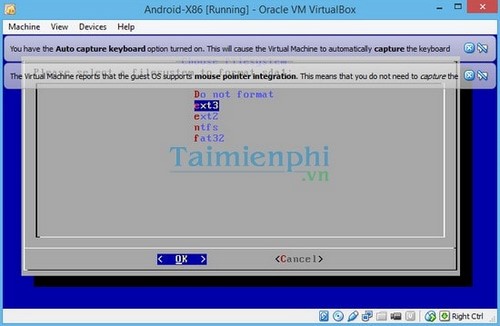
Continue through the installer prompts. Read each prompt before selecting Yes, because the available bootloader and system options can differ between releases.
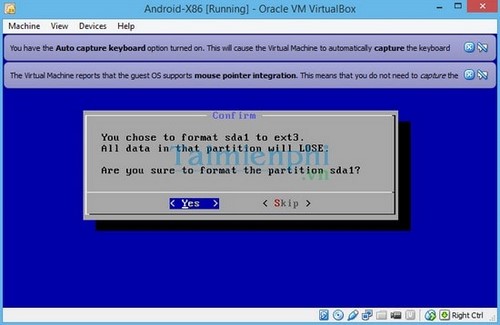
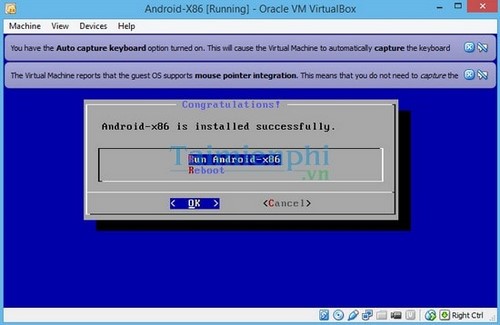
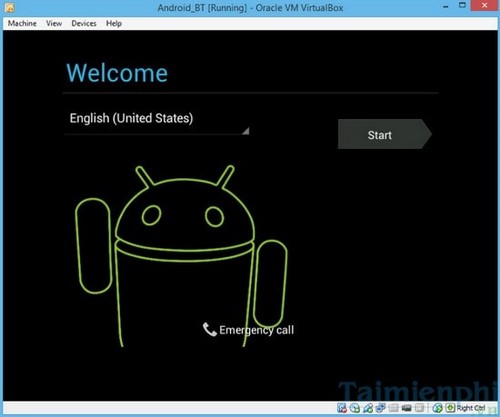
When installation finishes, select Run Android-x86 to start the installed system.
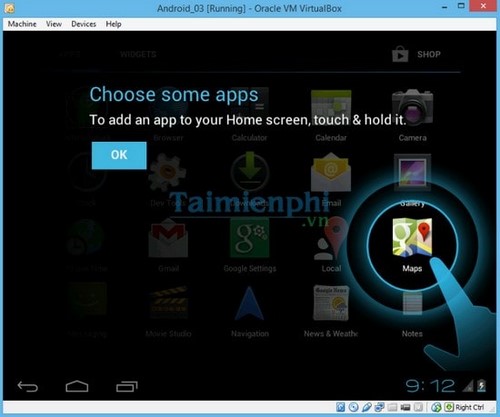
Complete Android's first-run setup inside the virtual machine.
If the VM starts the installer again
Power off the VM, open its Storage settings, and remove the Android-x86 ISO from the virtual optical drive. Start the VM again so it boots from the virtual hard disk.
Important compatibility note
This tutorial documents a legacy Android-x86 installation flow. A current VirtualBox release may use different screen layouts, and some Android-x86 images may need different display, firmware, or graphics settings. If an option shown here is missing, follow the wording in your image's installer rather than forcing an unrelated setting.
Related Articles
 Install Android on Your Computer, Run Android in Parallel with11 minutes read
 How to Increase Virtual RAM for Droid4x with VirtualBox to Reduce Lag4 minutes read
 Virtualbox - Virtualbox Download and Installation Guide.5 minutes read
 Instructions for Installing Android 4.4 Kitkat on Your Computer4 minutes read
 What Is Oracle Virtualbox? What Can Be Done with It?9 minutes read
 Instructions for Installing Android 4.05 minutes read
Reader Comments 0
Sign in with email or Google to join the discussion.