Instructions on how to install PhotoScape, a free photo editing app.
Are blurry, out-of-focus photos disrupting your work? PhotoScape supports professional photo editing with simple operations on your computer. Check out the detailed installation guide from Free Download below..
Installation instructions
System requirements: A computer running Windows operating system in any version, including Windows 2000, Windows XP, Windows 2003, Windows Vista, Windows 7/8.
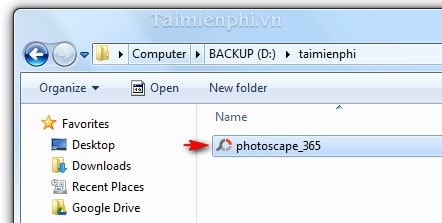
Step 1: Open the folder containing the PhotoScape installation file named photoscape.exe.
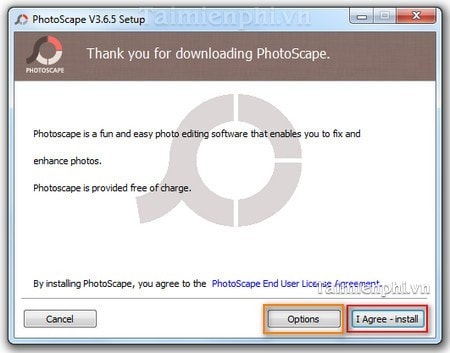
Step 2: A window will appear with a message, allowing you to change the settings before starting the installation process.
Select "I Agree - install" if you don't want to change any settings and want to proceed with the installation immediately.
Alternatively, select Options to change the settings.
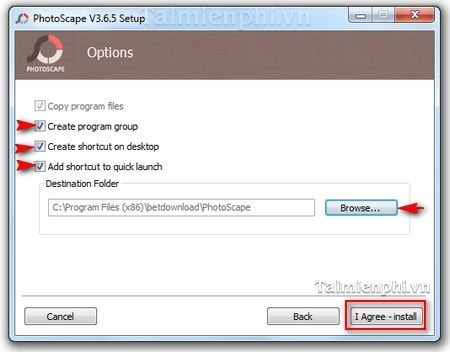
Step 3: In the Options tab, you can customize the installation file folder by clicking Browser instead of saving the installation file to the manufacturer's default location, usually on drive C:.
Additionally, there are three other options for you to use; you can choose some or all of these three options.
- Create program group: If you want to create new program groups.
- Create a shortcut on the desktop: Create a shortcut on the desktop for convenient use.
- Add shortcut to quick launch: Create a shortcut for quick launch.
Click "I Agree - install" to continue.
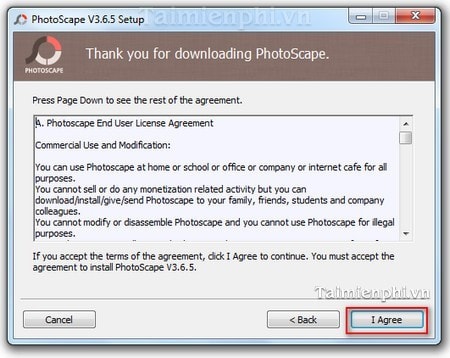
Step 4: Select "I Agree" to accept the manufacturer's terms and conditions.
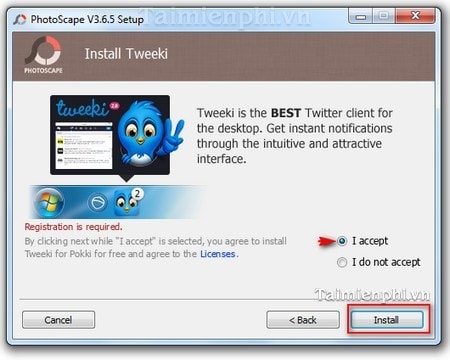
Step 5: A notification window will appear asking if you want to install Tweeki on your computer.
If you agree, select I Accept; otherwise, select I do not accept.
Click Install to begin the installation process.
Step 6: The installation process will take a certain amount of time to complete.

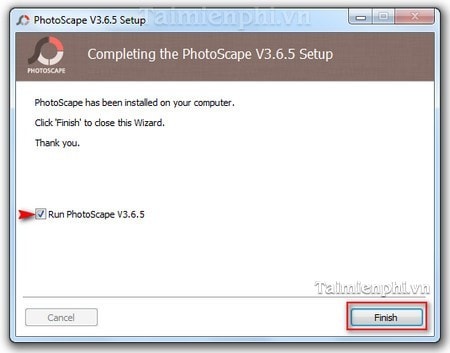
Step 7: Select Run PhotoScape to launch the program.
Click Finish to close the settings window.
After the installation process is complete, the software will have an interface like the image below.
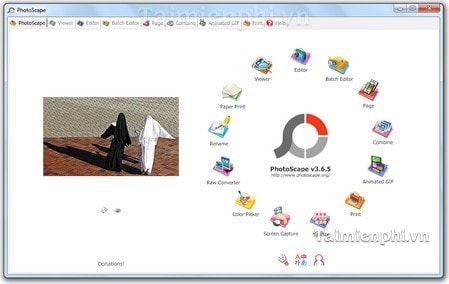
PhotoScape is a lightweight, easy-to-install photo editing software suitable even for low-spec computers. If you want to see more detailed PhotoScape usage instructions, visit Free Download to learn more.