Table of Contents
In WPS Presentation, select the target slide, open Insert > Video or Insert > Movie, and choose a video file. Use Local Video when you want the media stored with the presentation; use Link Local Video only when you understand that the slide keeps a path to a separate file.
Embedding is usually safer when the presentation will be moved or shared. Linking can keep the presentation file smaller, but playback fails if the video is renamed, deleted, or no longer exists at the expected location.
Before inserting the video
- Save the presentation and keep a backup copy.
- Play the video outside WPS to confirm that the file is not damaged.
- For broad compatibility, an MP4 file using common video and audio codecs is a practical first choice, but actual playback depends on the WPS version, operating system, and installed codecs.
- Trim long footage before inserting it. A short, focused clip is easier to present and produces a smaller file.
- Place linked videos in the same project folder as the presentation before creating links.
Insert a local video in WPS Presentation
1. Select the destination slide
Open an existing presentation or create a new one, then select the slide that should contain the video. Choose a layout with enough space for the player and any accompanying title or explanation.
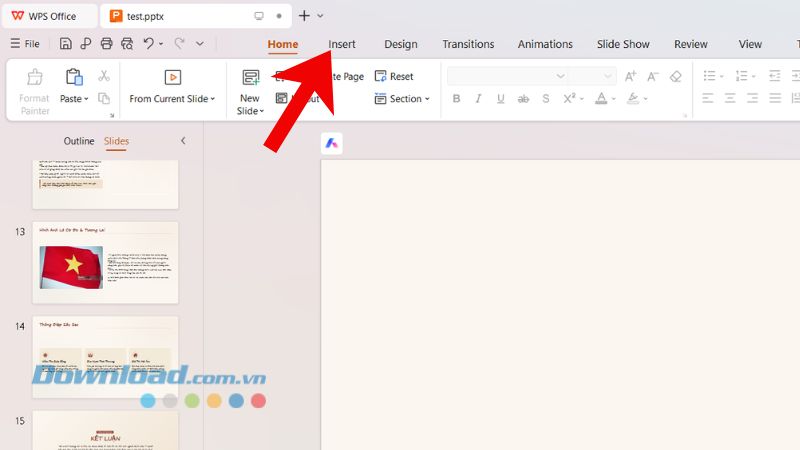
2. Open the Video or Movie menu
Select the Insert tab on the ribbon, then choose Video or Movie. WPS has used both labels in different releases. If a drop-down appears, choose between Local Video and Link Local Video.
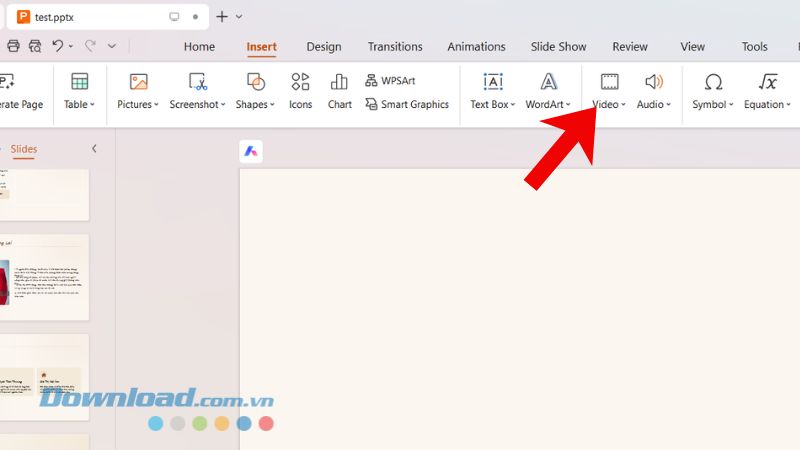
3. Decide whether to embed or link
| Option | Advantage | Risk |
|---|---|---|
| Local Video | More portable when the presentation is copied to another device | The presentation may become much larger |
| Link Local Video | Keeps the presentation smaller and can make media replacement easier | The link can break when the file or folder moves |
For a presentation you will send to someone else, choose Local Video when that option embeds the media in your installed version. If you deliberately link it, keep the presentation and video together, copy the entire folder, and test on the destination computer.
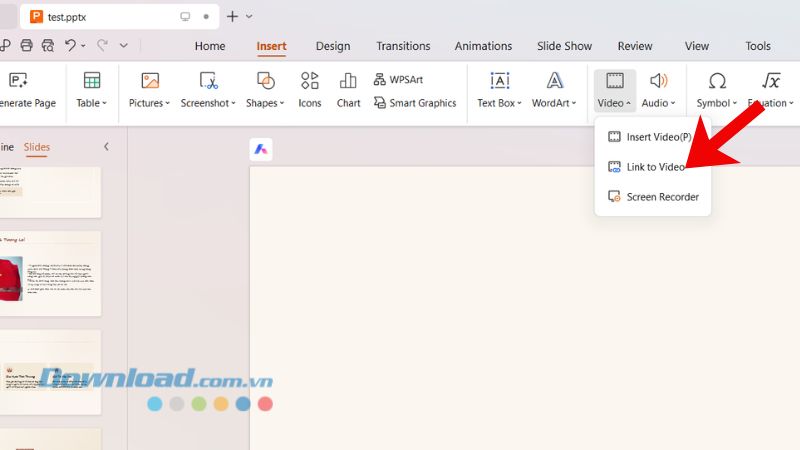
4. Choose the file
Browse to the video, select it, and choose Open. WPS places a video object on the current slide. If the file does not appear in the picker, change the file-type filter or convert the video to a more widely supported format.
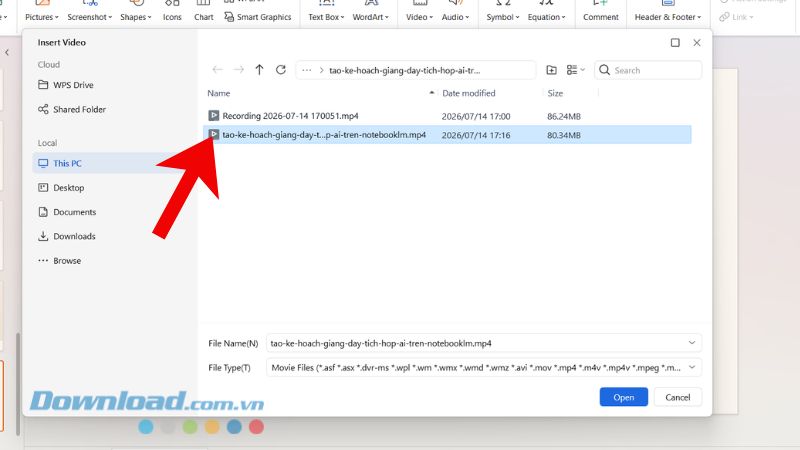
5. Resize, position, and preview
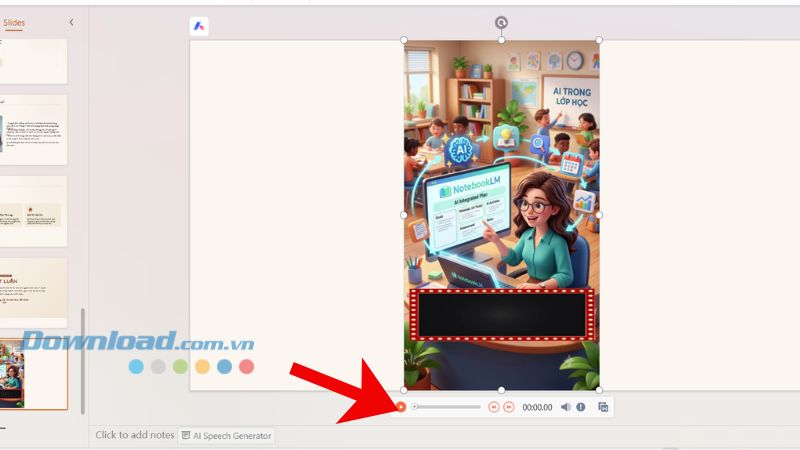
Drag a corner handle to resize the video without distorting its proportions, then drag the object into position. Enter Slide Show mode or use the player's Play button to test picture, sound, and timing.
Configure playback
Available controls vary by version. Select or right-click the video and look for video tools, playback settings, or Edit Movie Object. Options may include volume, looping, full-screen playback, or whether the video starts on click.
Use automatic playback only when the video should begin as soon as the slide opens. Starting on click gives the presenter more control and avoids unexpected audio. Looping is useful for a silent background or kiosk display, but it can distract from spoken content.
What about YouTube or other online video?
Some WPS versions support an online-video command; older versions may only let you paste a clickable web link onto the slide. A link opens the video in a browser and is not the same as embedding playable media. It requires internet access, and the video can become unavailable or be blocked by the venue's network.
If you use an online link, confirm that you have permission to show the content, test it while signed out, and prepare a legal offline alternative when uninterrupted playback is essential.
Fix a video that will not play
| Problem | What to check |
|---|---|
| The video works on your computer but not another one | A linked file was probably not copied. Move the presentation and media together or embed the video. |
| Audio plays but the picture is blank | The video codec may not be supported on that device. Convert a copy to a common MP4 format. |
| The file cannot be inserted | Check the file extension, codec support, file corruption, and the installed WPS version. |
| Playback stutters | Reduce video resolution or bitrate, store the file locally, and close resource-heavy applications. |
| The presentation is too large to share | Compress or trim the video, or use a carefully managed link instead of embedding. |
Test the presentation before delivery
- Save, close, and reopen the presentation.
- Run the entire slide show rather than previewing only the editing view.
- Check playback from the first frame, volume, full-screen behavior, and the slide transition after the video.
- If presenting elsewhere, copy the project to the actual device and test without relying on your original file path.
- Bring the video as a separate backup file in case the embedded player fails.
WPS documents the basic desktop workflow in its official video-insertion guide and explains the embedded-versus-linked distinction in its WPS Presentation tutorial. Because the interface changes between versions, use the equivalent Video or Movie command if your ribbon labels differ.
Related Articles
 How to Insert Videos into PowerPoint 20167 minutes read
 A Simple Guide to Inserting Videos into PowerPoint Without Errors3 minutes read
 How to Insert Online and Offline Videos into Word6 minutes read
 How to Quickly Insert Videos into Powerpoint 2010, 2013, 20165 minutes read
 A Quick Guide to Inserting Videos into PowerPoint 20163 minutes read
 How to Insert Flash Into PowerPoint: Step-by-Step Guide3 minutes read
Reader Comments 0
Sign in with email or Google to join the discussion.