Table of Contents
PDFgear can fill and sign both interactive PDF forms and flat or scanned documents on an iPhone. For a fillable form, tap its existing fields. For a non-fillable page, use the Text tool to place text manually. Save a separate copy when finished so the blank original remains available.
Before signing, confirm that the recipient accepts an inserted electronic signature. Some legal, government, financial, or workplace processes require a particular identity-verification or digital-signature service.
Prepare the PDF
- Save the document in the iPhone Files app from Mail, Messages, Safari, or another source.
- Open the blank file and note any required format, checkbox, initials, or signature instructions.
- Make a duplicate if you may need to start over.
- For a sensitive document, prefer a local app workflow and review the app's current privacy information before importing it.
Fill a PDF in the PDFgear iPhone app
1. Import the document
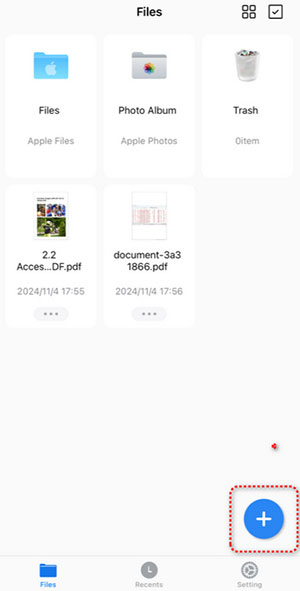
Install the official PDF Gear app from the App Store. Open it, tap the plus button, and choose the PDF from Files.
2. Open Fill & Sign
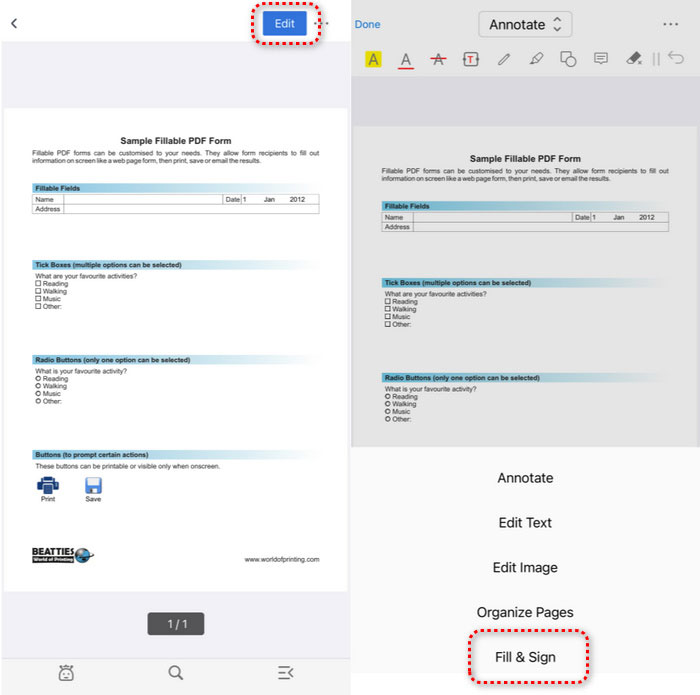
Tap Edit in the upper-right corner and choose Fill & Sign. The exact position can change between app versions, but the mode should expose text, marks, and signature tools.
3. Complete existing form fields
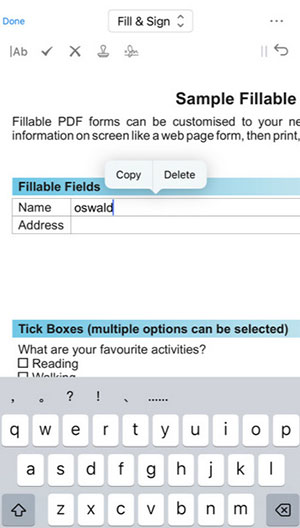
Tap a field and enter the requested value. Move through the document slowly and check radio buttons, checkboxes, dates, and multi-line fields. A field that will not accept input may be part of a flat scanned page rather than an interactive form.
4. Add text to a non-fillable form
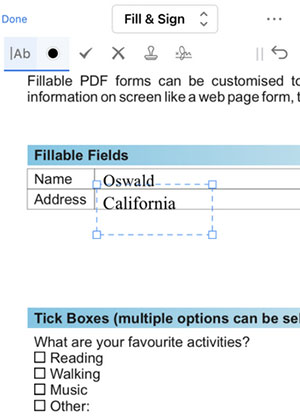
Select the Text tool, tap the intended position, and type the value. Zoom in before placement so the text stays inside the printed line or box.
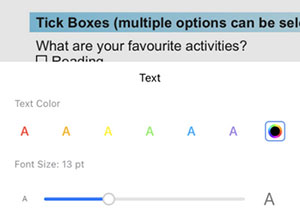
5. Adjust the added text
Select the text object and open Properties to change its size or color. Match the surrounding document, but prioritize legibility. Recheck the position at normal zoom because text that looks aligned while magnified can still overlap a line.
6. Add a signature
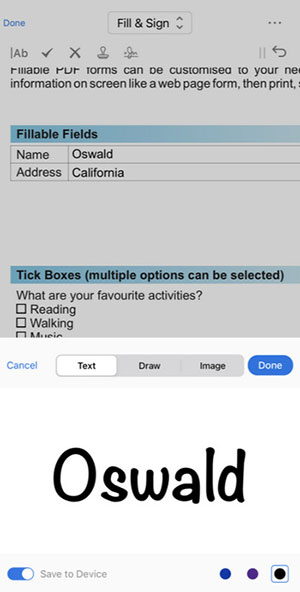
Choose the Signature tool and create a signature by drawing, typing, or importing an image if the app offers those choices. Insert it only in the designated area, resize it proportionally, and remove any unwanted background from an imported signature image before use.
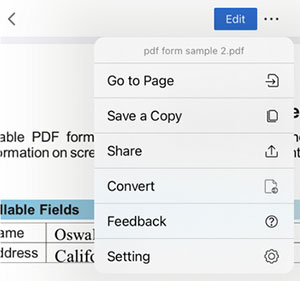
7. Save or share a copy
Tap Done, open the additional menu, and save or share the completed PDF. Give it a distinct name such as Form-completed.pdf. Open the exported file from Files—not just the version still open in PDFgear—and confirm that all text and signatures are visible.
Fill the PDF with PDFgear Online
The browser tool is useful on a device where you cannot install an app. PDFgear says its online form filler runs in the local browser and does not require registration, but you should still review its current privacy and security information before opening confidential material. Avoid editing sensitive files on a shared device or public computer.
1. Open the online form filler
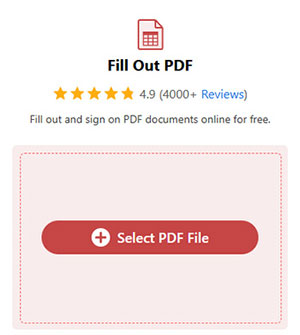
In Safari, open the PDFgear Online Form Filler, tap Select PDF File, and choose the document.
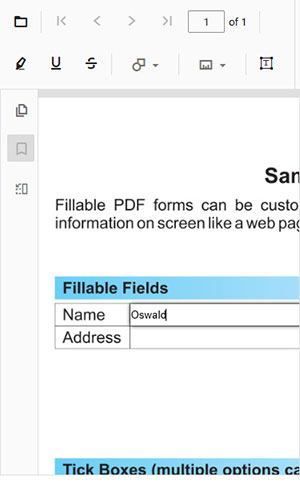
2. Fill existing fields
Tap an interactive field and enter its value. If the iPhone keyboard covers the field, zoom out or rotate the phone temporarily.
3. Add a text box where needed
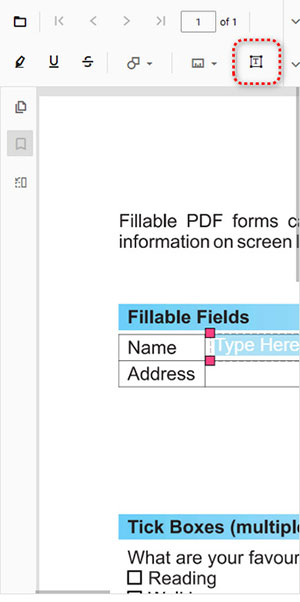
For a flat page, choose the Textbox or annotation control, tap the target location, and type. Resize and align the box before continuing.
4. Create and place a signature
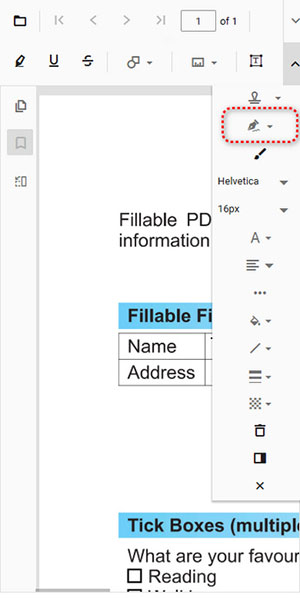
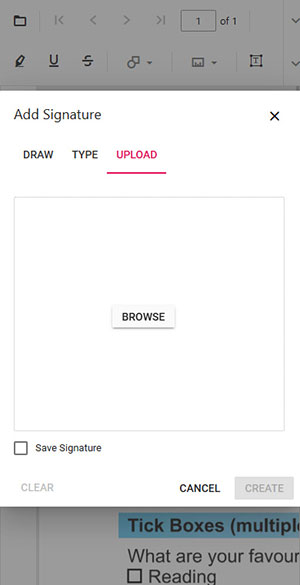
Open the tools menu and select Signature. Draw, type, or import the signature, choose Create, and place it on the page. Do not leave a reusable signature file on a shared device.
5. Download and verify the result
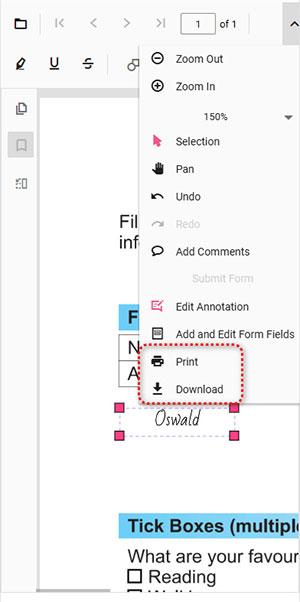
Open the menu and choose Download to save the PDF, or Print when a paper copy is required. Open the downloaded copy and inspect every page before submitting it.
Final checks before sending
- All required fields, checkboxes, initials, and dates are complete.
- Text has not been clipped or placed on top of printed labels.
- The signature appears only where intended and has the correct date.
- The exported file opens outside PDFgear and contains every change.
- The filename does not expose unnecessary personal information.
- The recipient's required signing method and file-size limit are satisfied.
- The completed document is being sent to the verified recipient through an approved channel.
If a form uses certificate-based signatures, protected fields, scripts, or a government submission portal, follow that issuer's instructions instead of flattening the document with a generic text or signature tool.
Related Articles
 Learn About Pdfgear: a Free Tool to Read, Edit, Convert and Sign Pdfs7 minutes read
 How to Create PDF Forms with Pdfgear for Free: Step-by-Step Guide3 minutes read
 How to Create Fill-in-the-Blank Exercises on Twee3 minutes read
 iPhone Does Not Automatically Fill in OTP Code – Help IFan Handle It7 minutes read
 How to Fill Your Sim's Needs: Clear Instructions6 minutes read
 Corel Draw 12: Lesson 10: Coloring Tools and Borders4 minutes read
Reader Comments 0
Sign in with email or Google to join the discussion.