Instructions on how to add and use OpenAI Nodes in n8n
Detailed instructions on how to use the OpenAI Node in n8n to automate workflows with artificial intelligence..
Integrating artificial intelligence into your automation processes has never been easier. With the OpenAI Node , you can make your workflows smarter than ever. This article will guide you step-by-step to unlock the power of ChatGPT right in n8n.
1. Key features of OpenAI Node in n8n
Before we get into the setup, we need to understand what the OpenAI Node can do. n8n allows you to connect directly to the OpenAI API to perform tasks such as:
- Content creation (Chat Completion): Automatically write emails, summarize text, or create SEO-optimized articles.
- Data analysis: Extracting key information from raw data files.
- Image Processing (DALL-E): Create illustrative images from descriptive text directly within the workflow.
- Language conversion: Automatically translate documents with high accuracy.
2. The most specific steps to set up an OpenAI Node.
To begin, make sure you have n8n installed (e.g., running it on Docker Desktop as in the previous instructions) and have the API Key from OpenAI available. Then, follow these steps:
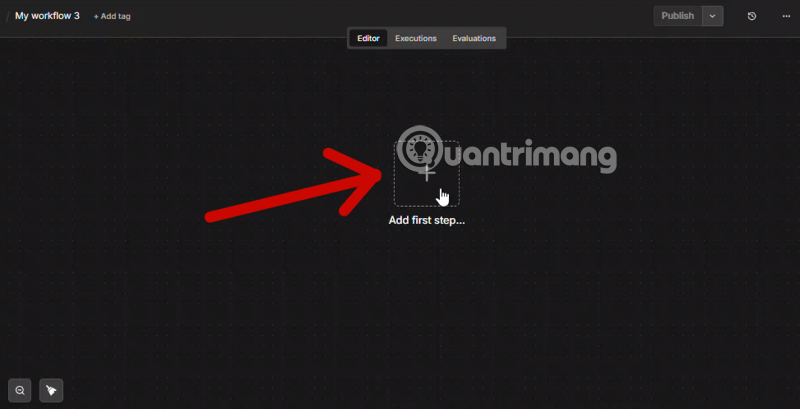
Step 1: Add a new step:
In the n8n workflow design interface, click the Add button to create a new step.
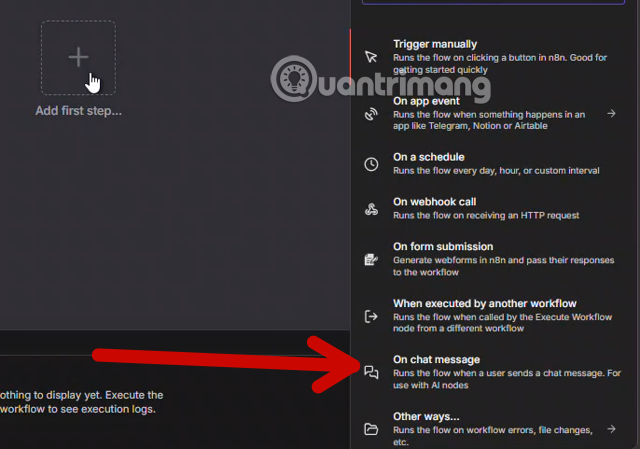
Step 2: Select AI:
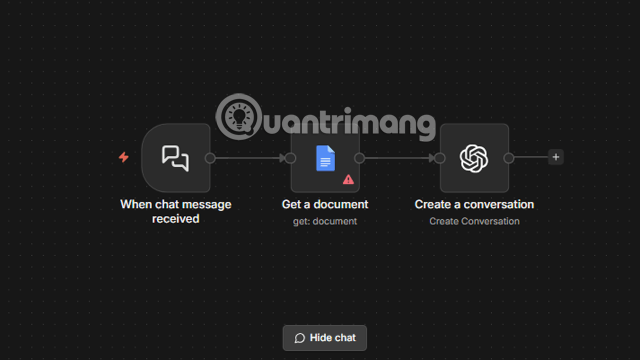
From the list of categories that appears, click on the Artificial Intelligence ( AI ) option . If you want to set up local commands on n8n, add On chat message before adding ChatGPT.
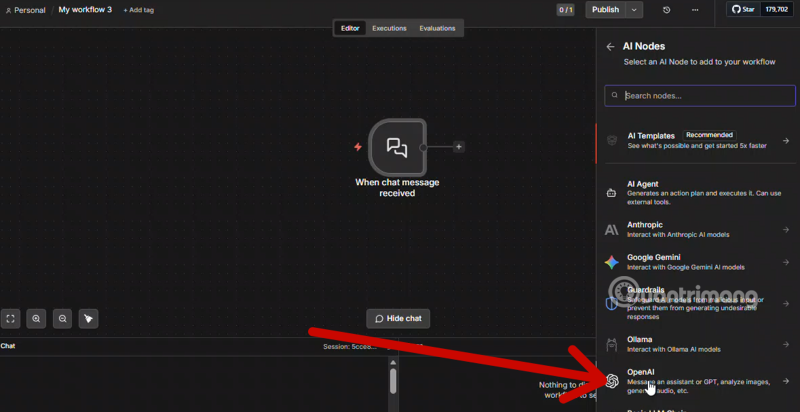
Step 3: Select OpenAI:
In the list of AI Nodes, find and select OpenAI .
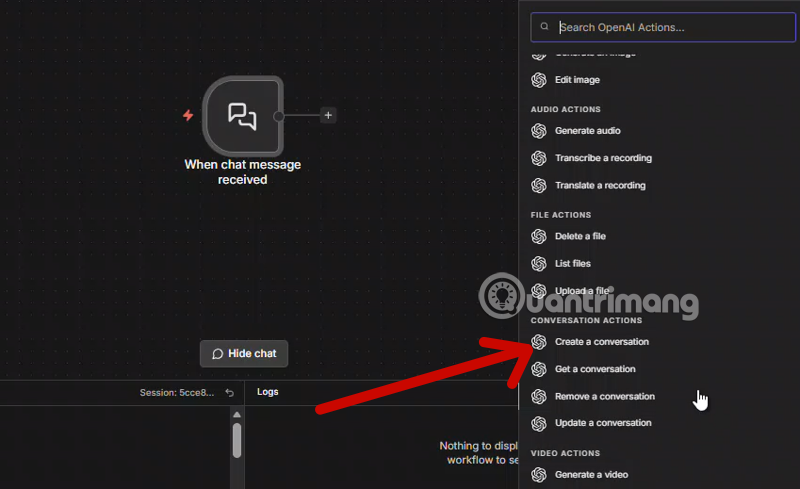
Step 4: Select Action Event:
Next, select the specific Action Event you want to deploy (e.g., Send a message, Create an image.). Here, I've chosen Create a conversation.
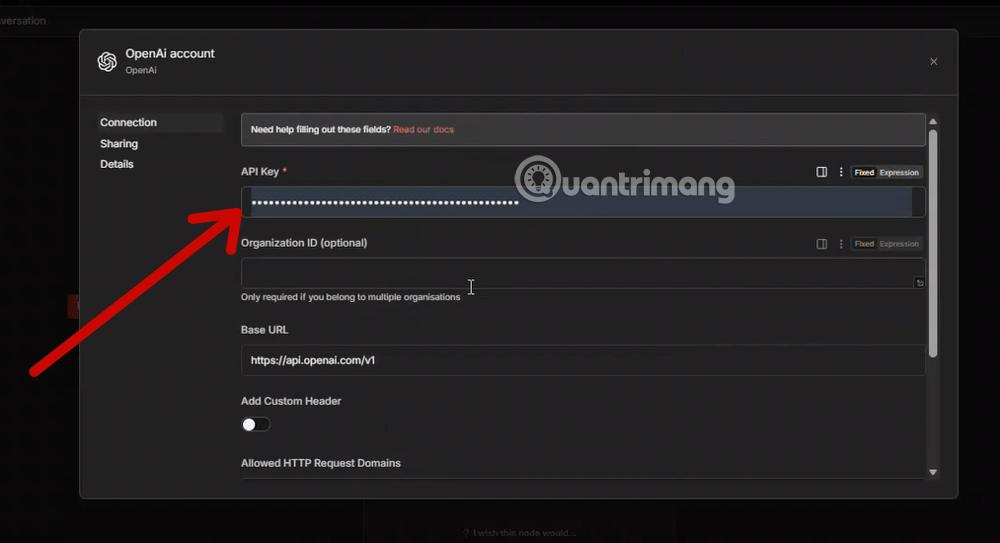
Step 5: Configure Credentials:
Click on the Set up Credential menu and select the OpenAI account you want to connect.

Remember to get your ChatGPT API Keys by visiting https://platform.openai.com/. Log in to the ChatGPT account you want to use in n8n and get the API Keys. Then return to the ChatGPT interface you just added to n8n, and paste the copied API Keys into the API Keys field.
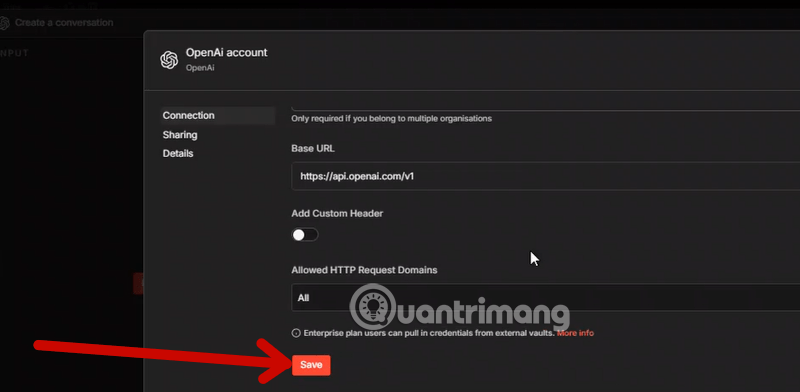
Scroll to the bottom and select Saves to save the ChatGPT account you just added.
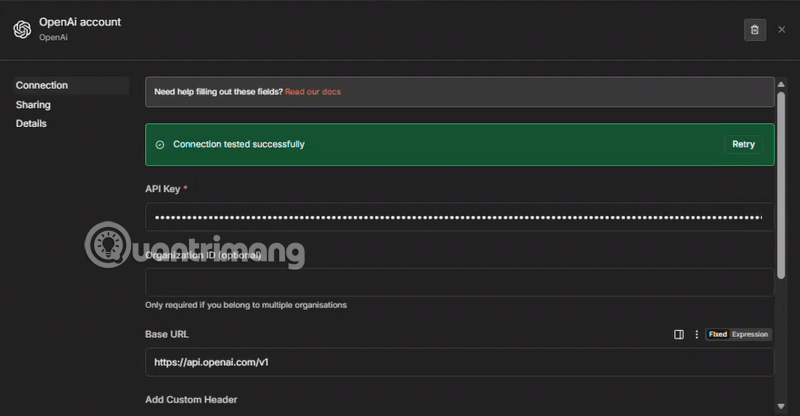
If you see the message "Connection tested successfully" as shown in the image below, you have successfully linked your ChatGPT account to the node.
Step 6: Set up Resources and Operations:
Ensure that the default settings for Resources and Operations are correctly associated with the Action Event you selected in step 4.
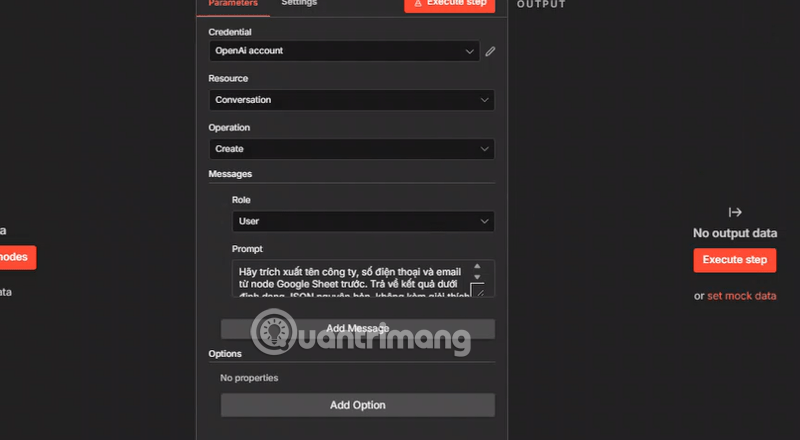
Step 7: Advanced Settings:
Configure other required settings to complete the setup for that specific action. If necessary, you can click Add Option to further personalize the action (such as adjusting the temperature). Once complete, click Execute Step to test it.
Finally, OpenAI will be officially activated and ready to run within your n8n process.
Expert advice
When working with OpenAI on n8n, pay attention to managing the number of tokens to optimize API costs. You can also incorporate logic nodes such as If or Filter to control data before sending it to OpenAI.
Hopefully, this article has helped you master the OpenAI Node . If you encounter difficulties installing n8n on Windows 11 using Docker, please refer to the previous technical guides on TipsMake.com.com.
See more:
- Instructions for installing and using n8n on Windows 11