Table of Contents
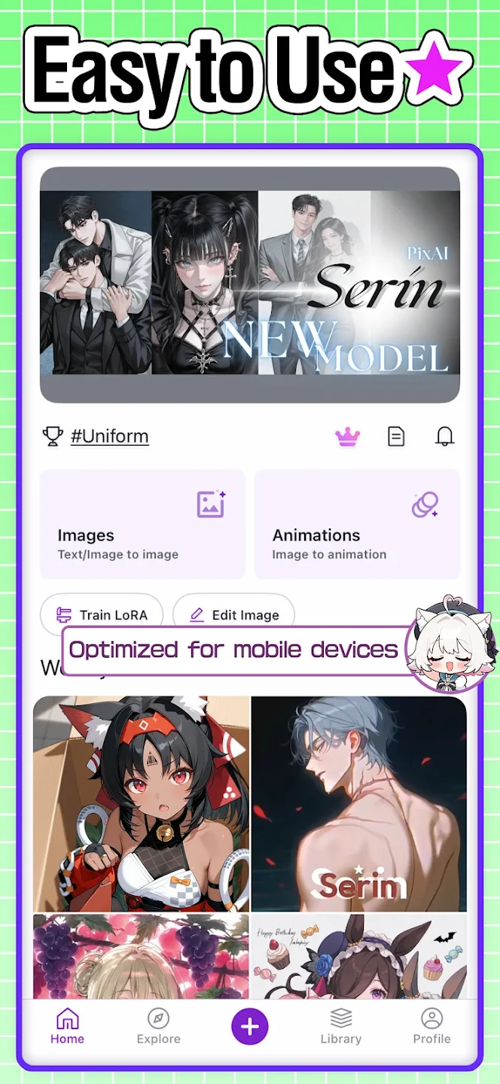
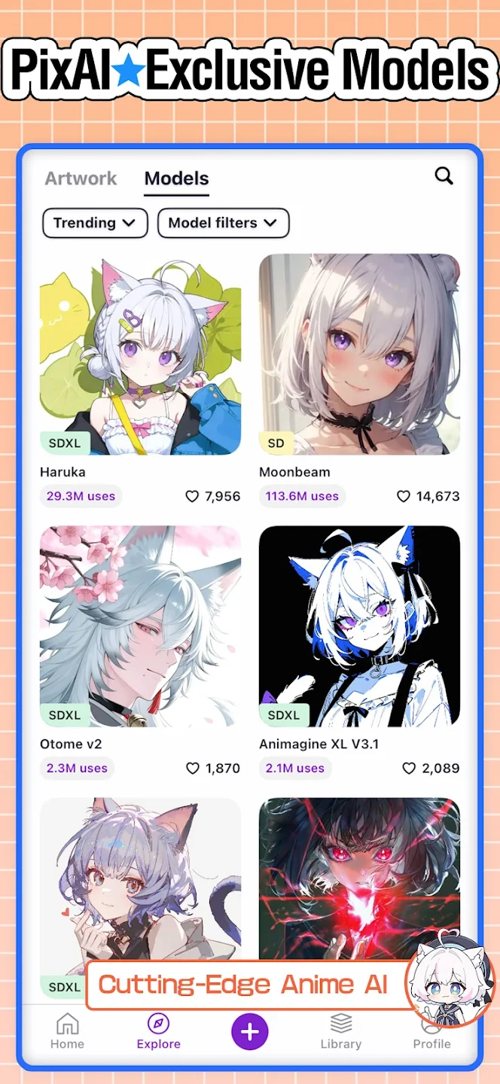
PixAI is a web and mobile platform focused on anime-style AI image creation. It offers community models and LoRAs, image generation, character workflows, editing tools, animation features, and a public gallery. The available models, credit costs, limits, and membership features change, so check the official PixAI site before choosing a plan or workflow.
PixAI can help create concepts and variations quickly, but it does not turn every output into original, accurate, or legally reusable artwork. Review generated images, model licenses, reference-image rights, and platform settings before publishing or using them commercially.
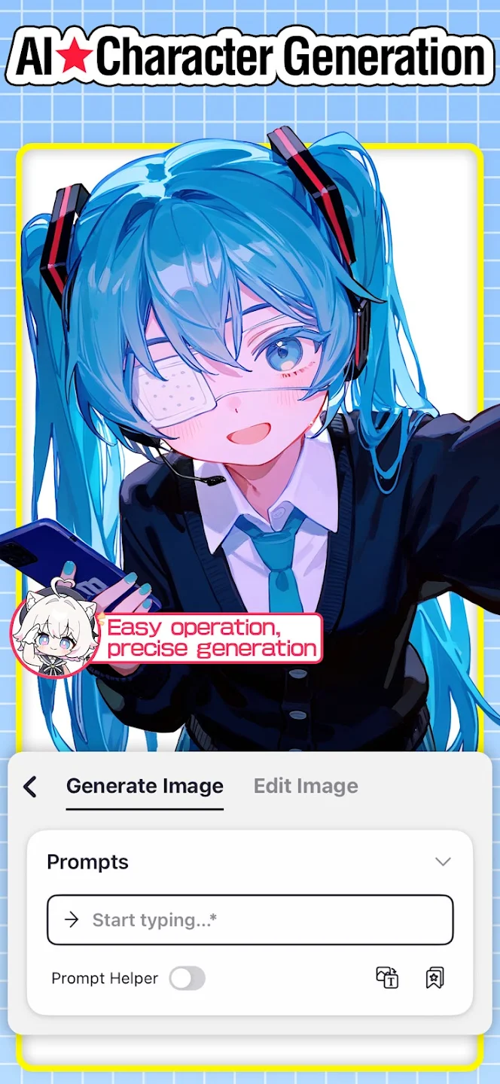
Main PixAI tools
| Tool | What it is useful for | What to check |
|---|---|---|
| Base models | Choose the overall rendering behavior and visual style | Model description, license, recommended settings, and content rules |
| LoRAs | Add a character, clothing, pose, object, or style influence | Trigger words, strength, compatibility, attribution, and usage rights |
| Custom training | Train a LoRA from an authorized image set | Consent, privacy, dataset quality, visibility, and model ownership terms |
| Control tools | Guide pose, composition, edges, depth, or other structure | Whether the chosen model supports the control type |
| Inpainting | Regenerate a selected part of an image | Mask accuracy and whether surrounding details remain consistent |
| Outpainting | Extend the canvas beyond the original borders | Perspective, lighting, repeating objects, and seams |
| Animation | Create a short moving result from an image | Motion artifacts, identity consistency, duration, credits, and export rules |
Choose a model and LoRA deliberately
The base model has the largest influence on the image. Start with one that matches the broad result you need, then add a LoRA only for a specific missing characteristic. Community model pages may include recommended prompts, negative prompts, samplers, sizes, and LoRA weights.
Adding many LoRAs does not automatically improve quality. They can conflict, exaggerate features, or reduce consistency. Begin with one, generate a controlled comparison, and add another only when you can identify its contribution.
Write a focused prompt
Describe the subject and composition before decorative detail. A practical order is:
subject and action,
camera and composition,
clothing and important attributes,
environment,
lighting and mood,
rendering style,
details that must remain visible
Example:
Original adult fantasy courier, standing beside a rain-soaked train platform, three-quarter view, navy travel coat with brass clasps, leather satchel, evening station lights reflected on wet pavement, restrained blue-and-amber palette, clean anime linework, face and both hands visible.
Avoid using a living artist's name or a studio name as a shortcut when you do not have permission. Describe the visual characteristics you actually want—line weight, palette, lighting, texture, composition, and era.
Use reference images responsibly
An image-to-prompt tool can suggest visible characteristics from a reference, but its text is an interpretation, not the original artist's process. Use references you created, licensed, or have permission to process. Do not upload private photos or another person's face for character training without informed consent.
Remove embedded metadata when appropriate, check the visibility setting, and confirm whether uploads, generations, or trained models can appear publicly. “Private” controls should be verified in the current interface and terms rather than assumed from an old screenshot.
Train a custom LoRA
- Define the exact subject or visual concept the LoRA should learn.
- Use a consistent, authorized image set with varied poses, framing, and backgrounds.
- Remove duplicates, watermarks, unrelated characters, and low-quality images.
- Caption or tag the images accurately when the workflow allows it.
- Choose the training and visibility settings after reading their current descriptions.
- Test the result with prompts and seeds that were not used to evaluate the dataset.
More images are not always better. A small clean dataset can be more useful than a large set filled with inconsistent anatomy, styles, or identities.
Control poses and composition
Pose, edge, depth, and sketch guidance can make composition more predictable. Use a source pose you have the right to process, match the control type to the model, and keep the control strength low enough that the generated image can still form coherent anatomy and clothing.
If the result ignores the pose, confirm model compatibility and increase control gradually. If it looks rigid or copies unwanted details, reduce the control strength or simplify the reference.
Repair an image with inpainting
- Choose the best overall generation before editing small defects.
- Mask only the incorrect area, plus a small amount of surrounding context.
- Describe the intended replacement and the details that must stay consistent.
- Generate several versions and compare the boundary of the mask.
- Repeat with a smaller mask for remaining details.
Inpainting is useful for hands, eyes, accessories, clothing details, or an unwanted object. A very large mask may change the character's identity or composition.
Extend a scene with outpainting
Increase the canvas in one direction at a time, provide enough overlap for continuity, and describe what logically exists beyond the edge. Check horizons, vanishing points, shadows, repeated architecture, and limbs that cross the original boundary.
Animate a still image
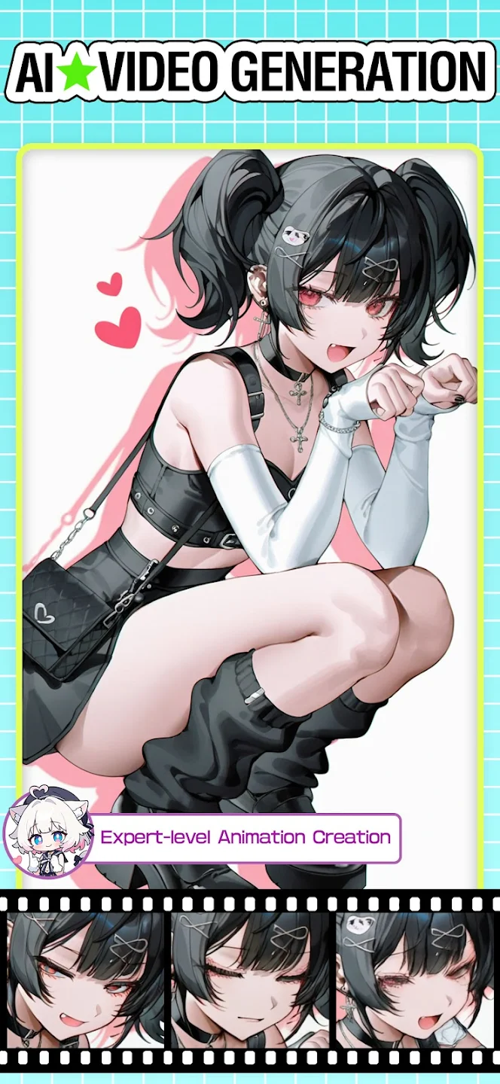
When an animation option is available, choose an image with a clear subject and describe one or two movements. Subtle camera motion, blinking, breathing, hair movement, or environmental motion is usually easier to keep coherent than several large actions at once.
Watch the entire clip for changing facial features, extra limbs, warped backgrounds, and flicker. Credit costs and maximum duration depend on the current feature and plan.
Upscale only after choosing the final image
Upscaling can increase resolution and reconstruct fine detail, but it can also sharpen artifacts or alter small features. Compare eyes, text, jewelry, fingers, and linework after the upscale. Keep the original generation in case the higher-resolution version is worse.
Credits, membership, and downloads
PixAI offers free-start and paid options, but “free” does not mean unlimited. Generation, training, animation, upscaling, priority, storage, or private creation may use different credit amounts or plan benefits. Review the current pricing page and the confirmation screen before starting an expensive task.
Use the official PixAI download links to reach the legitimate iOS or Android store listing. Check the developer, requested permissions, age rating, in-app purchases, and regional availability.
Community and publishing
The public gallery can help users study prompts, models, and settings when creators choose to share them. Before posting your own result:
- check whether the model and LoRA permit the intended use;
- avoid deceptive depictions of real people;
- remove private information and unintended signatures or logos;
- label generated or edited work where a platform or audience expects disclosure;
- follow PixAI's content rules and the destination site's policies;
- credit resources when their license or community norm requires it.
A repeatable workflow
- Select one suitable base model.
- Write a prompt with a clear subject and composition.
- Lock a seed when comparing one setting at a time.
- Add a compatible LoRA at a moderate strength if needed.
- Use structural control for a specific pose or layout.
- Choose the best whole image before inpainting small problems.
- Upscale and inspect the final details.
- Verify rights, privacy, and disclosure requirements before publishing.
PixAI is strongest when its large model ecosystem is used methodically. Choosing fewer, better-matched resources and changing one variable at a time produces more understandable and repeatable results than stacking every available effect.
Related Articles
 Guide to Creating AI Anime Images on PixAI4 minutes read
 What Is Anime? Currently There Are Many Types of Anime6 minutes read
 The Best Anime for Gen Z7 minutes read
 15 Interesting Facts About Anime Movies That You May Not Know: Best Options8 minutes read
 The Most Famous Twins in the Anime World6 minutes read
 Anime Warriors III Beginner Guide: How to Play10 minutes read
Reader Comments 0
Sign in with email or Google to join the discussion.