Instructions for taking screenshots
Taking screenshots will sometimes help you a lot. Here I will show you two simple ways to take screenshots.
Table of Contents
Taking a screenshot will be very convenient for you to capture the image you like in the movie, or a text or an error that needs a fix through the internet. Taking screenshots will sometimes help you a lot. Here I will show you two simple ways to take screenshots.
1. Use the Print Screen key on the keyboard and the Paint program available on your computer.
Step 1: Display the capture on the computer screen.
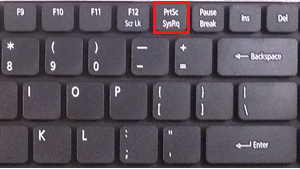
Press the Print Screen key , depending on the keyboard, the Print Screen key is abbreviated as: PrtSc , SysRq .
Step 2: Open the Paint program available in windows.
You can select the Start icon on the Taskbar , in the Search programs and files box, type Paint , then select the Paint program above the search results.

Or you can also use the key combination Windows + R , to display the Run dialog box . Then you type mspaint :
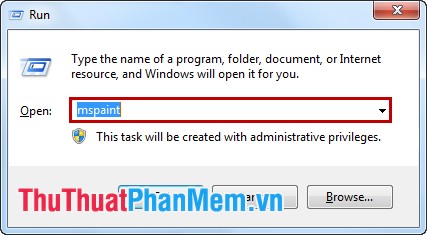
Select OK or press Enter to display the Paint program .
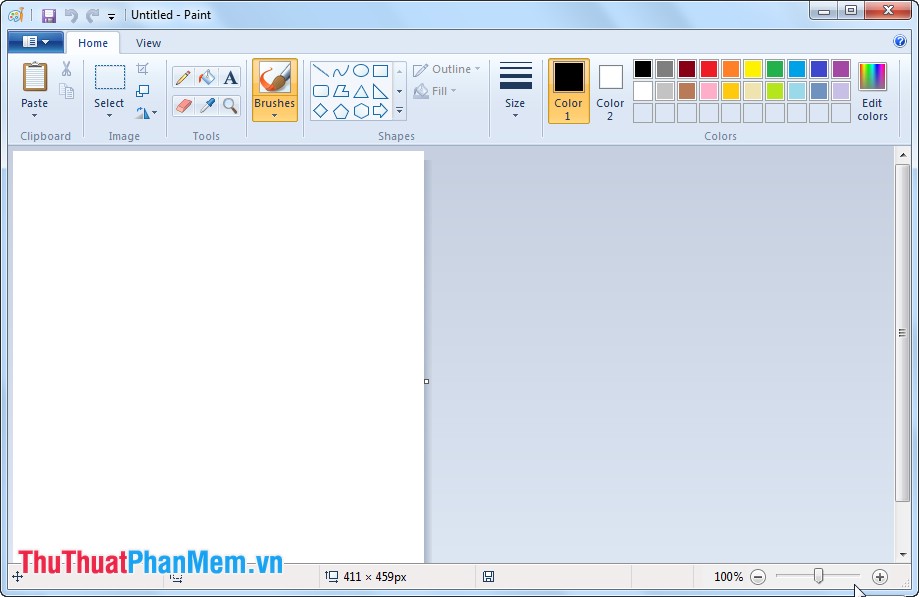
Paint interface :
Step 3: Get photos taken with Paint.
On the interface of the Paint program , press Ctrl + V to paste the image just taken.
For example, I took Calcualator :

Because the Print Screen key captures the entire screen, you only want to take part of the screenshot, you can cut it with the Paint program . Also can edit as normal image.
Step 4: Save the image file from Paint.
After editing with Paint, select the Paint icon
 -> Save (Save as) .
Or press Ctrl + S to display the Save dialog box . Here you choose the path to save the image, edit the image name and choose the output format for the image.
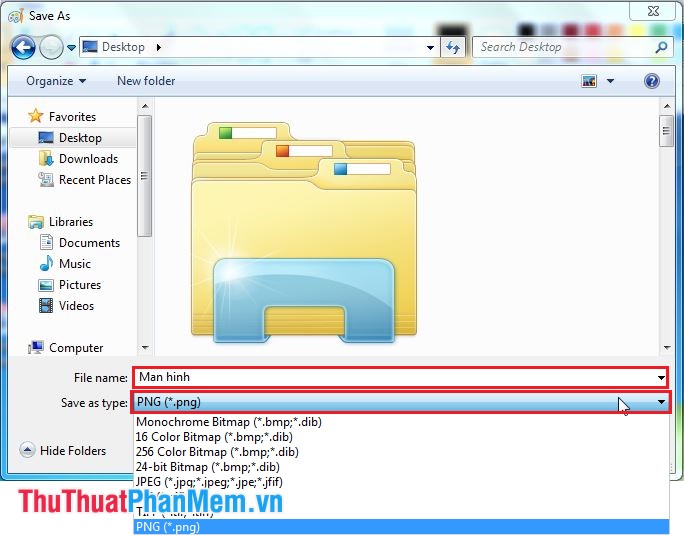
Then click Save to save the image.
Very simple without downloading any additional software, fast, easy to handle, only when I cut a part of the screen, you have to manually drag the mouse, if not familiar, the image will be redundant or missing is not beautiful.
To overcome the above disadvantages, you can refer to the screenshot below.
2. Use the Snagit program to take screenshots.
Snagit is a convenient screen capture program that can take many forms: capture full screen, capture a program on the screen, capture a part of the screen . Snagit also integrates the Snagit Editor tool to Photo editing after shooting is completed. Below I will guide you how to use Snagit to take a screenshot simply.
Download http://snagit.joydownload.com/ and install the Snagit tool .
Step 1: Open the Snagit program.
Go to Start menu , in Search programs and files box, type Snagit and then select Snagit program .
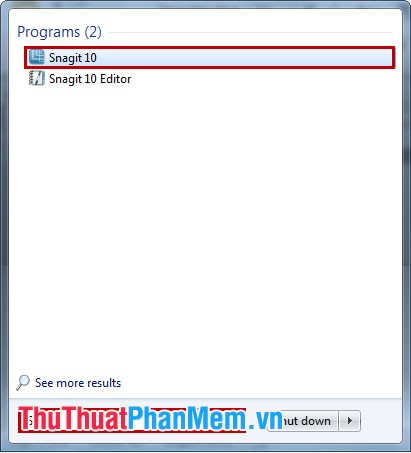
The program interface displays:
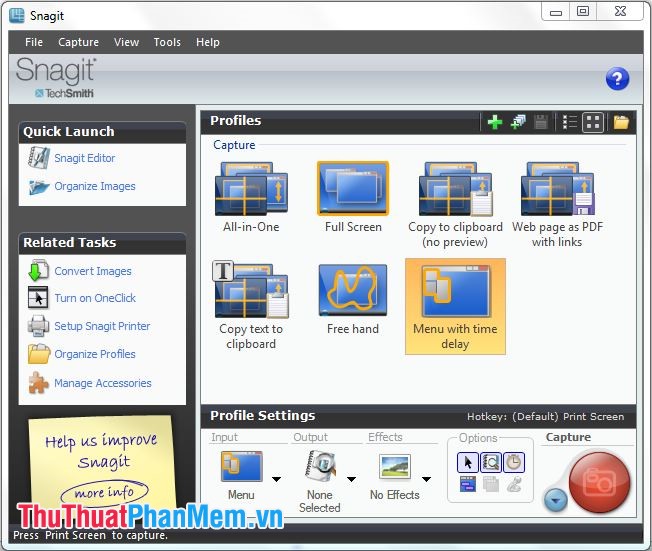
At Profiles there are various photographic features. You can take screenshots (Full Screen), capture an arbitrary area on the screen (All-in-One), capture the entire contents of the web page on the screen (Web pages as PDF with links), Free hand, capture a program or menu (Menu with time delay).
Step 2: Take a screenshot with Snagit.
After opening the program interface, you select the type of screen shot at Profiles and then click the Capture icon to start shooting.

You drag the mouse to adjust the size of the photo, then release the mouse is done. Particularly with shooting mode "Menu with time delay" will display the waiting time, giving you time to prepare the part to capture, for example, opening a program to capture, a menu to capture . after the time is up The program will capture.
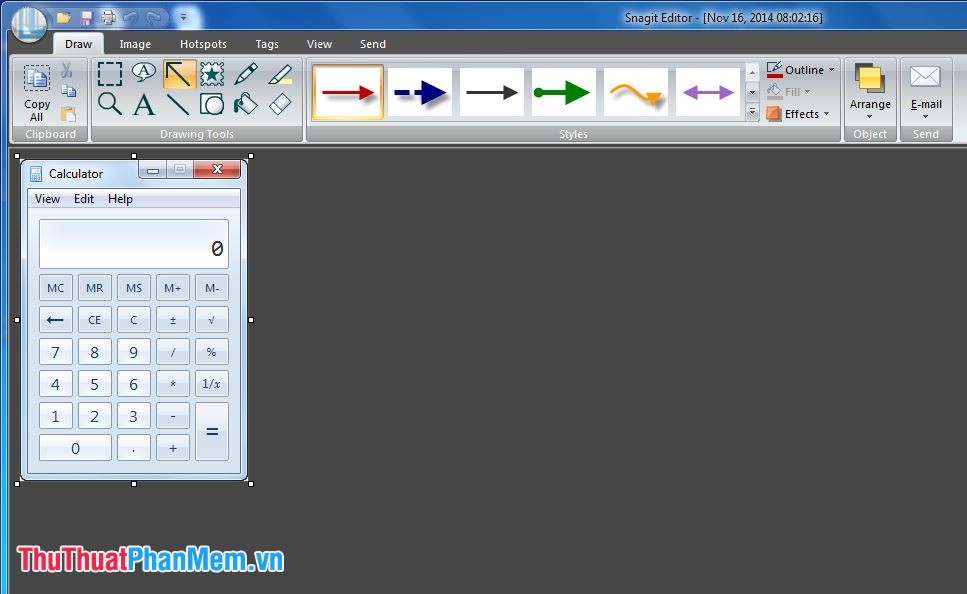
Step 3: Edit photos taken by Snagit.
When the capture is completed, the program will automatically transfer the captured images into the program's Snagit Editor .
Here, you can freely edit your photos with the help of Snagit Editor, you can add icons, text, or arrows .
Step 4: Save the completed image file.
After editing is complete, you click the Save icon :
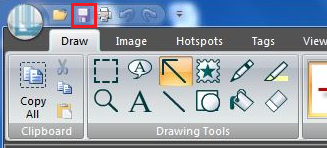
Or press Ctrl + S to open the image saving dialog box. The Save as dialog box appears, select the path, save the name, format the image file and choose Save to finish.
Good luck!
Was this article helpful?
Your feedback helps us improve.
Related Articles
 Instructions for taking screenshots with Snagit14 minutes read
 3 Quick Ways to Take Screenshots in Windows 83 minutes read
 How to Take Screenshots on Linux8 minutes read
 How to take screenshots in BIOS2 minutes read
 Keyboard shortcuts for taking screenshots on various computer and laptop models.4 minutes read
 When does Facebook Messenger notify others about screenshots?5 minutes read
Reader Comments 0
Sign in with email or Google to join the discussion.