Instructions for setting basic parameters on the camera
The first step in the shooting process is that you need to identify the subject of the shot, the shooting target as well as the shooting conditions so that the camera can be adjusted to suit the situation. For example, landscape photography will have completely different camera parameters when shooting motion pictures. Therefore, when we set the parameters for the appropriate camera, it will give a better, more beautiful picture.
1. Aperture:
Rotate the control ring via A or Av mode to select aperture priority mode. Rotate the wheel to select the aperture indicator, and the machine automatically sets the shutter speed corresponding to the aperture you choose.
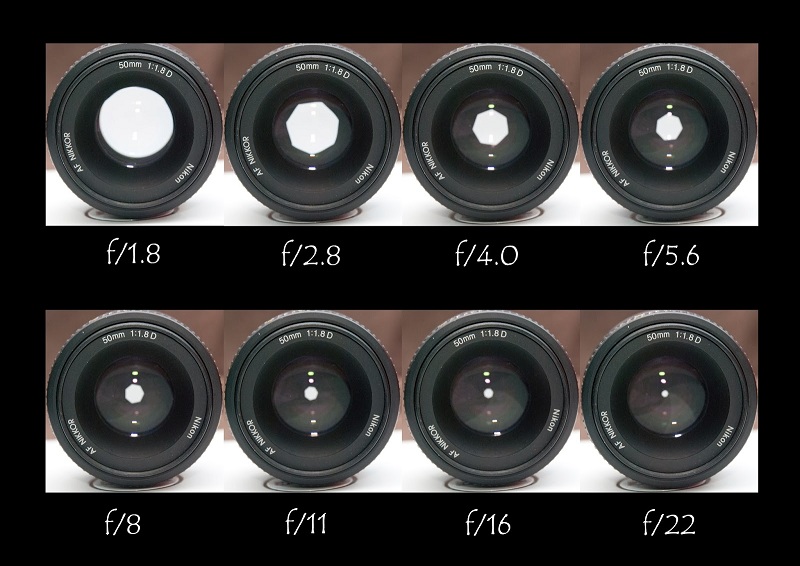
For example, if you want to remove the background, you choose an aperture of f / 2.8 or f / 2.0 depending on the lens, the camera will automatically select a speed of 1 / 250s. But if you want the image to have a deeper depth of field, that is, the sharpness from the subject to the background is sharp, you choose f / 11, then the machine will automatically select the shutter speed 1/125 or 1 / 160.
2. Shutter speed:
If you want to actively control the shutter speed, select S or Tv mode on the control dial. After that, you actively select the shutter speed, for example 1/125, the camera will automatically select the corresponding aperture of f / 4. You will choose a speed that is not too slow to avoid camera shake, and have an aperture indicator to achieve proper image definition.
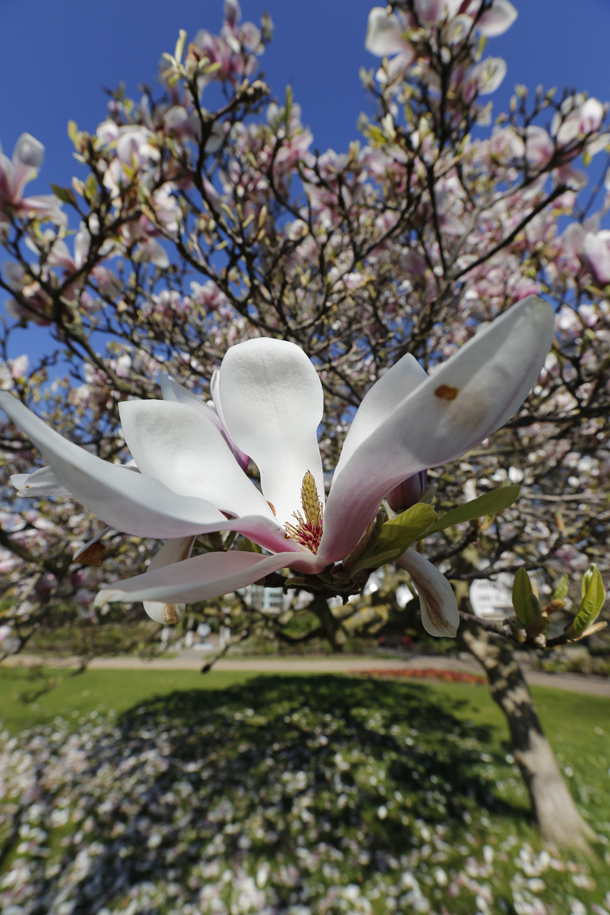
When selecting a speed of 1/250, the recommended aperture is f / 2.8, the image will be as thin as the following image:

You will reduce the speed to 1/60, when the recommended aperture is f / 8, for example, the image will have deeper definition.
3. ISO:
To change the ISO speed, you'll go to the menu or press the ISO adjustment button and rotate the custom wheel. If shooting a good light environment, choose a ISO as low as 100, and increase the ISO when the lighting environment is low enough to maintain the shutter speed at a level where the camera does not shake to blur. The higher the ISO increases, the more likely it is that the image will be noisy unless you want to take a grainy picture because of the liking.
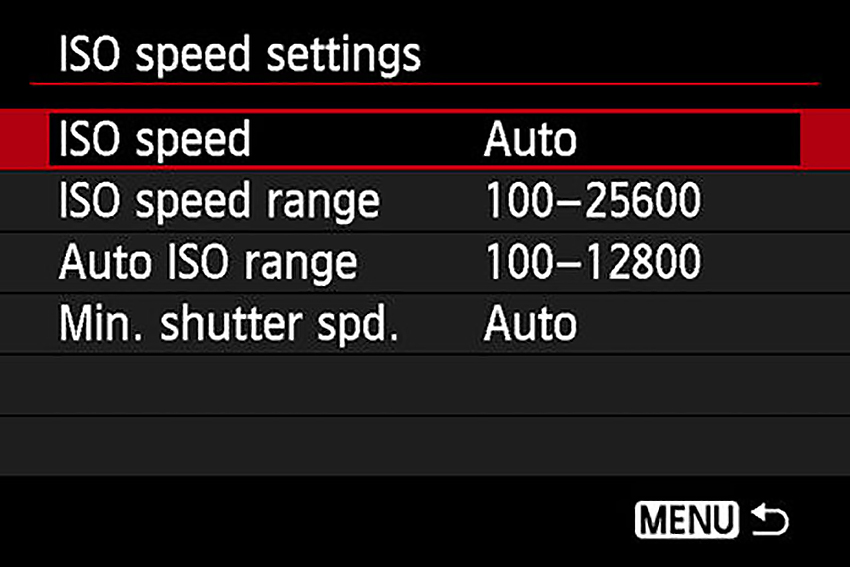
In some cases, the photographer intentionally increased the ISO to close the smaller aperture, to increase the depth. Because there is a situation if the ISO is lower, the large aperture will have a thin definition that does not match the photographer.
4. White balance:
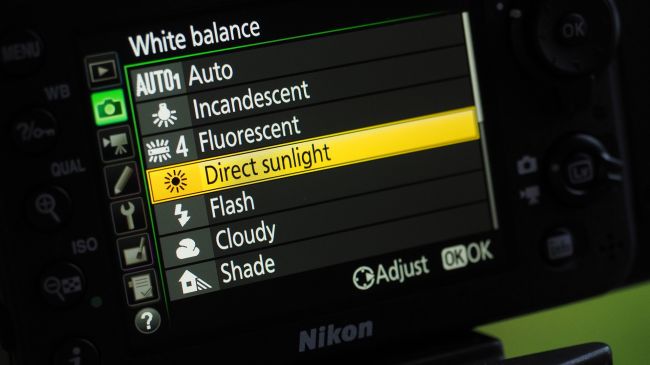
Press the WB button and you can select AWB (Auto WB) in most shooting situations. If you want to white balance depending on the lighting situation, customize the WBs with light bulbs, fluorescent lamps, under the cloudy sky, flash shots .
5. Focus:
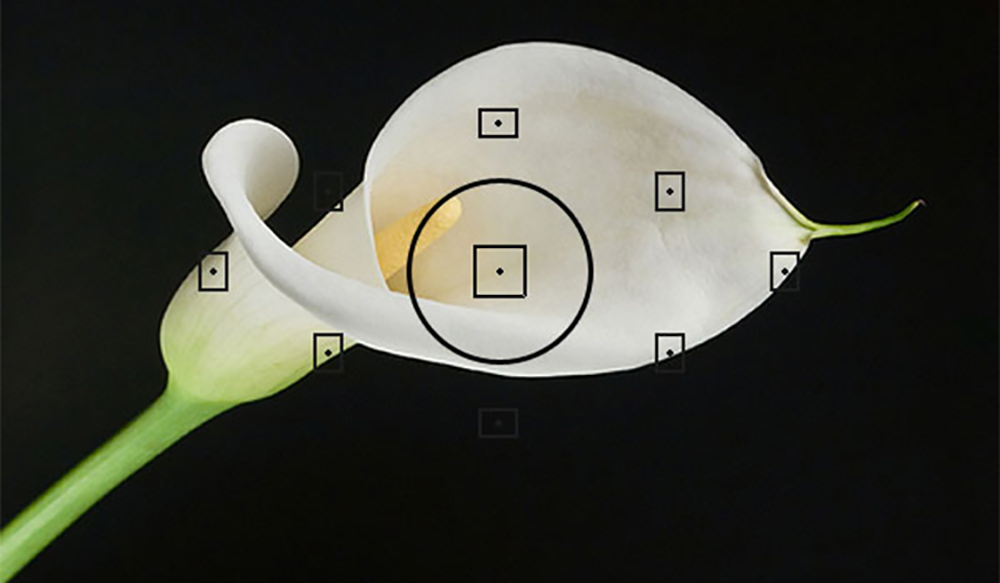
We will take AF autofocus and press the shutter button halfway to set the camera to focus through the lens's automatic mechanism. Usually focus on the S-mode fixed object, you can choose the continuous focus mode of moving object on the camera body of C or AI servo. To change the focus point, press the Focus Poin button on the back of the device, then turn the dial or four-way button to move the focus point.
Refer to the following articles:
- 10 simple photography techniques for impressive photos
- Basic guide when buying digital cameras
- The secret to photography is backlit in the bright sunny days
Hope the above article is useful to you!