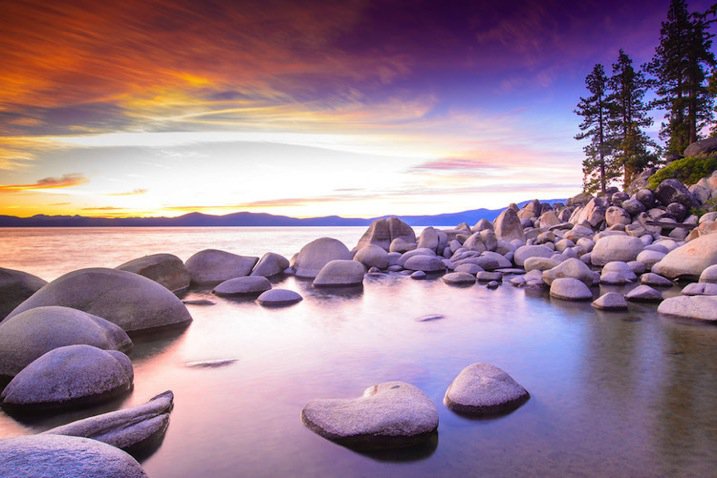
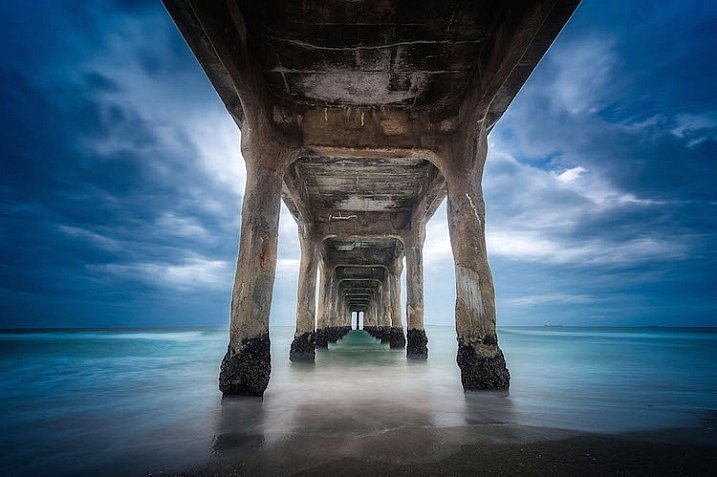
Take photos of the fanciful sky landscape with the following 5 tips
When taking photos of the landscape, the sky is the highlight of the image that creates a unique scene for each photo. However, how to capture the beauty of the sky, capturing captivating scenes is something that not all photographers can do. Not only do you hold up the camera and take a good photo, but also a lot of photography techniques are needed to get a picture of the sky art scene.
1. Right time
Timing is the most important factor for you to have a picture with a beautiful and fanciful sky. There are times when you just need to deviate a few seconds and lose a valuable moment. The color of the sky will change constantly over time of the day, from day to day. So you should watch and watch forecasts before deciding to take a photo to get the best picture.

If you want a dreamy sky, choose beautiful sunny days, if you like a strong photo, you can wait on bad days when heavy rain is coming, . any kind of weather If you cleverly choose also bring a great photo.
The shooting time of the day is also very important, in the middle of the afternoon when the plane is perpendicular, the shadow falling on the ground will make the image harsh. Choosing golden hours like dawn or sunset will bring better and easier photos to you.
2. Try changing the white balance:
Sometimes you should not follow the rules in photography. Breaking can bring great results. Sometimes you should not use automatic white balance mode, try changing the white balance and the results are very surprising. When shooting on kissing or dawn, try changing the white balance to change the color of the sky.

In addition to white balance modes, you can also try changing the Kenvin temperature. This way will give you more choices about colors. Or you can capture Raw and then change it on the following computer is also a simple and not bad choice.
3. Cage with many panels:
When the sky is more subtle and beautiful than the ground, there is no sin that we do not honor that beauty. Remember that the dynamic range on your camera is limited and it is impossible to capture all areas. Now use the one-third rule to imagine the frame in three parts, then take the sky for two-thirds of the frame, don't just shoot the whole sky and make your image unbalanced.
Then, light up each of the different dark areas to make sure all areas are saved. Finally, you just need to use the nested technique on Photoshop.

4. Use filter:
Filter is an indispensable accessory for any landscape photographer. There are 2 types of filters that photographers need to keep in their backpack. The first is the GND filter. This is the type of filter used when you want to light up both the sky and the earth with just one shot. This filter is useful if your sky and land areas are divided by a horizontal line. If not, you can still use it but it will be a bit of a problem in post-production.

In addition to the GND filter, the polarizing filter is an indispensable filter. Many people mistakenly believe that polarizing filters are designed to make the sky greener, but the polarizing filter is to fine-tune the rays of refracted light rays to your lens. You see that the blue sky is due to light refraction, so refining will help the sky look blue. Polarizing filters also work very well when you are taking water that is refracted or on a sunny day.
5. Long exposure:
Long exposures are used not only for night or sea but also very useful when you want to move the crowd in the sky smoothly. To record cloud movements, you need a tripod and adjust the long exposure time to be 30 seconds, 50 seconds, 70 seconds depending on the situation and the time of shooting.

When long exposure during the day, you need to equip yourself with an ND fiter to reduce the amount of light entering the lens. Otherwise your photo will be burnt even if you have closed the aperture and reduced the ISO to the lowest level.
Refer to the following articles:
- Experience landscape photography
- 10 simple photography techniques for impressive photos
- 5 ways to fix common metering errors when taking photos
Hope the above article is useful to you!