Instructions for installing .NET Framework 3.5 Offline on Windows 10
Windows 10 is installed with .NET framework 4.5. However, many applications developed from Windows Vista and Windows 7 require the .NET Framework v3.5 version installed with the .NET Framework version 4.5..
Windows 10 is installed with .NET framework 4.5. However, many applications developed from Windows Vista and Windows 7 require the .NET Framework v3.5 version installed with the .NET Framework version 4.5.
Applications will not run unless you install the correct version of the .NET Framework that the application requires. When you try to run any application, Windows 10 will ask you to download and install the .NET Framework 3.5 from the Internet.
However, this process will take a lot of time. To save time, you can install the .NET Framework 3.5 from Windows 10 installation media. This method does not require you to connect to the Internet.
1. Install .NET Framework 3.5 on Windows 10
To install the .NET Framework 3.5 on Windows 10, follow the steps below:
1. Insert a Windows 10 DVD drive or double-click on an ISO image, or you can plug a USB Bootable Flash Drive.
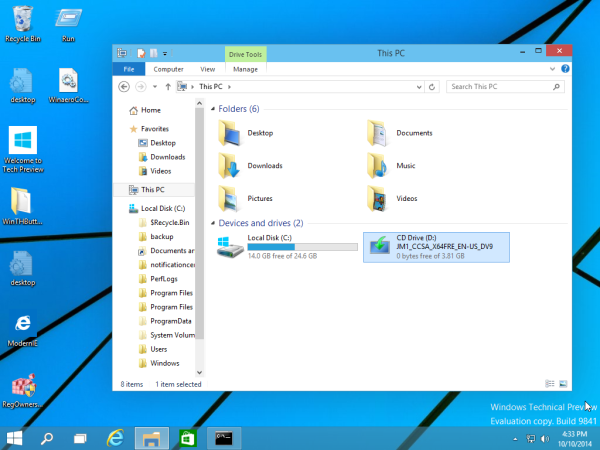
2. Open This PC from File Explorer and note the name of Installation Media drive. In the example below the Installation Media drive is drive D.
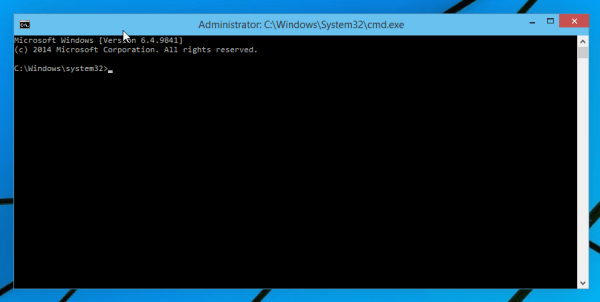
3. Open Elevated Command Prompt and enter the following command into:
Dism / online / enable-feature / featurename: NetFX3 / All / Source: D: sourcessxs / LimitAccess
Replace the D: drive with the drive name Windows 10 Installation Media.

Once completed, .NET Framework 3.5 is now installed on Windows 10.

In addition to saving time you can use the built-in file to automatically find the drive you inserted into your computer.
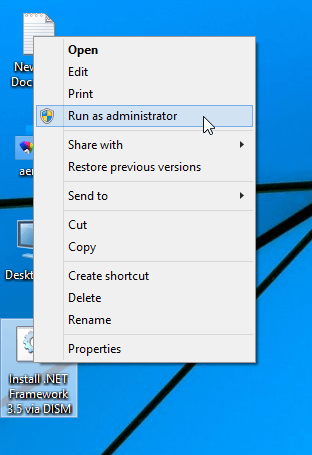
Download the file to the computer and proceed to extract the ZIP file on the Desktop, right-click the extracted file and select Run as administrator . The file will install .NET Framework 3.5 automatically after finding the Windows 10 Installation Media drive.
2. Add an open way to Elevated Command Prompt
Elevated Command Prompt is the familiar Command Prompt tool.
If you are wondering why is it called Elevated Command Prompt? Actually on Windows Vista and Windows 7, several commands in the Command Prompt require to be run as Administrator. And to run these commands, you must use Command Prompt with Administrator rights. And the Command Prompt tool run under this Administrator is called Elevated Command Prompt.
Opening Elevated Command Prompt is very simple, and quite similar to opening another program running under Administrator rights.
- Open elevated cmd.exe from the Power User menu or Windows + X menu:
Starting with Windows 8, Microsoft has integrated the Power User Menu, this menu contains useful options such as Control Panel, Network Connections, . On Windows 10, Microsoft also integrated this Menu.
To access the Power User menu on Windows 10, press Windows + X key combination and select Command Prompt (Admin).
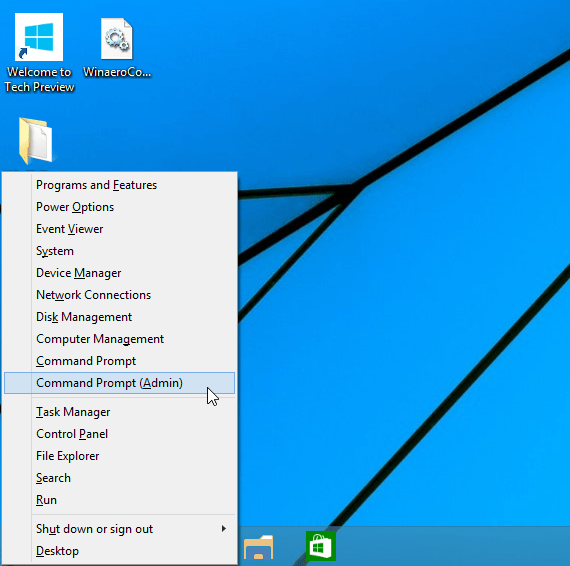
The Command Prompt (Admin) option on the Power User Windows 10 menu is the option we need.
- Open elevated cmd.exe via Start Menu on Windows 10:
Enter cmd in the Search box on the Start Menu and press Ctrl + Shift + Enter to launch Command Prompt Elevated.

Refer to some of the following articles:
- Instructions for setting up and managing FTP Server on Windows 10
- How to use fingerprint to login Windows 10?
- How to use Cortana to turn off or restart Windows 10?
Good luck!