Instructions on displaying keystroke information in Windows
Windows 11 displays Typing Insights, which remembers all your typing habits to help you type more efficiently..
Windows 11 displays Typing Insights, which remembers all your typing habits to help you type more efficiently. If you use the virtual keyboard, Windows uses AI technology to help you type faster. This includes spell checking, predicting the next word you'll type, and suggesting words as you start typing. You can also swipe across letters on the virtual keyboard to type words faster. Here's how to set up Typing Insights on Windows.
How to enable or disable keystroke notifications via Windows Settings
Step 1:
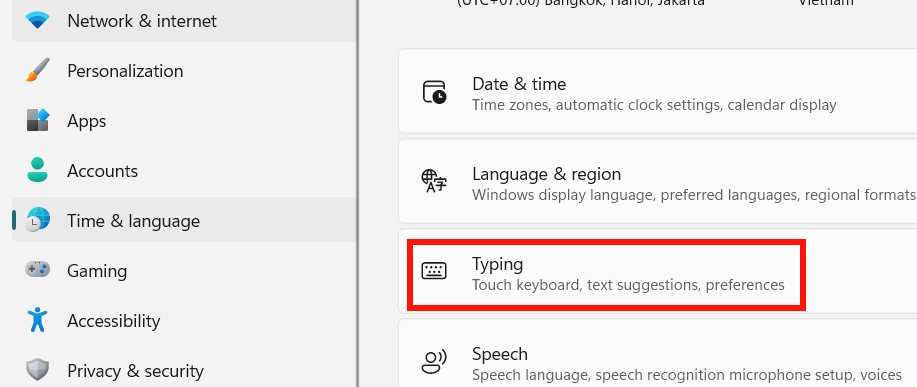
Open Settings, then tap on Time & language , and then look to the side and select Typing to make adjustments.
Step 2:
The Windows keyboard settings interface is displayed; here, you select the "Typing insights" setting to adjust the typing information displayed on your computer.
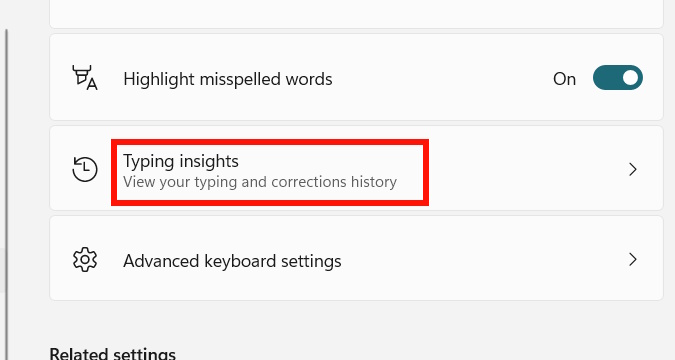
Now you can customize whether to turn typing insights on or off in Windows as you wish in the Typing insights section , as shown below.

Instructions on enabling and disabling keystroke information using the Registry
Enable typing information.
reg add "HKEY_CURRENT_USERSoftwareMicrosoftInputSettings" /v InsightsEnabled /t REG_DWORD /d 1 /fTo disable the keystroke information display feature, administrator privileges are required.
reg add "HKEY_CURRENT_USERSoftwareMicrosoftInputSettings" /v InsightsEnabled /t REG_DWORD /d 0 /fThe Typing Insights feature in Windows 11 lets you see how AI features are helping you type faster and more efficiently.