Instructions for creating animation-based shark models
TipsMake.com - In the following article, TipsMake.com will introduce you to the basic steps to create 3D models of sharks .
To prepare for this article, you need to carefully observe the shark species, details such as head, teeth, fins, tails and especially movement activities. The characteristics of sharks are always moving forward, and they mainly use the tail and fin to divert, accelerate. They swing their tail to the left when they want to swim to the right and vice versa. And in this article, we will focus on these navigation details.

You can download Max 4.0 shark model here or 3ds model here. With this model, the shark looked like it was about to stab into the screen, but when it nearly hit the screen, it immediately turned away. This model is built and viewed from the right, and the next step is to build the skeleton for it. Starting with each bone corresponds to the parts of the body, and when they move, these bones must also move flexibly.
So how to make bones?
Choose Animation / Create Bones :

or select Systems under the Create menu, press the Bones button:

Now click on the viewport and a part of the bone will be placed in the position of the cursor, press 1 more time to complete the bone. The next one will automatically be created from the front. To stop bone creation, just right-click. When stopped, a small bone-like rectangle is replaced in the final position. Sometimes you will need this last bone, but now it is not needed and you can choose to delete it from the model.
Next, change the bone specifications with Bone Parameters , adjust the width, length and overall size . as appropriate.
Those are the basic steps for making bones, and now it's our job. Create 2 bones as shown below:
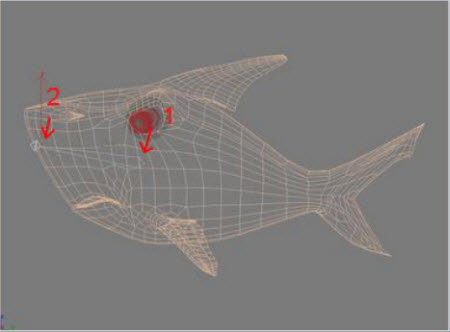
Create 4 more in the following positions, try to divide the ratio to the same length with the shark model:
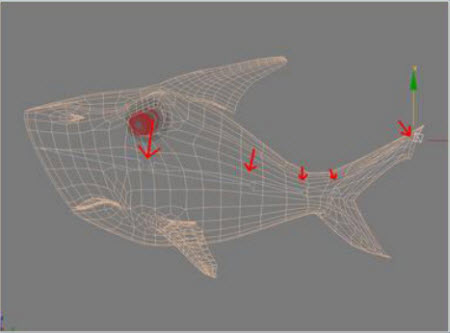
When created, these bones will automatically connect to each other. Or you can use the connection tool to connect them manually. And this is the basic skeleton after creating:
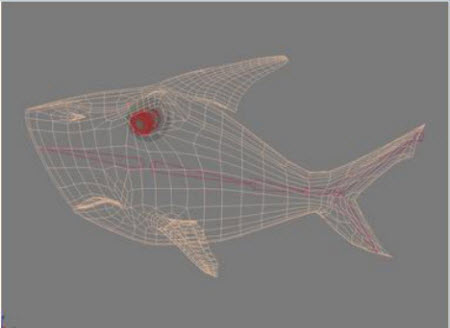
From the top view, create 2 bones inside the fin. You can make it look like this:
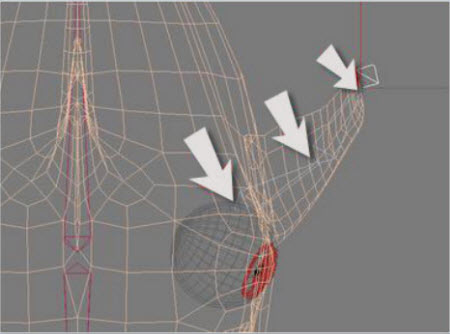
These bones are created and mounted horizontally. We need to adjust the position vertically, because in fact we can't move these bones as other components. Select the second bone, move to the Hierarchy control panel> Affect Pivot Only . Now, use the move tool to move the first bone vertically, and the second one gradually fits into the fin position. Do the same step for the last bone until the bone 'sneaks' into the fin.
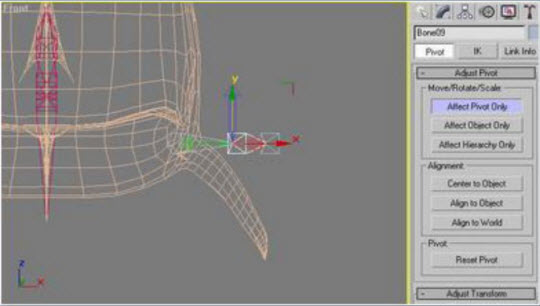
Once done, the result will look like the picture below:
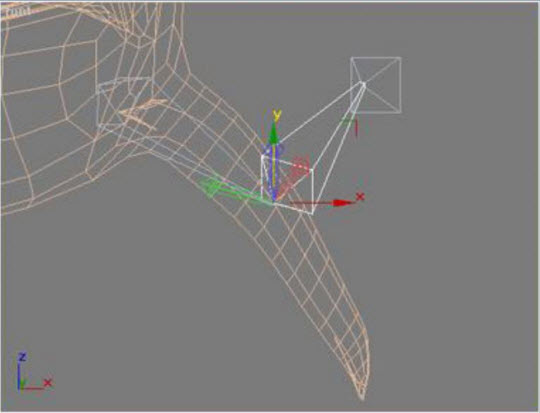
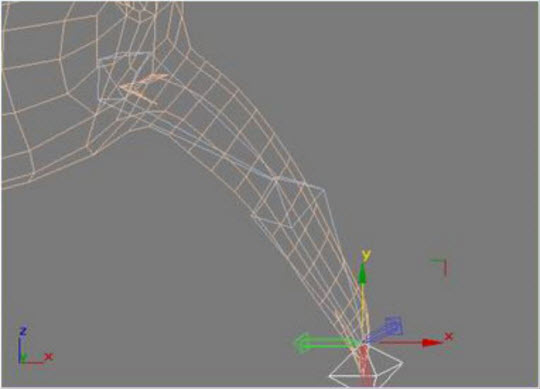
When completing a bone, save time you can copy and paste to the opposite side using the mirror tool. Select all bones in the two fins, select the Mirror tool and adjust the position in the control window:
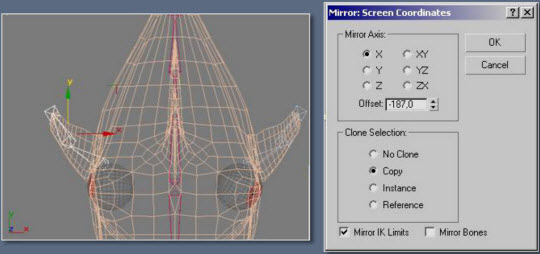
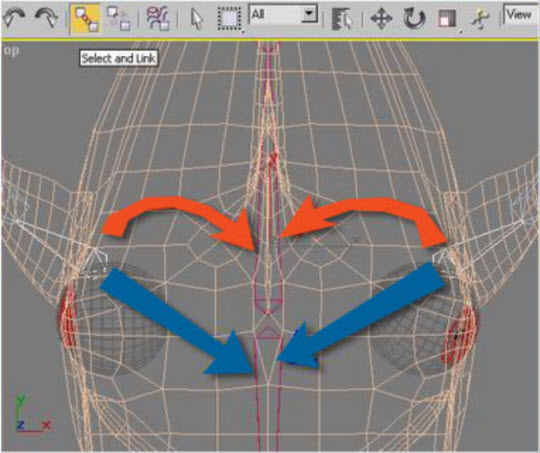
Now, select the first bones inside the fins on both sides. Use the selection and connection tool to link the two bones to the first one created above (at the position of the blue arrow):
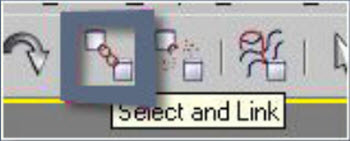
Link tool:
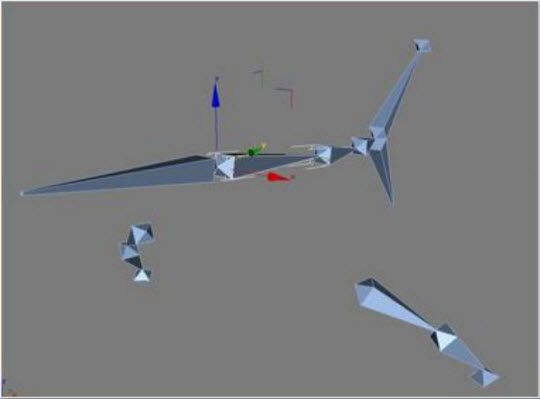
When hiding the entire body of the shark model, the entire skeleton will look like this:
Then proceed to add back fins to the corresponding bone segment. Remember to make the left and right frames, select the bone and connect to the second one in the body:
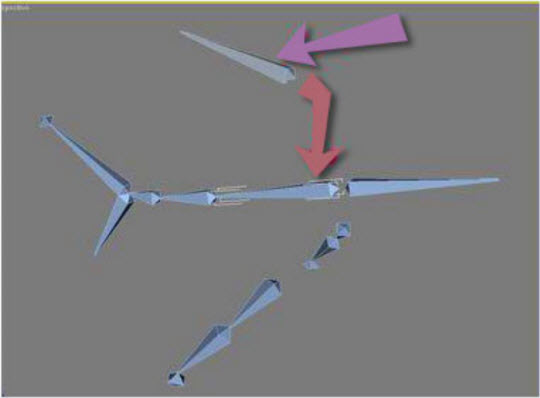
The following is the order of the corresponding bones created from the beginning to the present:
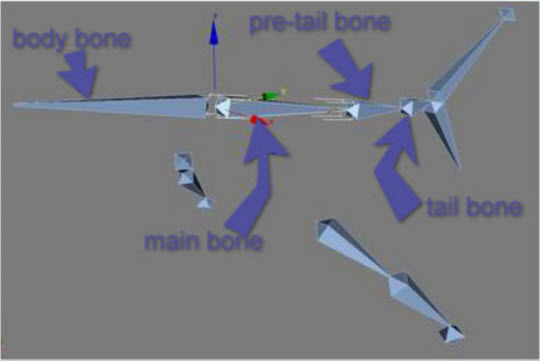
The basic skeleton set has been created, and now we will connect the bone to the mesh. Select the shark body and add the Skin modifier parameter. Click the Add Bone button and select all the bones created. Now, bones have become a part of the model, choosing each one, moving or rotating . and watching how the whole body model moves. But it certainly isn't, because most parts of the motion model don't match the skeleton. Because every bone has a 'epidermal' envelope around it. The Envelope parameter specifies the space around the head and bone body, with each created vertex associated with the space moving along with the entire skeleton:
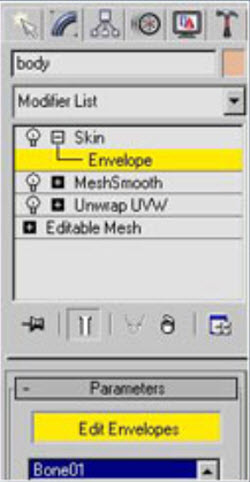
Next, try to adjust all the bones to the surface by selecting the Body part. If you find it difficult to select each bone, use the component selection filter on the main toolbar. When the Body part of the bone is selected, click the Edit Envelops button, adjust, change the corresponding technical parameters and see how the entire surface changes. Do the same with all the bones in the model:
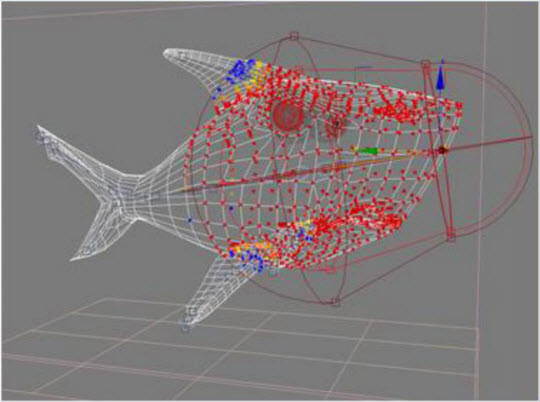
At the end, check the entire link by selecting the Main part of the skeletal system and moving, if done correctly, the entire model will move in accordance with the joints. If there is still a part that does not move properly the 'orbit' of the skeleton, you need to repeat the above step with that model area.
Next is the time with model movements, first replacing the Target perspective to face the 'shark'. Make sure the distance from the camera to the model is not too far, select Camera Target and connect to the Main part of the bones. Do this step so that whenever the model moves, the camera's view is always directed at the front part.
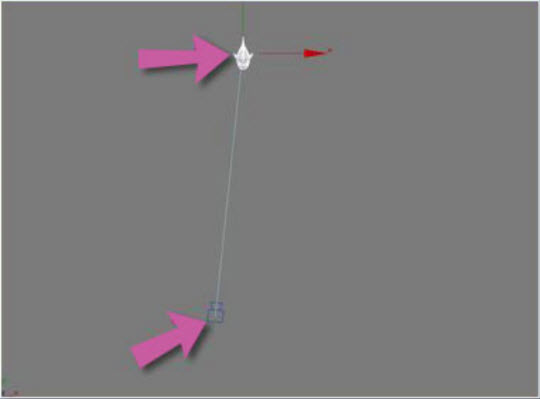
Next, select the Main part of the bone, activate the Animate feature, set the time bar parameter to frame 80 value. Move the Main bone section below the camera, and this time adjust the parameter to frame 100:

Next, turn off the Animation button, switch to Play mode, and from the top view you will see the panoramic motion of the model and camera angles. If you look carefully, you will see that while the model moves, the camera view will not change. That's because we initialized frame 80 above:
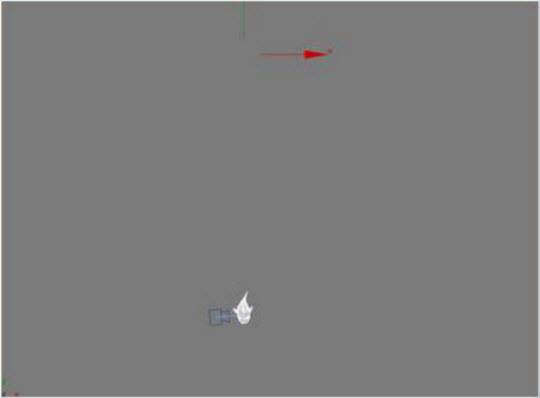
Move to frame 85, activate the Animation feature, select the Main part of the skeleton, and rotate so that the top part of the model rotates to the left. Next, select frame 90 and rotate for the first part to turn to the right:
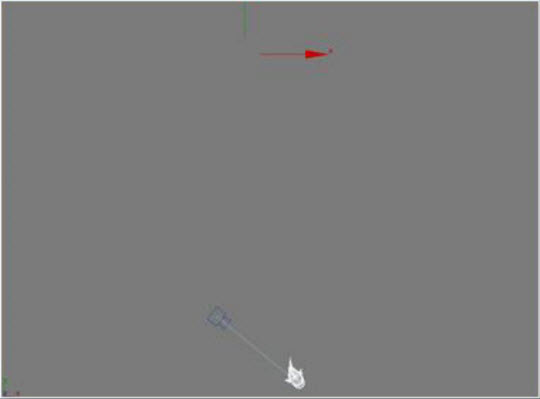
However, there are a number of problems that arise when we use the direction dial function. And we'll deal with this in Track View :
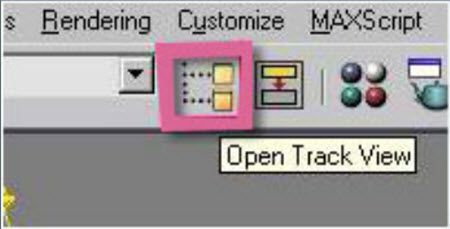
When you open the Track View panel, everything is much simpler, select the first button and Animated Tracks Only :
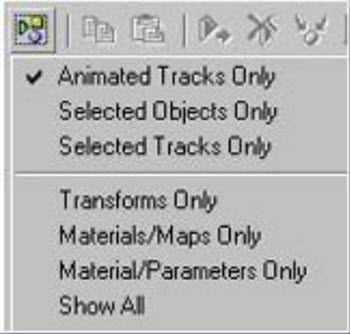
This means that only objects attached to fixed points on the model surface will appear, right-click on the World section and select Expand Tracks. If you are processing on the Main section, then around the Main bone the yellow border will appear. Use the move tool and rotate the direction from frame 0 to 78. Now, the orientation will start from frame 78 and finish at frame 90. Turn off the Track View function and activate the Animation , you will see the different:

As we continue, we will have the main direction of movement of the model. Now is the time to add a small tail and turn the head so that it looks real. The bones we will apply are here: Main bone, Pre-tail bone , and Tail bone .
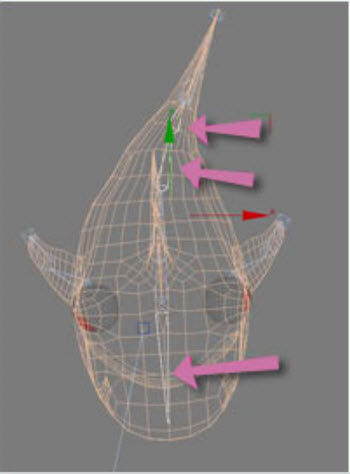
And we also have to estimate the appropriate time for the tail to move from left to right. Assume that a motion takes two-thirds of a second, and here we have 100 frames and the total time is approximately 3 seconds, meaning that an entire movement will last for about 20 frames:
Select frame 20, click the Animation button, select Pre-tail , use the directional rotation tool and rotate as shown below:
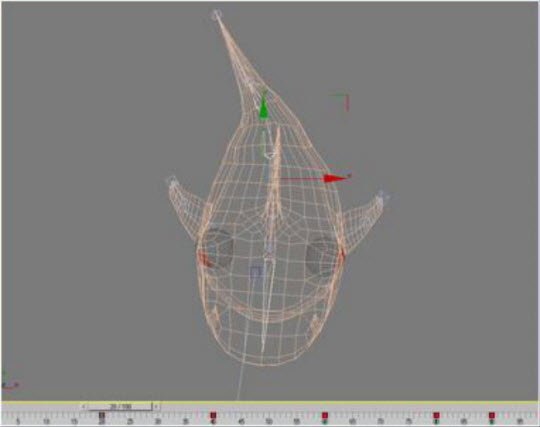
Similarly, manipulate the same with the Tail bone. To make the skin look smooth and smooth, use the Skin modifier / Gizmos function in the Join Angle Deformer section .
Note that it is not recommended to apply active templates to the Main bone section right now, we will do this in the following steps.
Select frame 40, press the Animation button and rotate the Pre-tail and Tail part of the bone like in frame 20 but in the opposite direction, and continue to do so again (in frame 80). After this 80th frame moves, but from the next 10th frame onwards, the model will move faster because of our intention, after looking at the camera, the shark will immediately turn away. as a part of expressing angry feelings or something like that:
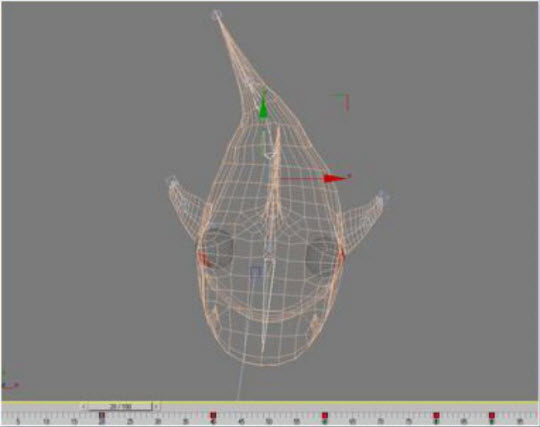
At the end, we will add the Target Direction feature to the Noise parameter as the Projector reference map. To make the surrounding landscape look like it's under water, let the White and Animation Background color be rendered with the Brazilian parameter r / s:
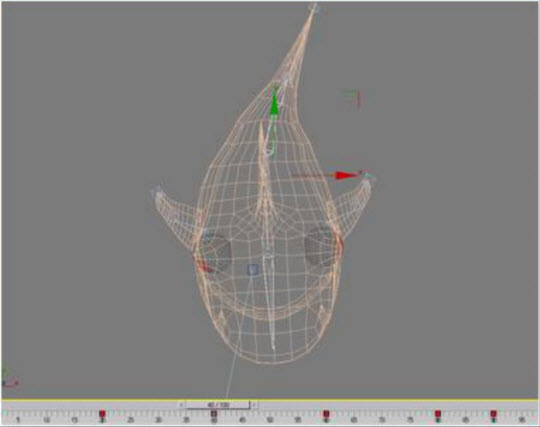
After completing all stages, our final product will look like this:
[youtube] http://www.youtube.com/watch?v=tVJiFz4SRBg [/ youtube]
Good luck!
You should read it
- ★ 3 ways to check the graphics card model on Windows 11
- ★ How does other flat design simulate design?
- ★ The new computer model clearly explains the strange trajectory of the Moon
- ★ Science invented a tsunami simulation model caused by an earthquake
- ★ Tips for efficient bus operation in Bus Simulator: Ultimate