How to Wipe a Mac Clean
Method 1 of 2:
OS X 10.7 or Later
-
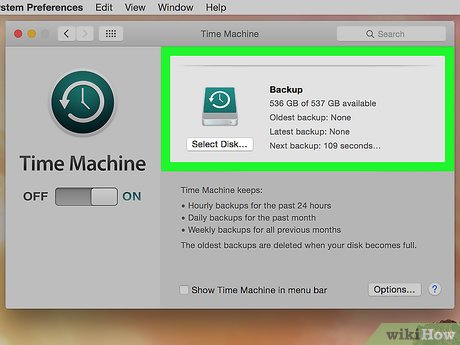
 Back up any data you want to save. Wiping your Mac will erase everything, including your operating system, so keeping a backup on an external hard drive or DVD is a good idea.
 -
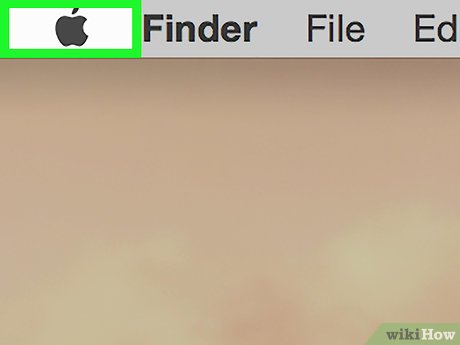
 Open the Apple menu. It's the black apple icon in the upper-left corner of the screen.
 -
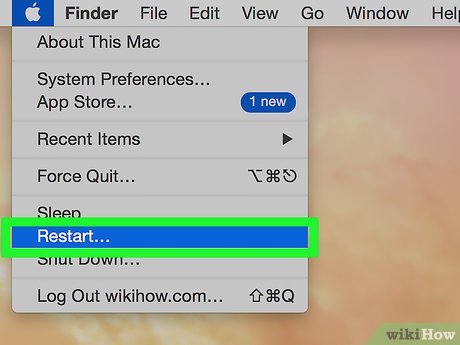
 Click on Restart…. It's near the bottom of the menu.
 -
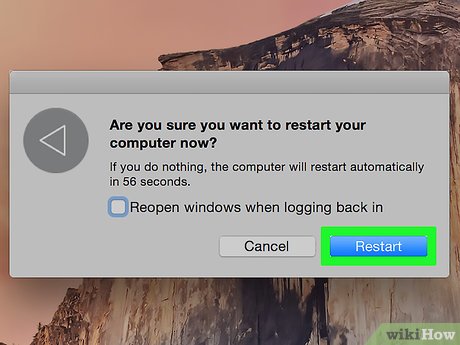
 Click Restart to confirm. This immediately shuts down and reboots your Mac.
- Wait for your Mac to shut down.
-
 Press and hold ⌘+R as the Mac restarts.
 -
 Release the keys when you see the Apple logo. The "macOS Utilities" window will appear.
 -
 Click on Disk Utility. It's at the bottom of the list.
 -
 Click on Continue. It's in the lower-right corner of the window.
 -
 Click on your Mac's hard drive. It's in the upper-left of the window, under "Internal."
 -
 Click on Erase. It's a button at the top-center of the window.
 -
 Name your disk. Type it in the "Name:" field.
 -
 Click on the "Format:" drop-down menu.
 -
 Select a format. To reinstall a MacOS system, select:
- Mac OS Extended (Journaled) for the fastest wipe.
- Mac OS Extended (Journaled, Encrypted) to encrypt the disk after wiping.
-
 Click on Erase. It's in the lower-right corner of the dialog box. The wipe process will begin.
- The time to erase your disk will vary based on disk size, the amount of data stored, and whether your chose an encrypted format.
Method 2 of 2:
OS X 10.6 or Earlier
-
 Back up any data you want to save. Wiping your Mac will erase everything, including your operating system, so keeping a backup on an external hard drive or DVD is a good idea.
 -
 Insert your installation disc. Insert the installation DVD or CD that came with your computer into the computer's disc drive and wait for the computer to recognize the disc.
- If you are using a USB drive instead of an installation disc, insert the USB drive.
-
 Open the Apple menu. It's the black apple icon in the upper-left corner of the screen.
 -
 Click on Restart…. It's near the bottom of the menu.
 -
 Click Restart to confirm. This immediately shuts down and reboots your Mac.
- Wait for your Mac to shut down.
-
 Press and hold C as the Mac restarts.
- If you are using a USB drive instead of an installation disc, hold down ⌥ Option instead.
-
 Open Disk Utility. It's located in the "Utilities" section of the Installation menu.
 -
 Click on your Mac's hard drive. It's in the upper-left of the window, under "Internal."
 -
 Click the Erase tab. It's at the top of the page.
 -
 Name your disk. Type it in the "Name:" field.
 -
 Click on the "Format:" drop-down menu.
 -
 Select a format. If you plan to reinstall OS X, select: Mac OS X Extended (Journaled).
 -
 Click on Erase. It's in the lower-right corner of the dialog box. The wipe process will begin.
- The time to erase your disk will vary based on disk size and the amount of data that was stored on your hard drive.
Share by
Kareem Winters
Update 04 March 2020


