Table of Contents
This guide explains how to use ZFS Snapshots in Ubuntu 20.04, with clear steps, practical tips, and important checks before you begin.
Install ZFS
To be able to use ZFS features, you must also use ZFS. This means that during Ubuntu installation, at the Installation type step, instead of going with the default Erase disk and install Ubuntu, you should click on Advanced features.
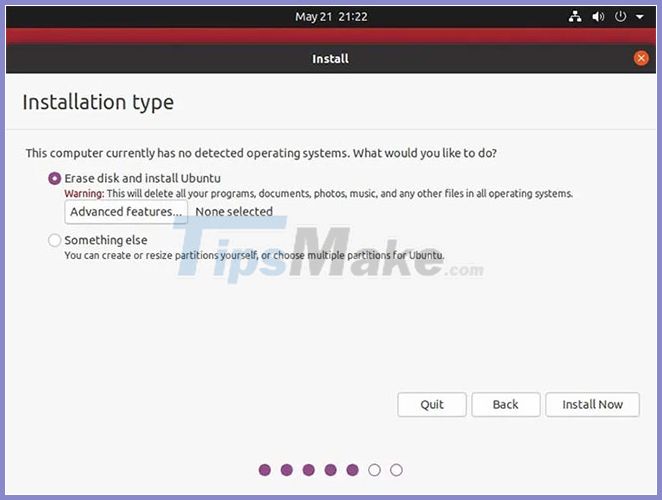
In the pop-up window, select EXPERIMENTAL: Erase disk and use ZFS and click OK.
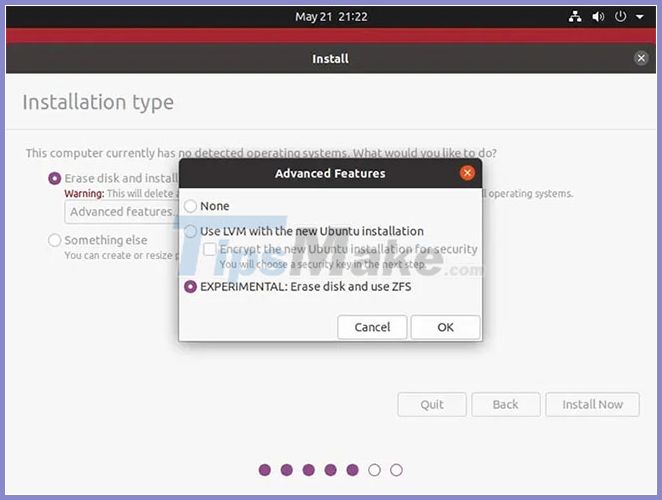
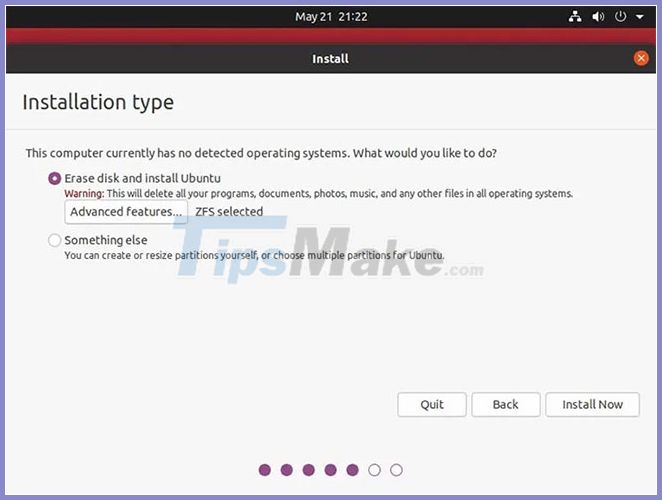
With ZFS selected displayed next to Advanced features.., you can proceed with the rest of the installation as you normally would.
Try to install a new package
With Ubuntu 20.04, you don't have to do anything to take advantage of ZFS's Snapshots feature. You may notice the feature working when installing new packages in your favorite Terminal, creating symlinks for alternate versions of files, and updating the GRUB menu.
However, when you need them to revert the system to an earlier state, they are there for you to use. Let's run a test. Install a package you want to try out:
sudo apt install PACKAGE_NAME
After trying out the new package, you can uninstall it using apt. For this tutorial, however, you'll see in the steps to follow in order to be able to revert your entire system back to where it was before the installation.
Restore to the previous state
Whenever you decide you want to revert your file system to its original state, reboot. After the initial boot screen, you'll have to press another key to access GRUB, depending on your computer's firmware.
If the computer uses BIOS, you must hold down the Shift key. If it uses UEFI, you have to press Escape after the system boot starts but before the Supported operating systems starts to load.
Scroll to the third item History for Ubuntu 20.04 LTS and press Enter.

Select the snapshot you want to revert to from the list that appears.
Choose whether you only want to revert system files to their previous state but keep your personal data intact or if you want to go back in time for everything.
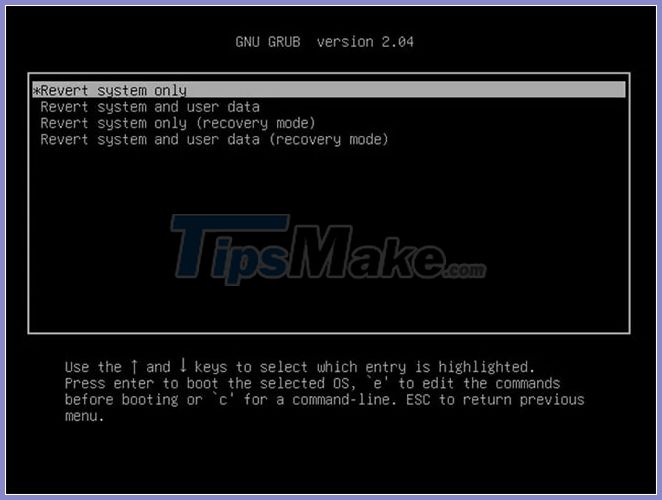 Choose one of the revert options
Wait a while for different versions of the file to 'remap' in the file system. When you advance to the next screen, they will return to their previous position.
FAQ
What should I know about ZFS Snapshots in Ubuntu 20.04?
Focus on the key features, requirements, limitations, and practical use cases explained in this guide.
How do I get the best results with ZFS Snapshots in Ubuntu 20.04?
Follow the recommended steps, use current software or information, confirm compatibility, and review settings before major changes.
Are there any risks or limitations?
Potential limitations depend on compatibility, data quality, cost, privacy, support, and how the product or method is used.
Related Articles
 What's New in Ubuntu 21.10?7 minutes read
 Why Is Ubuntu LTS Preferred Over Regular Distros?6 minutes read
 What's New in Ubuntu 18.04 LTS Just Released?3 minutes read
 How to Create Snapshots in VMware Workstation Player for Free: Practical Guide6 minutes read
 How to Prolong the Life of Ubuntu 18.04 Installation with Ubuntu Pro6 minutes read
 What Is the Difference Between Ubuntu Desktop and Ubuntu Server?5 minutes read
Reader Comments 0
Sign in with email or Google to join the discussion.