Table of Contents
This practical guide walks through how to use Scrcpy to Control Android on Linux. It organizes the required steps, settings, and checks so you can complete the task with fewer mistakes.
You can connect to your Android device via USB cable or wirelessly and control it with a keyboard and mouse. Here's how to control Android devices on Linux using Scrcpy.
Install Scrcpy in Linux
Before installing Scrcpy, you should install adb (Android Debug Bridge) in your system. For this purpose, execute one of the following commands, depending on your distribution:
# Debian-based systems
sudo apt install adb
# Fedora-based systems
sudo yum install adb
# Arch-based systems
sudo pacman -S android-tools
After installing adb, install the stable version of Scrcpy:
# Debian-based systems
sudo apt install scrcpy
# Fedora-based systems
sudo dnf copr enable zeno/scrcpy && sudo dnf install scrcpy
# Arch-based systems
sudo pacman -S scrcpy
It is also possible to install the stable version of Scrcy using snap:
sudo snap install scrcpy
After successful installation, you can verify its version with the scrcpy -v command:
scrcpy -v
Install a Newer Version of Scrcpy for More Features
If you want features like Audio forwarding And Camera mirroring , you need to install a newer version of Scrcpy (currently version 2.4).
For this purpose, it is necessary to install it through the source code.
First, make sure your system has all the necessary dependencies:
# Debian-based systems
sudo apt install ffmpeg libsdl2-2.0-0 adb wget gcc git pkg-config meson ninja-build libsdl2-dev libavcodec-dev libavdevice-dev libavformat-dev libavutil-dev libswresample-dev libusb-1.0-0 libusb-1.0-0-dev
Then, clone the Scrcpy repository using the git clone command:
git clone https://github.com/Genymobile/scrcpy
Next, navigate to its directory and run the Scrcpy installation script:
cd scrcpy ./install_release.sh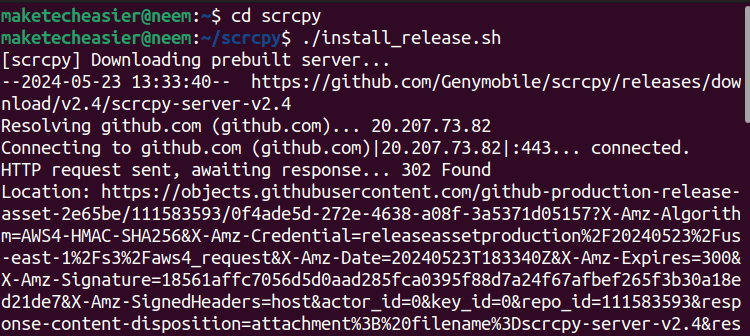
This way, the current Scrcpy version will be installed in your Linux system. To verify it, execute the following command:
scrcpy -vNow you're ready to connect to your Android device via USB or wirelessly.
Connect to Android via USB Cable
To connect to an Android device, you need to enable Developer options And USB debugging .
To do this, open Settings -> System :

Open the About phone Option and select Build number Multiple times until you get a message that says ' You are a developer ':
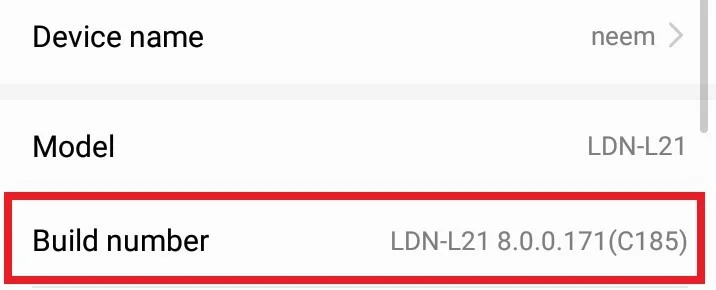
Next, return to System settings And here you will see Developer options . In Developer options , enable The USB debugging Option:

After enabling the USB debugging option, you will receive a prompt to confirm your choice. Here, select the OK Button:
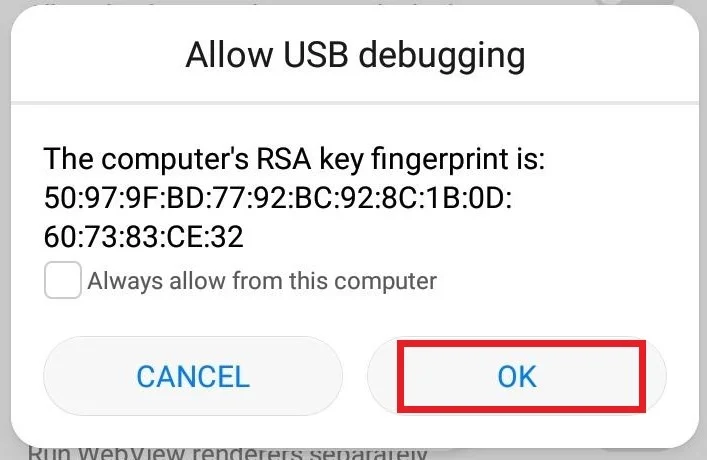
Now, connect your phone to the Linux system using a USB cable. After doing this, you will see the USB debugging mode notification on Android.
Next, launch Terminal in the Linux system and execute the scrcpy command to mirror the device:
scrcpy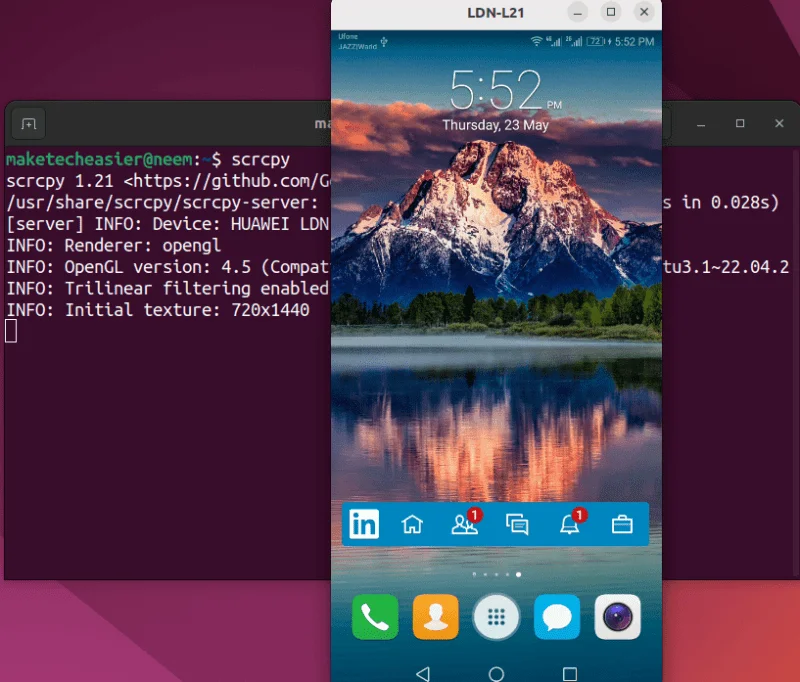
You can see Android mirrored on your system.
To disconnect the phone, just select the Ctrl + C Keys.
Connect to Android via Wireless Connection
You can also connect your Android device wirelessly. First, connect your phone to Linux via USB cable and execute the following adb command to have Linux recognize the Android device:
adb devicesFind your Android device's IP address:
adb shell ip route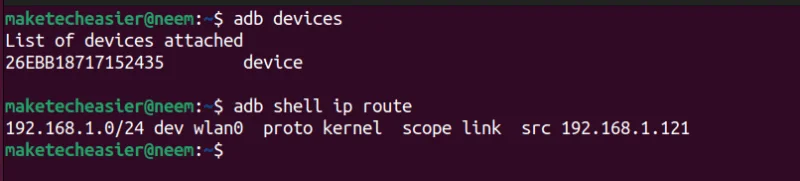
Keep in mind : Linux and Android must be connected to the same Wi-Fi network.
You can also check your phone's IP address by going to Settings -> Wireless & network -> Wi-Fi And pressing the Configure Button:
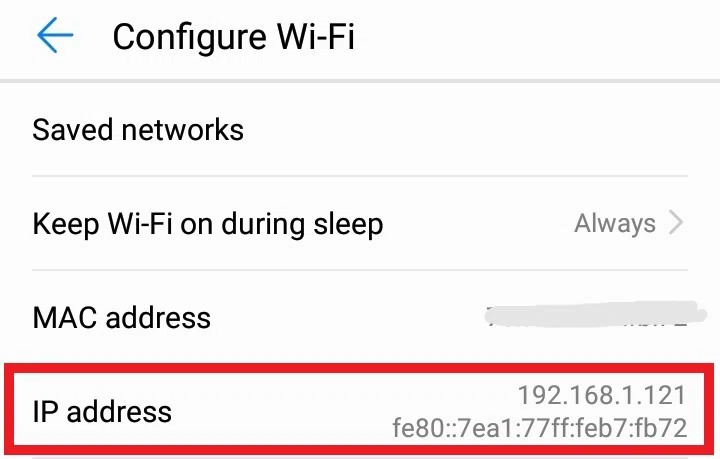
Once you know your phone's IP address, you must configure a port for your TCP/IP connection. For example, set it to 5000:
adb tcpip 5000Note : Any unassigned port can be configured.
Now, disconnect your phone from the USB cable. Then, connect the phone to the Linux system using the phone's IP address and the specified TCP/IP port over the network:
sudo adb connect 192.168.1.121:5000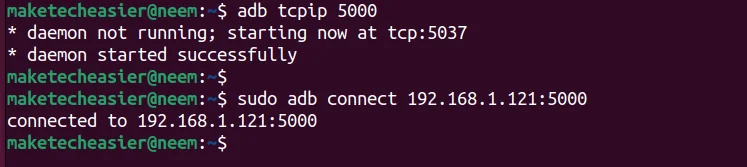
If you have multiple devices, you can use your Android's serial number to connect to the device over the network:
scrcpy -S
Finally, execute the scrcpy command to control and project the Android screen:
scrcpy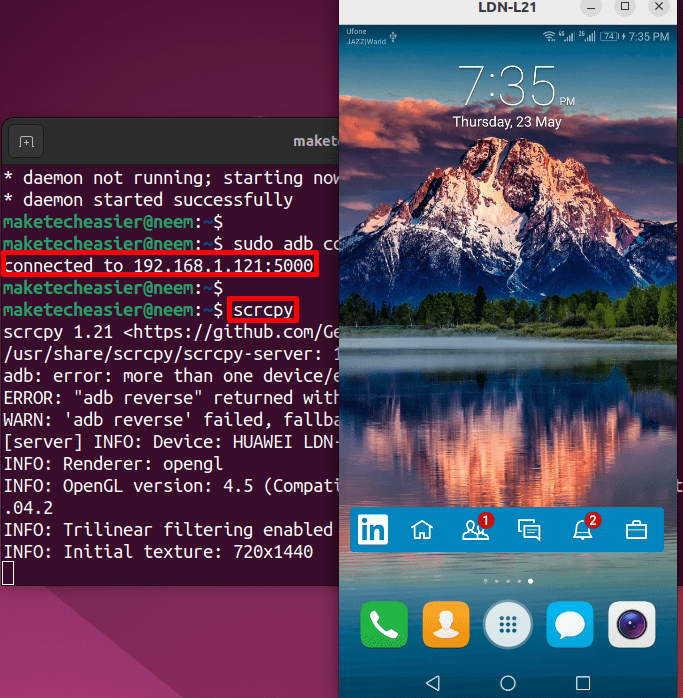
As mentioned earlier, you can disconnect this connection by pressing the Ctrl + C Keys.
FAQ
What do I need before I use Scrcpy to Control Android on Linux?
Prepare the required device, software, account access, and any files mentioned in the steps. Back up important data before changing system settings.
Why does the process look different on my device?
Menus and options can vary by operating system, app version, device model, or region. Use the closest matching setting and check the official documentation when needed.
What should I do if a step does not work?
Restart the app or device, confirm permissions and connectivity, update the software, and repeat the step carefully. Avoid unofficial downloads or tools.
Related Articles
 Set up, Control New Android TV Box Faster Thanks to Android TV6 minutes read
 5 Ways to Control Linux Computer from Phone7 minutes read
 How to Access Linux Server from Android6 minutes read
 How to Install Kali Linux on Android Using Linux Deploy7 minutes read
 How to Use the Linux Command Line on Android with Termux12 minutes read
 How to Control Wi-Fi Network in Linux Using Evillimiter7 minutes read
Reader Comments 0
Sign in with email or Google to join the discussion.