How to install Fossil version control system in Linux
Fossil is a powerful version control system (VCS) for Linux.
Table of Contents
Fossil is a powerful version control system (VCS) for Linux. It is an alternative to Github, but unlike Git, Fossil works by providing a complete set of tools to create, modify, and even share your repositories online. This article will show you how to install and deploy Fossil on Ubuntu Linux.
Docker and Fossil prerequisites
The first step in deploying Fossil is to get the repository files for Docker. To do that, find the signing key for the Docker project:
curl -fsSL https://download.docker.com/linux/ubuntu/gpg | sudo gpg --dearmor -o /etc/apt/keyrings/docker.gpg
sudo chmod a+r /etc/apt/keyrings/docker.gpg
Create a new file in '/etc/apt/sources.list.d' . This will contain the repository link where Ubuntu will fetch Docker packages:
sudo nano /etc/apt/sources.list.d/docker.listPaste the following code into your new repository file:
deb [arch=amd64 signed-by=/etc/apt/keyrings/docker.gpg] https://download.docker.com/linux/ubuntu jammy stableSave your Docker repository file, then install the snap core package:
sudo snap install coreDownload the Certbot snap package from the Electronic Frontier Foundation:
sudo snap install certbot --classicRun the following command to refresh your system package list:
sudo apt update && sudo apt upgradeInstall Docker and Nginx along with their dependency packages:
sudo apt install docker-ce docker-ce-cli containerd.io docker-compose-plugin docker-buildx-plugin nginxBuild and install Fossil in Linux
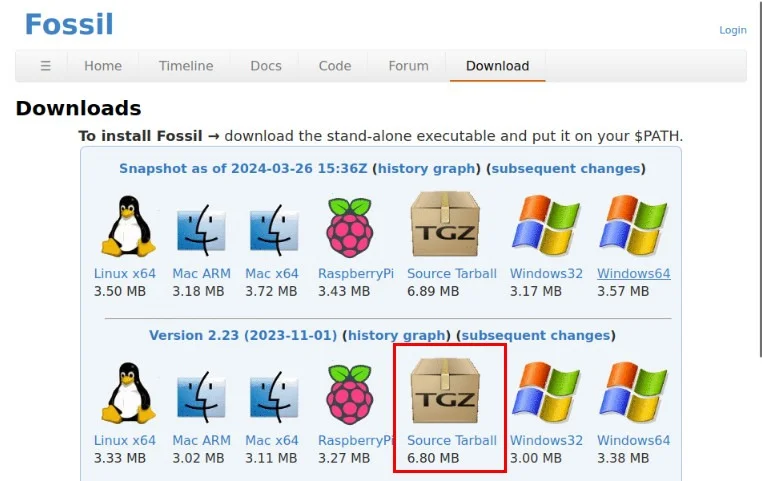
Navigate to Fossil's download page, then select the source tarball for the latest stable release. The example will download version 2.23 of Fossil.
Move the source tarball into your home directory, then extract it:
mv ~/Downloads/fossil-src-2.23.tar.gz
tar xvzf ~/fossil-src-2.23.tar.gz
Go inside the tarball folder, then open Fossil's Dockerfile with your favorite text editor:
cd ~/fossil-src-2.23
nano ./Dockerfile
Scroll to the bottom of the file, then add the following line before the "--user", "admin" ] lines:
"--https",
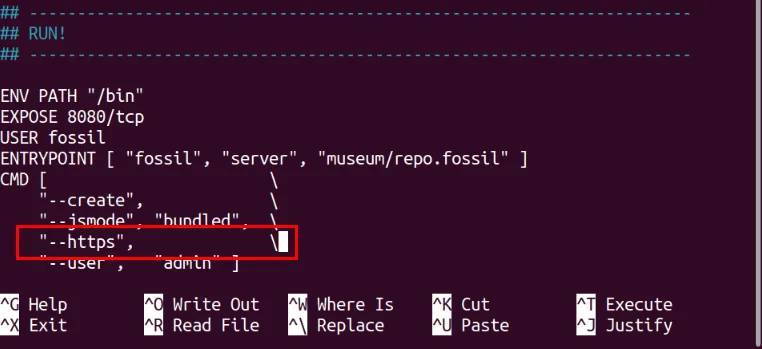
Save the modified Dockerfile, then build the container image:
sudo docker build -t fossil .Run Fossil and create an SSL Reverse Proxy
You now have a new instance of Fossil VCS running as a Docker container on your host. To access it, you need to encrypt every external connection to Fossil.
To start, create a new DNS 'A' record pointing to the IP address of the Fossil server.

Use your favorite text editor to create a new site configuration file for your Fossil instance:
sudo nano /etc/nginx/sites-available/fossil-scmPaste the following code block into the new site configuration file:
server {
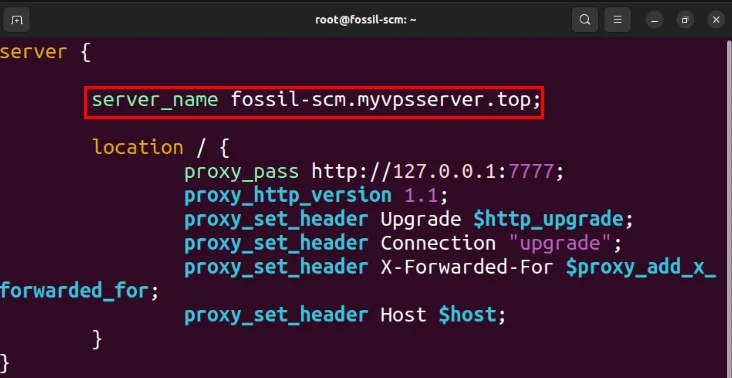
server_name SUBDOMAIN.YOUR-ROOT.DOMAIN;
location / {
proxy_pass http://127.0.0.1:7777;
proxy_http_version 1.1;
proxy_set_header Upgrade $http_upgrade;
proxy_set_header Connection "upgrade";
proxy_set_header X-Forwarded-For $proxy_add_x_forwarded_for;
proxy_set_header Host $host;
}
}Replace the server_name variable with the subdomain for Fossil.
Create a symbolic link for the site configuration file to '/etc/nginx/sites-enabled/' :
sudo ln -s /etc/nginx/sites-available/fossil-scm /etc/nginx/sites-enabled/Start the system's Nginx daemon using systemctl:
sudo systemctl enable --now nginx.service
sudo systemctl reload nginx.service
Launch the new Fossil Docker image by running the following command:
sudo docker run
 --publish 7777:8080
 --name fossil
 --cap-drop AUDIT_WRITE
 --cap-drop CHOWN
 --cap-drop FSETID
 --cap-drop KILL
 --cap-drop MKNOD
 --cap-drop NET_BIND_SERVICE
 --cap-drop NET_RAW
 --cap-drop SETFCAP
 --cap-drop SETPCAP
 fossil
Open a new Tmux panel by pressing Ctrl + B , then C . Inside, run the following command to request an SSL certificate from Certbot:
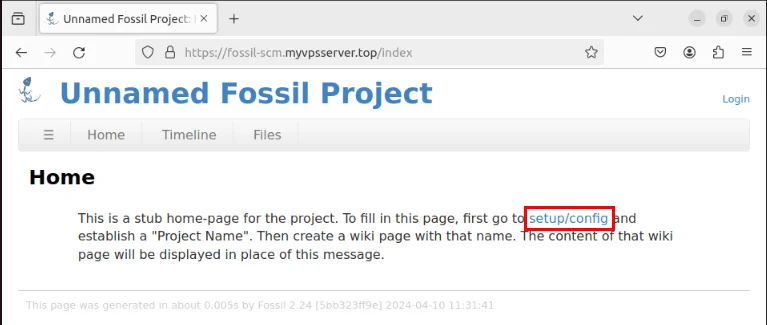
sudo certbot --nginx -d fossil-scm.myvpsserver.topCheck if your Fossil instance is accessible over the Internet by navigating to the subdomain.

Create your first Fossil repository
With Fossil up and running on your Linux server, you can now configure your new instance. Click the setup/config link in the Home section .
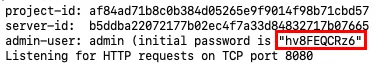
Provide details about the administrator account, then click sign in. You can find the password for the administrator account in the Docker container's output log.
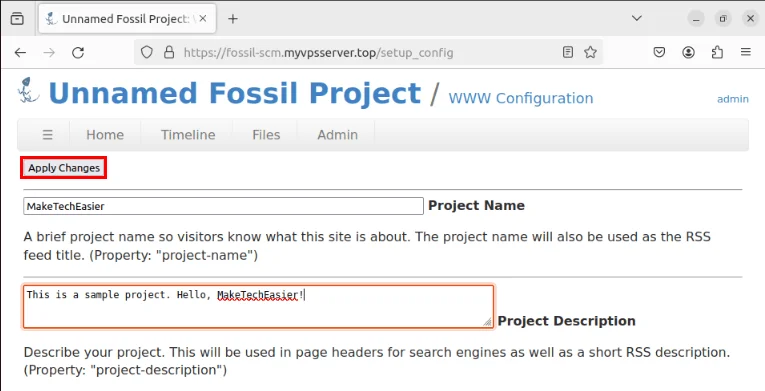
Fill out both the Project Name and Project Description text boxes with your repository details, then click Apply Changes to save it.
Clone and use Fossil repository
To use a new code repository, you first need to create a copy of the repository on your machine. To do that, install the local version of Fossil on your Linux desktop:
sudo apt install fossilDrag the entire repository to your machine and into its repository folder:
fossil clone https://SUBDOMAIN.YOUR-ROOT.DOMAIN
cd ./YOUR-REPO-NAME
Add the initial files, then make changes to the Fossil repository:
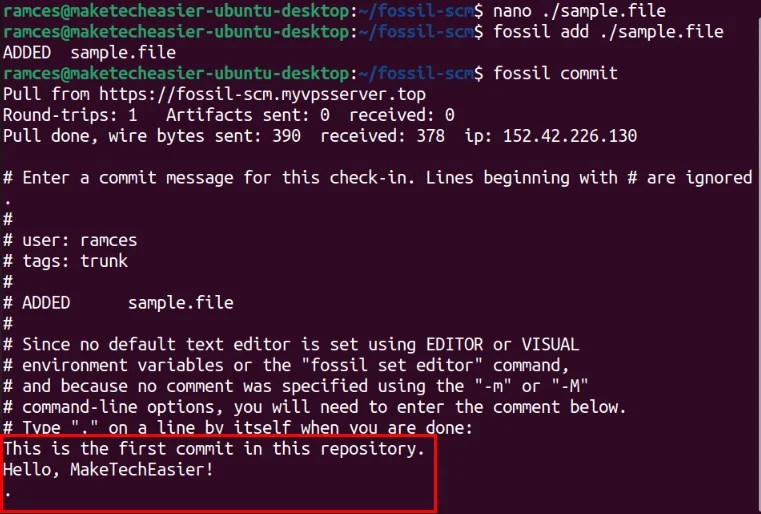
nano ./sample.file
fossil add ./sample.file
fossil commit
Provide details about your original commit, then save it by creating a new line starting with a period (.).
Push local changes to the remote Fossil repository
By default, Fossil does not provide any write permissions to its remote repository. Any changes you make to the local repository will remain there and not be reflected in the Fossil instance.
To fix this, go to the web interface of your Fossil instance and log in as an administrator.
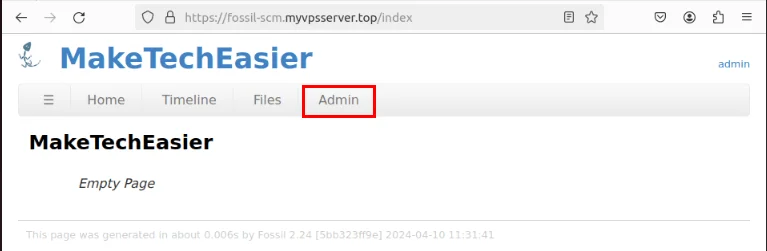
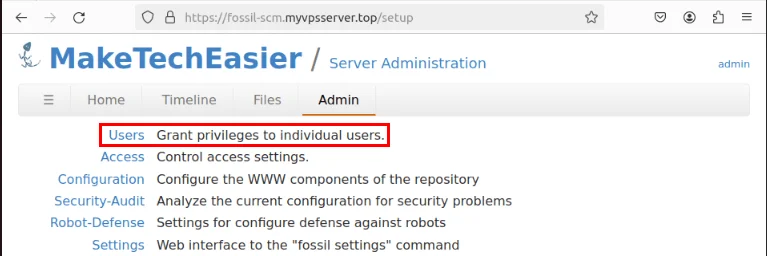
Click the Admin category on the top menu of the dashboard.
Select Users on the admin console.
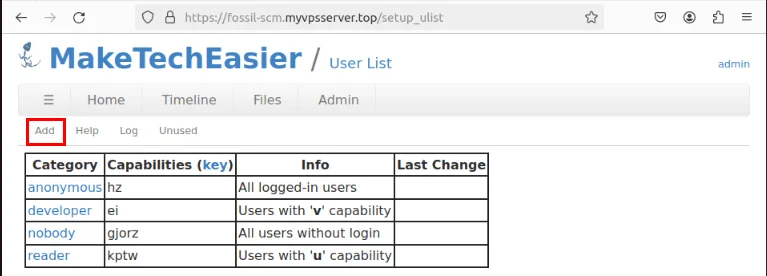
Click Add to create a new user for the repository.
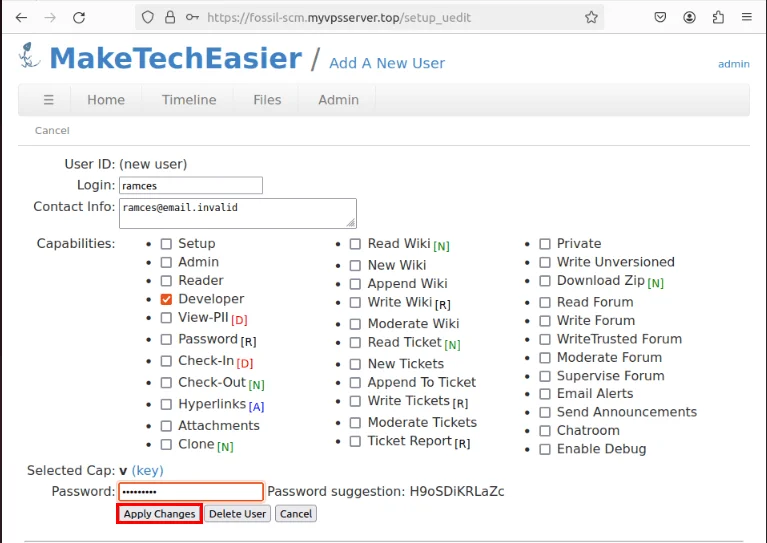
Provide a username and password for the new user.
Check the Developer checkbox on the Capabilities category , then click Apply Changes to save the new user.
Return to your local terminal, then run the following command:
fossil push https://YOUR-USERNAME@SUBDOMAIN.YOUR-ROOT.DOMAINNote : You can also fetch new changes from a remote Fossil repository by running fossil pull.
Enter the password for the Fossil user, then press Enter to push local changes to your remote repository.
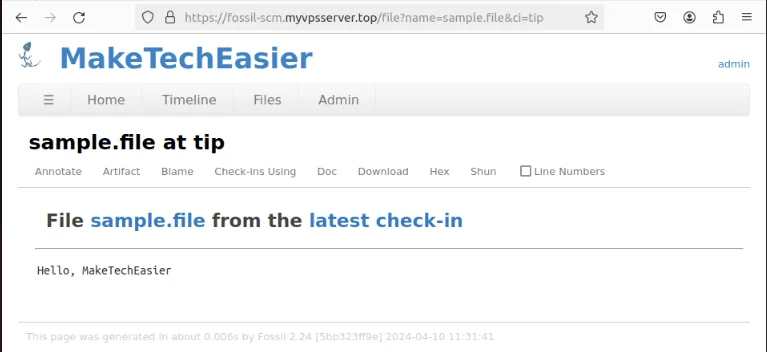
Confirm that the remote Fossil repository has received local commits by navigating to its web interface.
Installing and implementing your own Fossil version control system is just the first step to taking back control of your data online. Learn how you can secure your online communications by hosting your own email alias server with SimpleLogin.
Was this article helpful?
Your feedback helps us improve.


Reader Comments 0
Sign in with email or Google to join the discussion.