How to Use Rufus
Part 1 of 2:
Using Rufus
-
 Navigate to the official Rufus website at https://rufus.akeo.ie/.
 -
 Scroll to the 'Downloads' section, and select the option to download the latest version of Rufus to your Windows-based computer.
 -
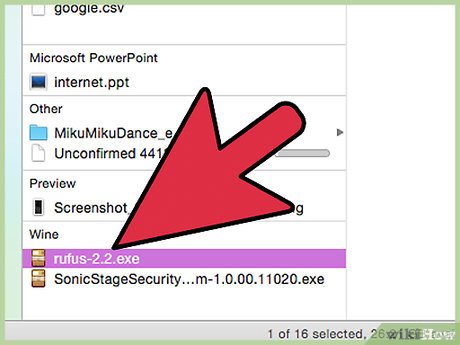
 Double-click on Rufus to launch the application when the download is complete. No additional installation is necessary.
 -
 Insert the USB drive you want to use with Rufus into an open USB port on your computer.
 -
 Transfer any personal files stored on the USB drive to your computer prior to using Rufus. Rufus will format and erase all data from your USB drive.
 -
 Select your USB drive from the 'Device' dropdown menu in Rufus. In most cases, your USB drive will be listed as 'No_Label.'[1]
 -
 Place a checkmark next to 'Create a bootable disk,' and select 'ISO Image' from the dropdown menu. An .iso file is an image file that contains all contents of a specific file system, such as an operating system.
 -
 Click on the drive image logo displayed to the right of 'ISO Image,' and select the .iso file you plan on using with Rufus.
 -
 Click on 'Start,' then click on 'OK' to confirm that you want to erase and format the USB drive for use with Rufus. Rufus will start copying the contents of the .iso file to your USB drive, which may take up to five minutes to complete.[2]
 -
 Click on 'Close' when Rufus finishes preparing your USB drive.
 -
 Eject the USB drive from your computer.
 -
 Verify that the computer on which you want to install the .iso file is powered off, and insert the USB drive into an available USB port.
 -
 Power on the computer. Your computer will automatically boot from the USB drive using the .iso file, and you can now install your program or operating system as desired.[3]
- If your computer does not automatically boot from USB, follow these steps to modify BIOS settings and boot from USB.
Part 2 of 2:
Troubleshooting Rufus
-
 Place a checkmark next to 'List USB Hard Drives' in Rufus if the program fails to detect your USB drive. Some USB drives may not be compatible with Rufus.
- Click on the arrow next to 'Format Options' to access the advanced options panel in Rufus.
-
 Try using another USB flash drive if you receive the message, 'Device eliminated because it appears to contain no media' when using Rufus. This error normally indicates that the USB drive is no longer able to detect memory, or is out of rewrites.
 -
 Try re-enabling automounting on your computer if you receive the message, 'Error: [0x00000015] The device is not ready.' This error may occur if you previously disabled automounting.[4]
- Type 'cmd' into the search box in Start or Windows Explorer.
- Right-click on 'cmd.exe,' then select 'Run as administrator.'
- Type 'mountvol /e' into the dialog box, then press 'Enter.'
- Close the command prompt window, then try using Rufus again.
Share by
Isabella Humphrey
Update 05 March 2020
You should read it
- ★ How to create USB Boot, USB install Windows by Rufus
- ★ It is possible to create a USB to install Windows 11 on an unsupported machine with Rufus
- ★ Rufus added the option to download Windows 8.1, Windows 10 ISO directly from the application
- ★ How to run Windows 11 on an old PC with Windows To Go and Rufus
- ★ How to Use an Operating System from a USB Stick


