How to Use Lucky Patcher on Android
Remove license verification
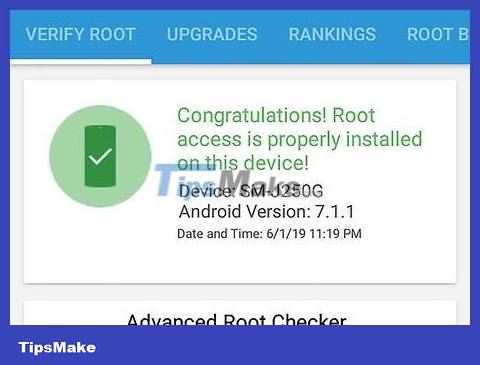
Root Android device. You need to use a rooted Android device to be able to modify applications on your phone with Lucky Patcher. The rooting process will vary depending on the Android device, but this operation has the potential to harm the phone and is beyond the warranty. You must be extremely cautious and proceed according to the latest updated instructions for your particular phone.
See more online about how to root Android devices without using a PC for more details.
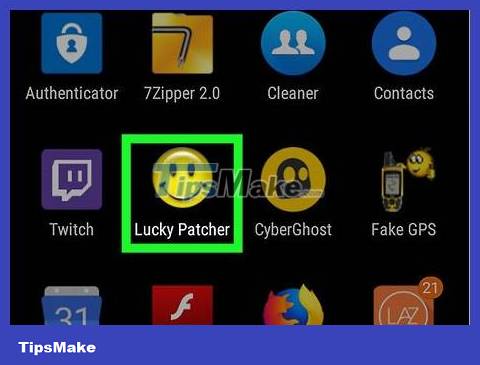
Open Lucky Patcher. The app has a yellow smiley face icon. Lucky Patcher will open with a list of applications installed on the phone.
See more about how to download Lucky Patcher on Android for more information.

Tap an app. This is the app for which you want to remove license verification. A menu of different options will appear.

Tap Menu of Patches . A list of patches that can be installed for the application will appear.

Click Remove License Verification . A menu of different patches to remove license verification will appear.

Tap the patch you want to use. Next to the different patches are checkboxes. Click the check box to select the patch you want to use.
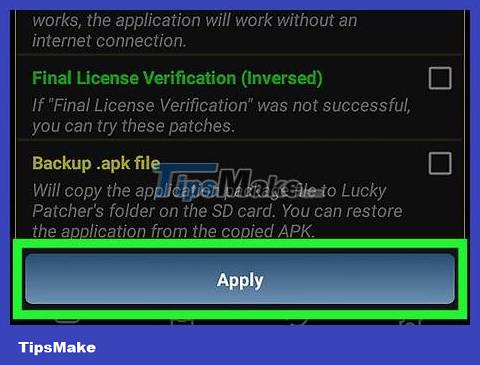
Click Apply . The application patching process to remove license verification will begin and take a few minutes.

Click OK . If the patch works, you will see a success screen with results appearing. Click "Ok" to continue.
Remove Google ads
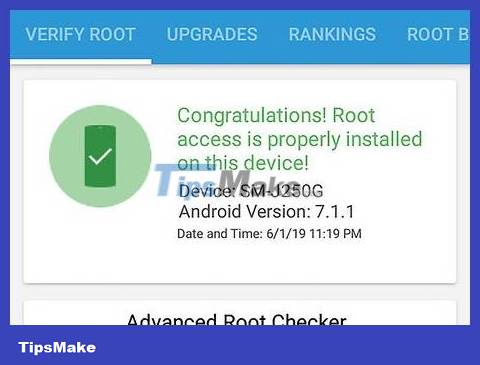
Root Android device. You need to use a rooted Android device to be able to modify applications on your phone with Lucky Patcher. The rooting process will vary depending on the Android device, but this operation has the potential to harm the phone and is beyond the warranty. You must be extremely cautious and proceed according to the latest updated instructions for your particular phone.
See more online about how to root Android devices without using a PC for more details.
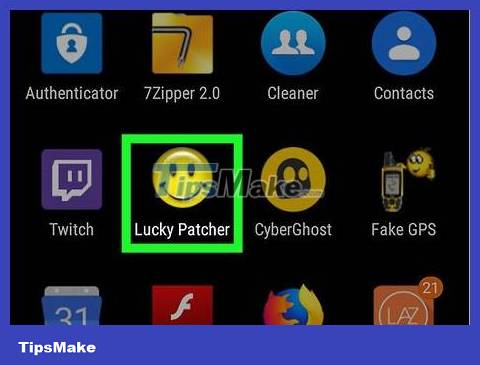
Open Lucky Patcher. The app has a yellow smiley face icon. Lucky Patcher will open with a list of applications installed on the phone.
See more about how to download Lucky Patcher on Android for more information.
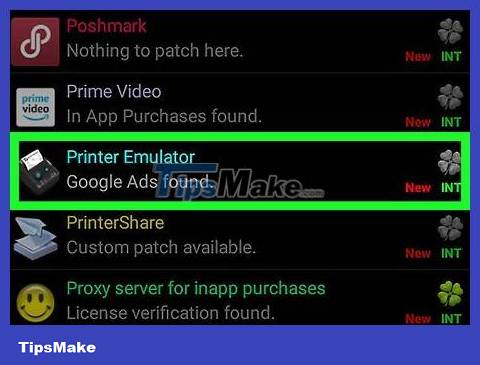
Tap an app. This is the application for which you want to remove Google ads.
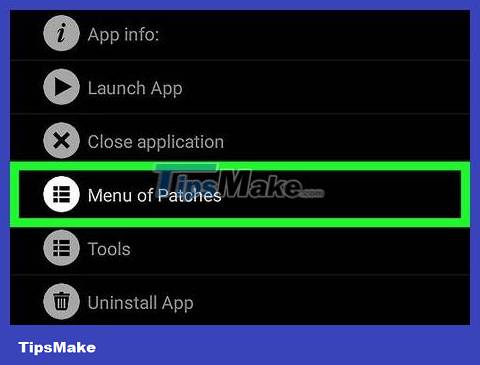
Click Menu of Patches . A list of patches that can be installed for the application will appear.
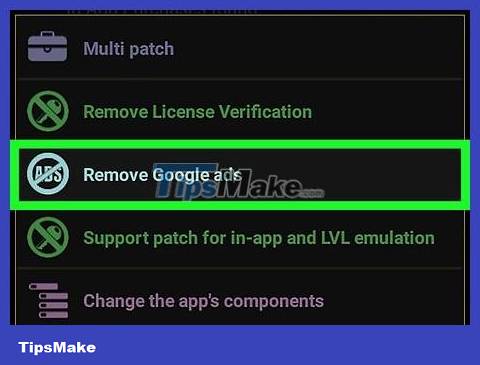
Click Remove Google ads . A menu with two options will appear.
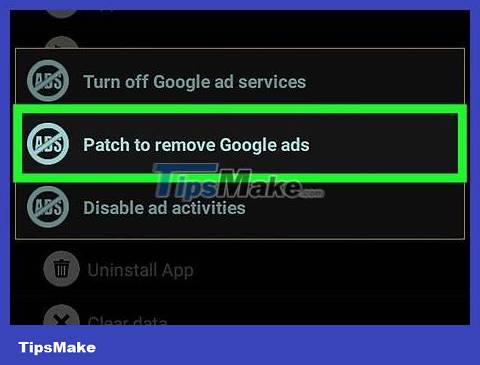
Click Patch to remove Google ads (Patch to remove Google ads). This is the first option in the pop-up menu.

Click Apply . The process of patching the app to remove Google Ads will begin and take a few minutes.
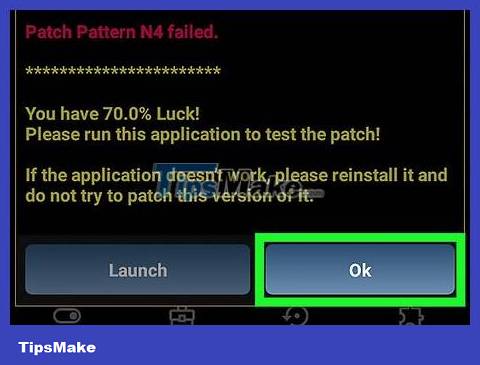
Click Ok . If the patch works, a success screen with results will appear. Click "Ok" to continue.
Apply custom patch
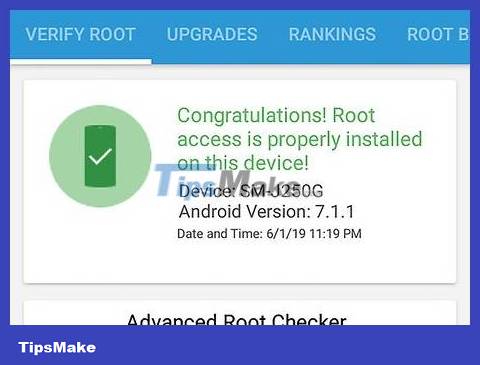
Root Android device. You need to use a rooted Android device to be able to modify applications on your phone with Lucky Patcher. The rooting process will vary depending on the Android device, but this operation has the potential to harm the phone and is beyond the warranty. You must be extremely cautious and proceed according to the latest updated instructions for your particular phone.
See more online about how to root Android devices without using a PC for more details.
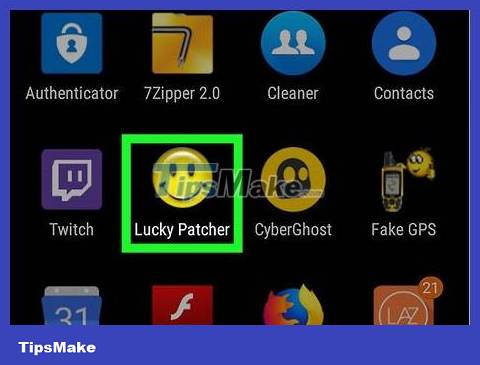
Open Lucky Patcher. The app has a yellow smiley face icon. Lucky Patcher will open with a list of applications installed on the phone.
See more about how to download Lucky Patcher on Android for more information.
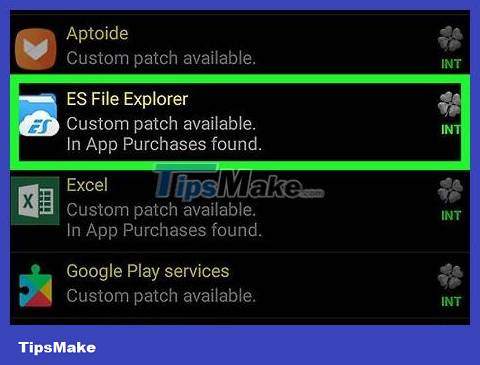
Tap an app. This is the application to which you want to apply the custom patch.
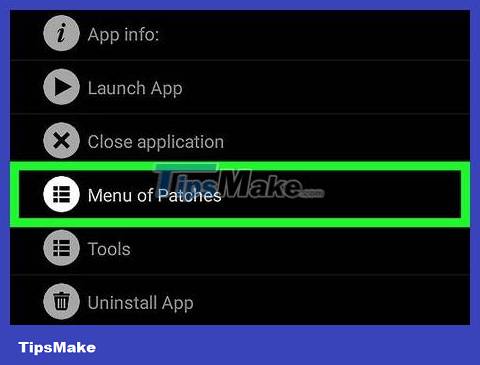
Click Menu of Patches . A list of patches that can be installed for the application will appear.

Click Custom patch . You'll probably see a menu with custom patches. If there is only one custom patch available, you will be asked if you want to apply that custom patch.
To download the latest custom patches, tap the "⋮" button in the upper right corner, then select "Download custom patches" from the settings menu.

Click on custom patch. A window will pop up with a description of what the patch does.

Click Apply . The custom patch will be applied. This process may take a few minutes.
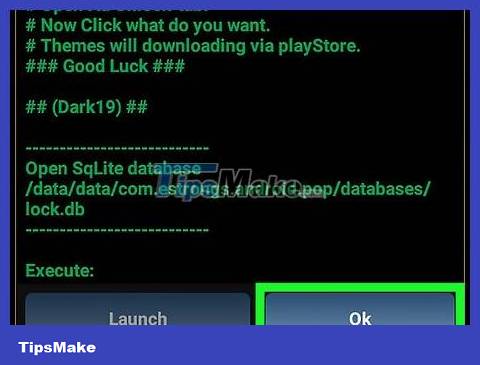
Click Ok . If the patch works, a success screen with results will appear. Click "Ok" to continue.
Change app permissions
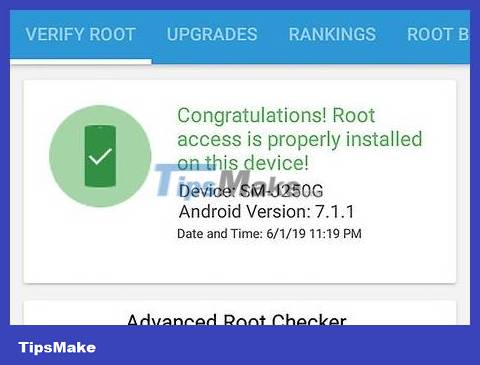
Root Android device. You need to use a rooted Android device to be able to modify applications on your phone with Lucky Patcher. The rooting process will vary depending on the Android device, but this operation has the potential to harm the phone and is beyond the warranty. You must be extremely cautious and proceed according to the latest updated instructions for your particular phone.
See more online about how to root Android devices without using a PC for more details.
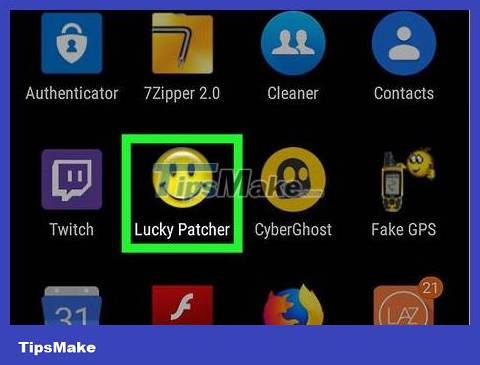
Open Lucky Patcher. The app has a yellow smiley face icon. Lucky Patcher will open with a list of applications installed on the phone.
See more about how to download Lucky Patcher on Android for more information.

Tap an app. This is the app for which you want to change permissions.
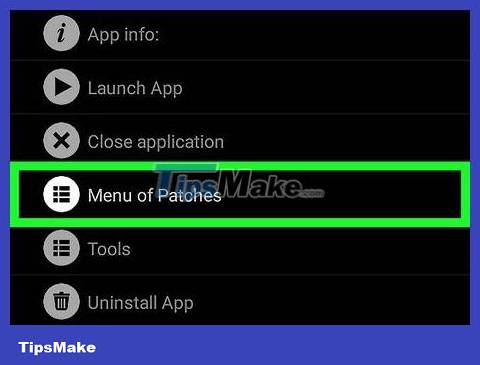
Click Menu of Patches . A list of patches that can be installed for the application will appear.
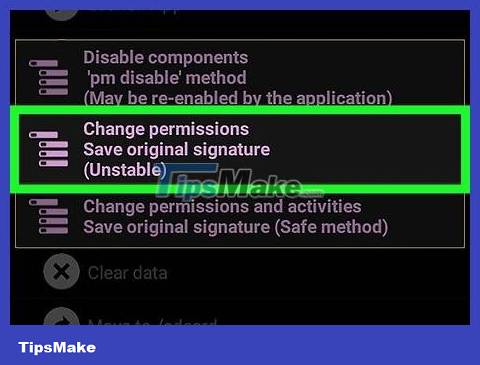
Click Change permissions . A list of permissions will appear.
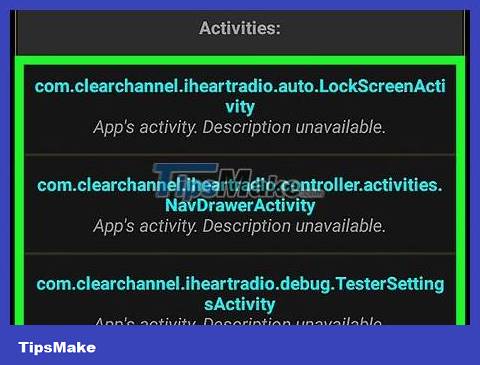
Tap individual permissions. If the text about a certain permission is green, it means the permission has been activated. If the permission text is red, the permission has been disabled.
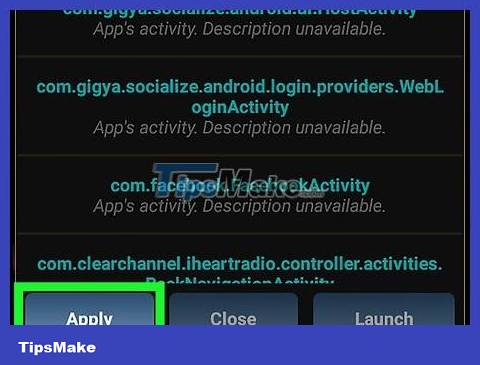
Click Apply . The app will restart with the permission changes.
Generate modded APK files
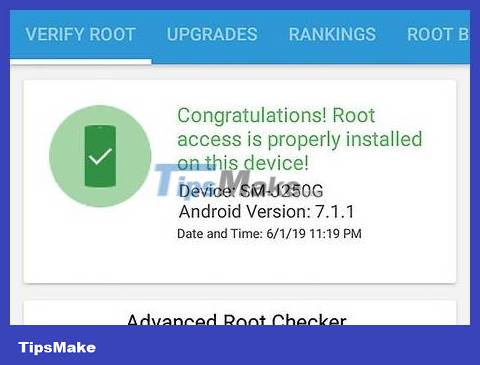
Root Android device. You need to use a rooted Android device to be able to modify applications on your phone with Lucky Patcher. The rooting process will vary depending on the Android device, but this operation has the potential to harm the phone and is beyond the warranty. You must be extremely cautious and proceed according to the latest updated instructions for your particular phone.
See more online about how to root Android devices without using a PC for more details.
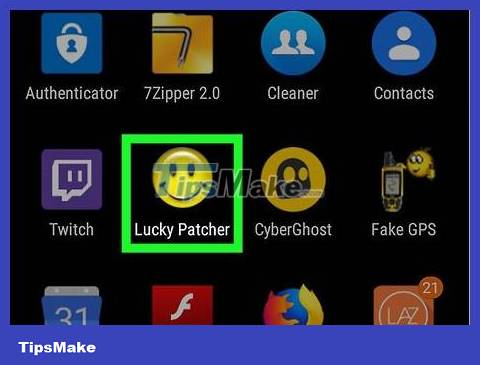
Open Lucky Patcher. The app has a yellow smiley face icon. Lucky Patcher will open with a list of applications installed on the phone.
See more about how to download Lucky Patcher on Android for more information.
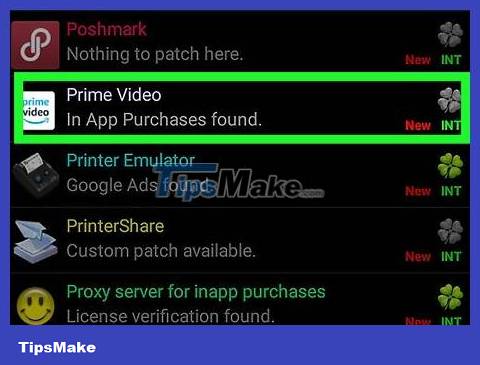
Tap an app. This is the app for which you want to create a modded APK file.
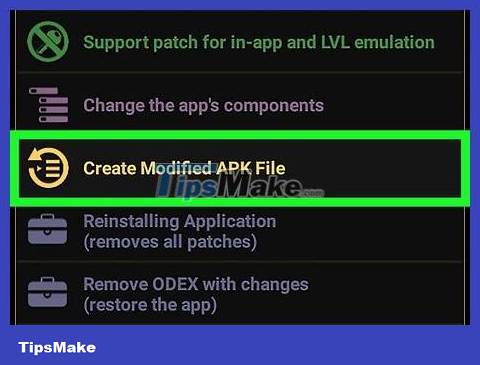
Click Create Modified APK File . This option is in the menu that initially appears when you tap the app.
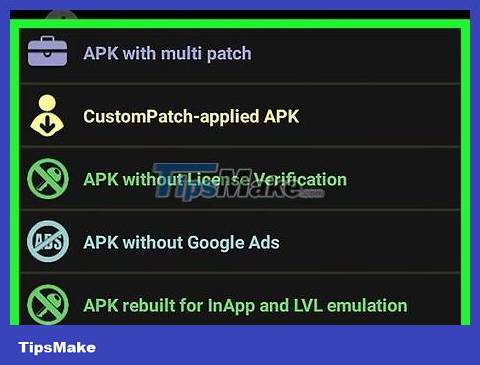
Click on a patch to adjust the APK file. A list of patches that you can use to create a modified APK file will appear.

Click Rebuild The App . This blue button is at the bottom of the screen. The APK file of the patched application will be separated from the original application. You can find the APK file in the /sdcard/LuckyPatcher/Modified/.
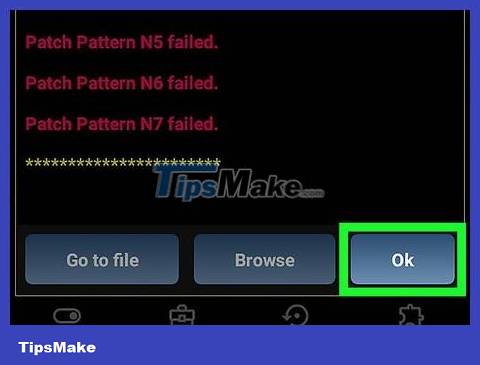
Click Ok to confirm that the APK file has been created. You can also click "Go to File" to go to the folder containing the APK file.
You should read it
- ★ What is the time to use the Lucky Egg accelerator in Pokemon GO?
- ★ How to lucky money for relatives and friends through Zalo Pay application
- ★ Luckily, it was not accidental, but due to the practice
- ★ Participate in Lien Lien Mobile Lucky Gift Bag event
- ★ Things to know about Luck Egg increase XP in Pokemon GO