How to Unlock iPhone Without Passcode
Bypass screen lock on iOS 9.2.1
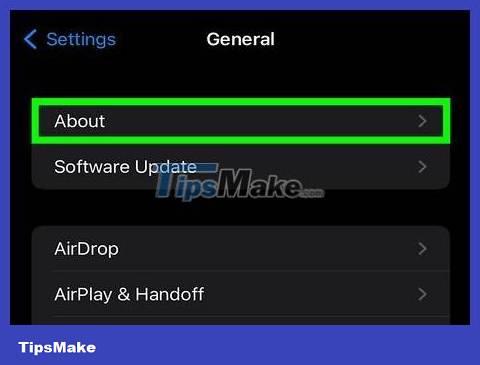
Make sure your phone is running the appropriate iOS version. This operation will not work on iPhones with iOS 9.3 and newer versions; Downgrading the iOS version is possible if you don't mind jailbreaking your iPhone, but note that this will void Apple's warranty policy.

Make sure your iPhone is locked. This method does not disable the screen passcode, so you still need to perform the iPhone data recovery step to permanently delete the passcode.

Hold the 'Home' button for 2 seconds to enable Siri.
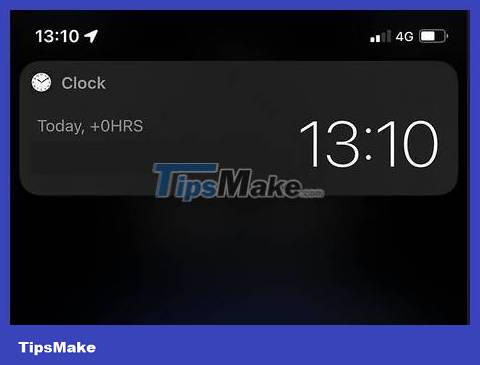
Ask Siri the current time. The screen will display a clock icon according to local time.
Siri answers the question "What time is it?" (What time is it?) is better than other ways of asking (such as "Would you tell me the time?", etc.).

Tap the clock icon to open the World Clock menu.

Tap the "+" sign in the top right corner of the screen.
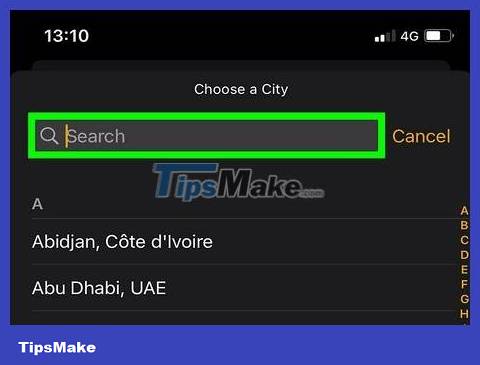
Type a few letters into the search bar at the top of the screen. These characters don't have to have a meaning - just type to select and then copy.
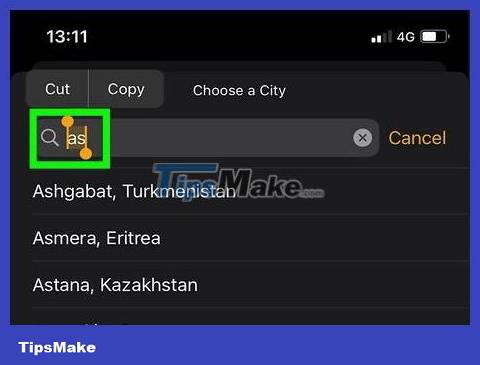
Touch and hold the search bar, then release to highlight text.

Tap the text again, then select "Copy." This will copy the selected text so you can paste it later.

Tap the arrow to the right of "Copy," then select "Share" to open a menu with more sharing options.
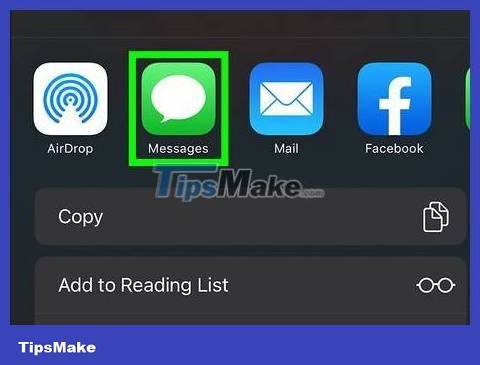
Tap the "Message" option to open a new message composition window.

Touch and hold the "To" field at the top of the screen, then select "Paste."

Wait about 2-3 seconds, then press the 'Home' button. This will minimize the iMessage window, taking you straight to the home screen. So you have successfully bypassed the screen lock on iOS 9.2.1!
Delete and restore data with iTunes
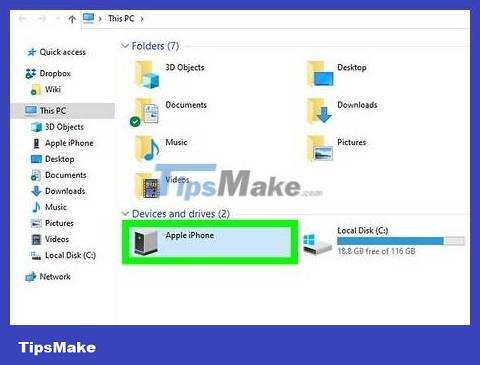
Attach the iPhone charging cord to the phone and computer. The USB end of the charging cord (big end) attaches to the computer, while the small end attaches to the iPhone's charging port.
While any USB charging cord for iPhone will work, you should use the one that came with your iPhone for best results.
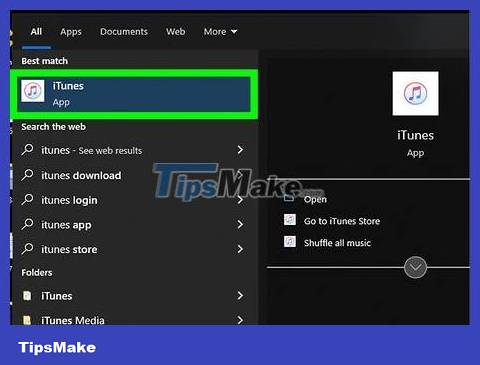
Open iTunes on your computer if it hasn't opened automatically. Depending on your computer model, you may have to confirm that you want to open iTunes automatically after connecting to your phone.

Wait for iPhone to sync with iTunes. The toolbar at the top of the iTunes window will display "Syncing [Your Name]'s iPhone (Step [X] of [Y])". Y]). Once your iPhone finishes syncing with iTunes, you can begin the data recovery process.
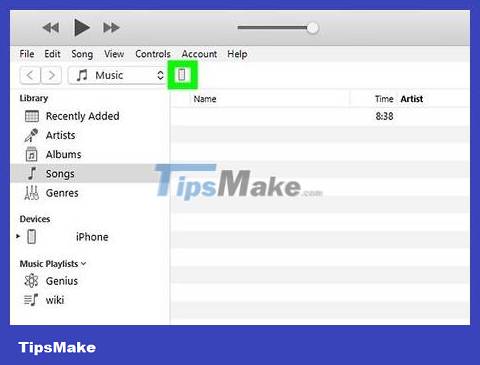
Click "Device" to open your iPhone's Summary tab. It's the iPhone icon below the "Account" tab.
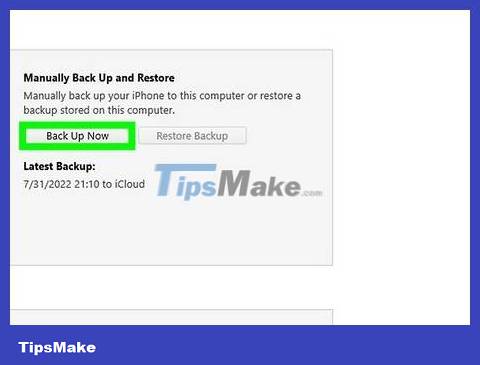
Click "Back Up Now" below the "Backups" section. Although this step is not required, this is how to ensure your data is up to date when restoring from a backup.
If you've turned on automatic backup, you don't need to back up again - your phone is backed up as soon as you connect it to your computer. Check the date of the latest backup under "Backups" to confirm that your phone data has been backed up.
When backing up your phone, you can choose iCloud to back up data to your iCloud account or "This computer", to save phone data to your current computer.

Click "Restore iPhone" in the iPhone information section at the top of the iTunes page.
If "Find My iPhone" is turned on, iTunes will ask you to turn it off before the restore step takes place. You do this by opening the Settings app to open the settings, scrolling down and selecting "iCloud", scrolling down again and selecting "Find My iPhone", then pushing the slider. next to "Find My iPhone" to the right to turn off the Find My iPhone feature. You may need to enter your iCloud passcode to complete this step.

Click "Restore and Update" to confirm your decision. Be sure to read the information in the window that appears before continuing to know what happens when you back up your iPhone.

Click "Next," then select "Agree" to begin the restore process. That means you agree to Apple's terms and conditions of software use.

Wait for the data recovery process to complete. This process may take a few minutes as iTunes erases and reinstalls iOS on your phone.
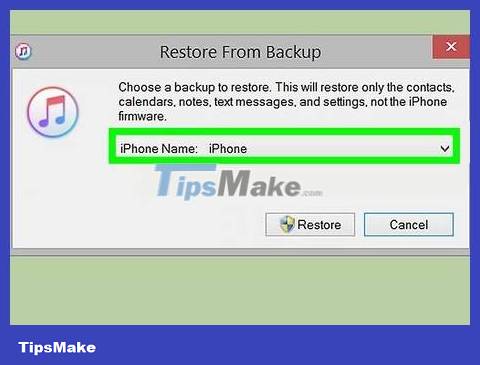
Choose a restore point from the "Restore from this backup" option. Click on the toolbar with your iPhone's name to do this. The date and location of the selected backup will appear below the bar; Choose the closest one for best results.
Click the circle next to "Restore from this backup" to display information if this is not your default choice.
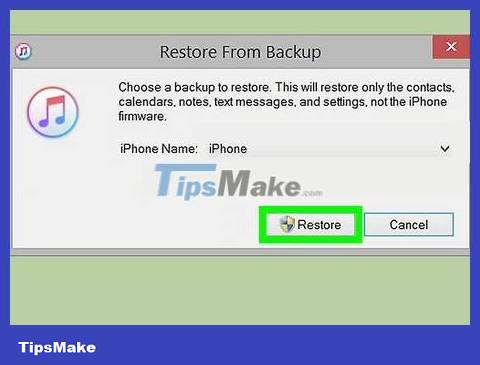
Click "Continue" to begin the data recovery process. Thus, iTunes will begin restoring phone data; You'll see "Time remaining" below the data recovery window that appears.
Data recovery takes quite a while - usually about 20-30 minutes - depending on the amount of data you have to restore.

Swipe the words "Slide to unlock" on the phone screen. This is the screen unlock operation; note that you will not need to enter a passcode!
You can set a new passcode on your phone at any time in the "Passcode" tab in the Settings app.
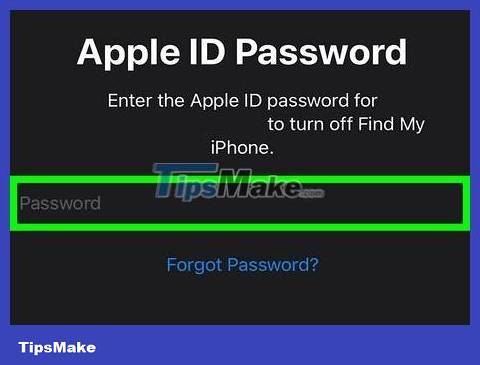
Enter your Apple ID password when requested to restore data on your phone. Note that you will need to wait a while for the applications on your phone to update and return to their pre-delete state.