Table of Contents
By Itunes
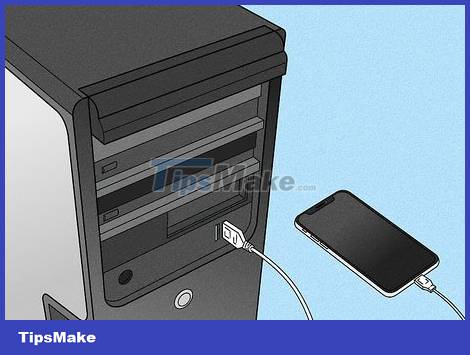
This practical guide explains how to unlock disabled iphone with clear steps and useful context. It also covers common requirements, potential problems, and the details that can help you get better results.
If you use a Mac, you may need to purchase a USB 3.0 to Thunderbolt adapter to connect.
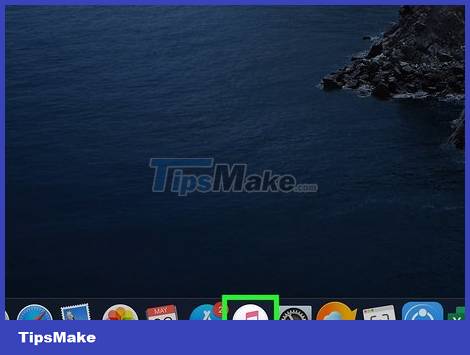
Open iTunes. The app has a multicolored musical note icon on a white background.
If iTunes asks for a passcode or says it can't access iPhone, see the Recovery Mode method.
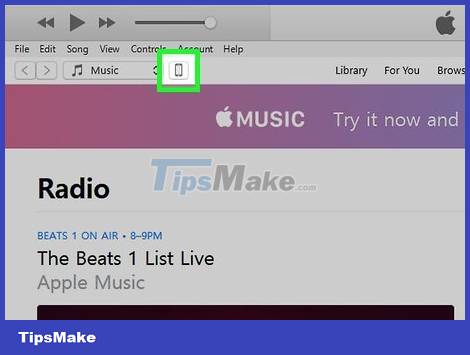
Click the iPhone icon in the upper left of the iTunes window.

Click Restore iPhone. (Restore iPhone). This option is at the top right of the page.
If Find My iPhone is on, you'll be asked to turn it off before continuing. You can't turn off Find My iPhone while your phone is disabled, so use iCloud to erase your iPhone.
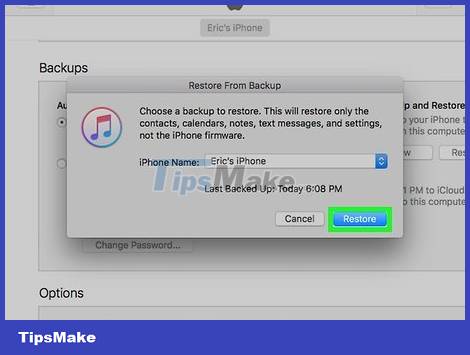
Click Restore when the option appears. iPhone will begin to restore to factory settings.
You may need to enter a password before continuing.

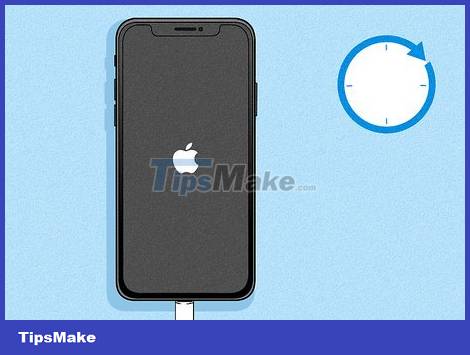
Wait for the restore to complete. This process only takes a few minutes, but it can take longer if your iPhone needs to be updated. After the restore, the iPhone's "disabled" protection will be removed, and the passcode will also be removed.
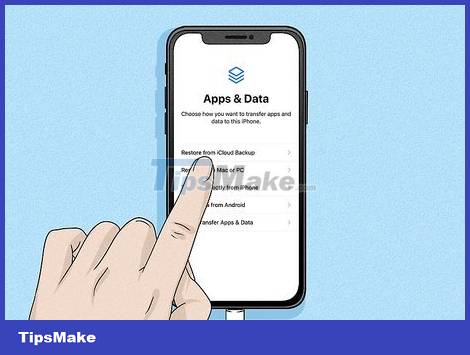
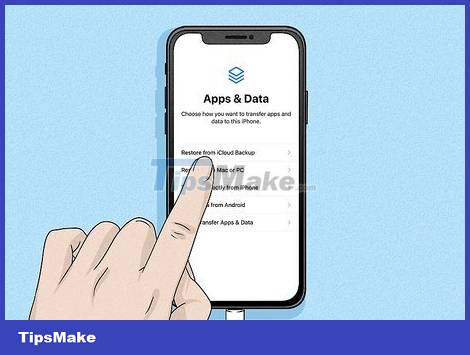
Restore the backup if necessary. If you have a previous iPhone backup on iTunes or iCloud, you can restore settings, photos, apps, and more.
If your iPhone has an activation key, you'll need to enter your Apple ID email address and password to restore an iTunes backup.
If a backup isn't available, set up iPhone as it was when you first bought it.
By Icloud
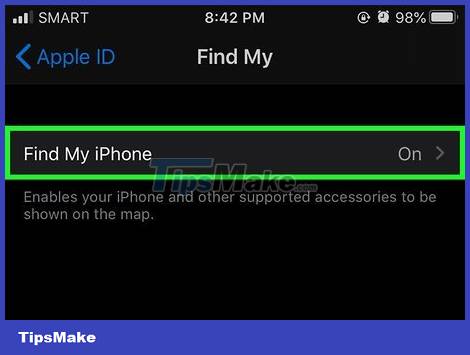
Make sure Find My iPhone is turned on. If you've turned off Find My iPhone at some point and haven't turned it back on, you won't be able to apply this method. Then you need to use iTunes or Recovery Mode.
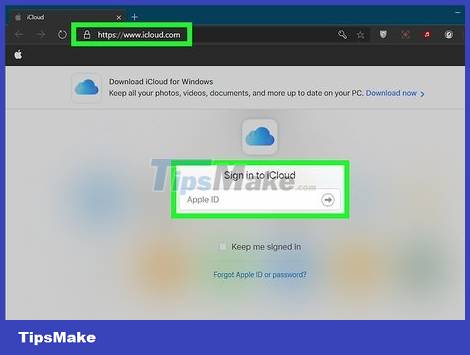
Open the iCloud page. Go to https://www.icloud.com/ with a web browser, then sign in with your Apple ID email address and password when prompted. The iCloud Control Panel will appear.
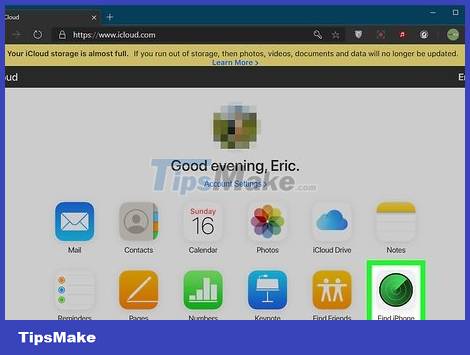
Click Find iPhone. This green radar icon is located at the bottom of the control panel. iCloud will start trying to find your iPhone.
You may need to re-enter your Apple ID password before continuing.
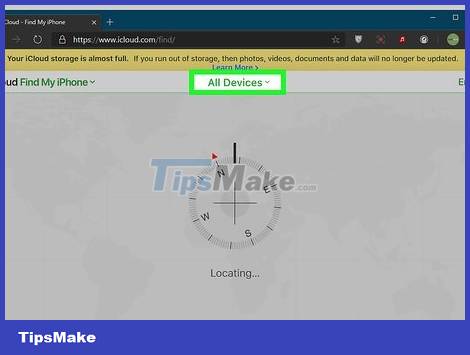
Click All Devices. This green card is at the top of the window. A menu will drop down.
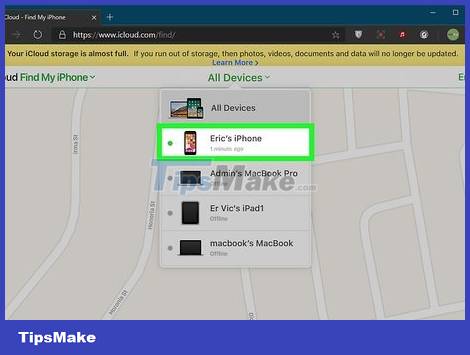
Select iPhone. Click on your iPhone's name located in the drop-down menu. The iPhone's page will open on the right side of the window.
If the iPhone name does not appear here, the Find My iPhone feature has not been activated on the phone.
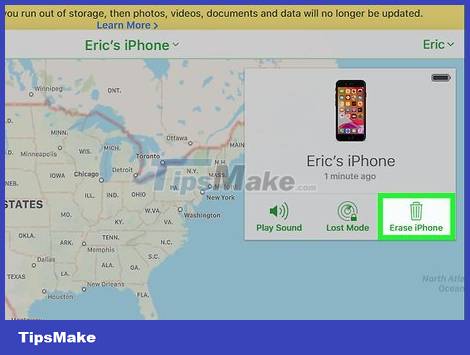
Click the Erase iPhone option in the lower-right corner of the iPhone's page.
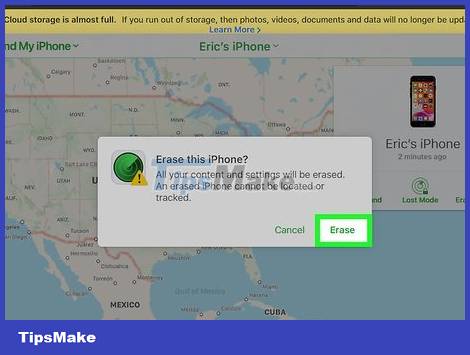
Click Erase when the action appears. The password data field will appear.
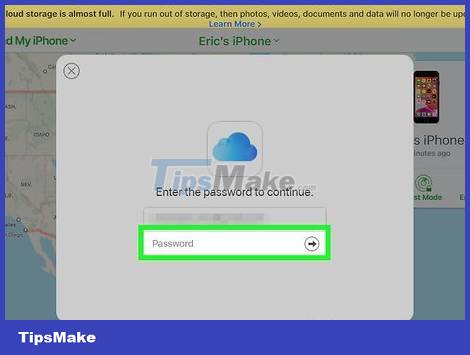
Enter the Apple ID password. Enter the Apple ID password of the iPhone you are deleting into the data field that appears.
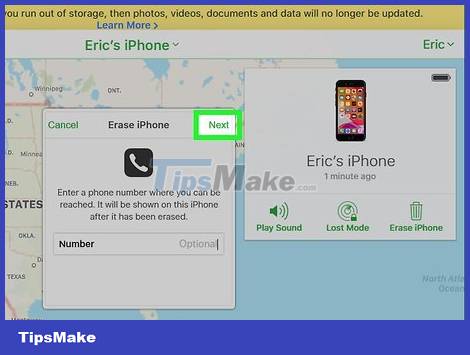
Click Next in the upper-right corner of the iPhone's page currently located in the upper-right side of the window.
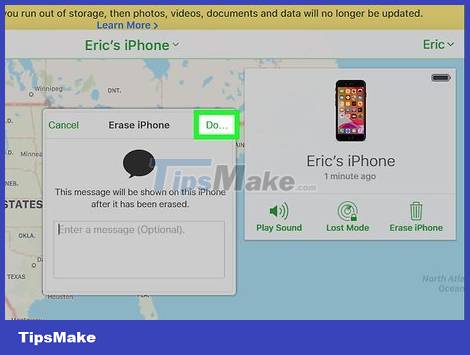
Click Done. This green button is in the top right of the iPhone's page. The phone will start erasing.
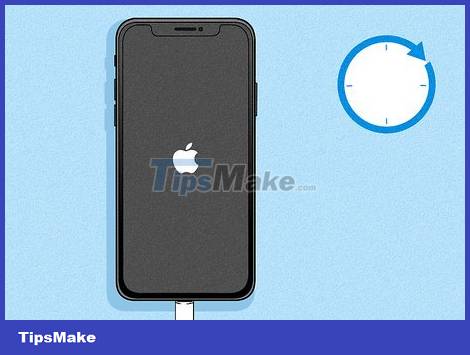
Wait for the iPhone to finish erasing. The deletion process usually takes only a few minutes. You can continue after you see various language versions of the word "Hello" flashing on your iPhone screen.
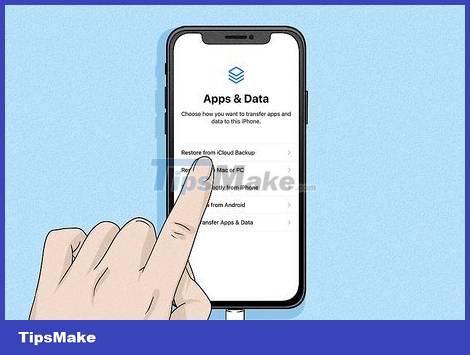
Restore the backup if necessary. If you have a previous iPhone backup on iTunes or iCloud, you can restore settings, photos, apps, and more.
If your iPhone has an activation key, you'll need to enter your Apple ID email address and password to restore an iTunes backup.
If a backup isn't available, set up iPhone as it was when you first bought it.
By Recovery Mode
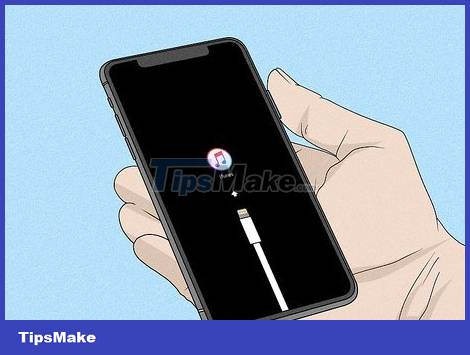
You need to know when to use Recovery Mode. Recovery Mode allows to reset iPhone using iTunes on a computer where you have never connected your iPhone. If you can't use iTunes to restore your iPhone and your iCloud account doesn't have Find My iPhone enabled, you need to use Recovery Mode.
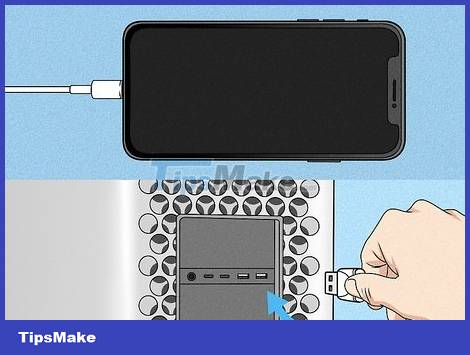
Close iTunes if the app is open. This is an important factor to activate Recovery Mode, because if iTunes is open and you put iPhone into Recovery Mode, it will cause an error.

Connect iPhone to the computer. Plug the end of the included charging cable into your iPhone, then plug the USB end into a port on your computer.
If you use a Mac, you may need to purchase a USB 3.0 to Thunderbolt adapter to connect.
If iTunes is open, close the app before continuing.
Put iPhone into Recovery Mode. With iPhone 8 and later, you need to quickly press the volume up button, do the same with the volume down button and hold down the power button until the "Connect to iTunes" message looks like a power cable with the icon. iTunes icon appears on the iPhone screen.
On your iPhone 7, hold down the volume down and power buttons until the "Connect to iTunes" message pops up.
On iPhone 6S and earlier, hold down the power button and the Home key until you see the "Connect to iTunes" message.
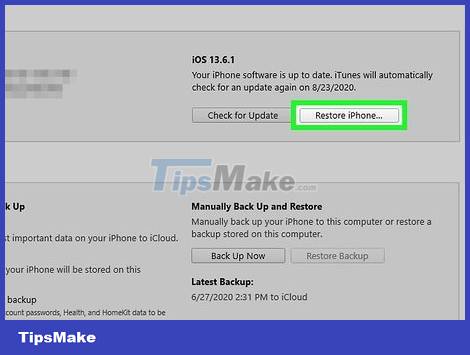
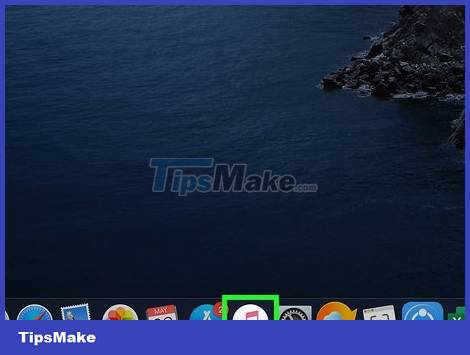
Open iTunes. The app has a multicolored musical note icon on a white background. iTunes will open the Recovery Mode page.
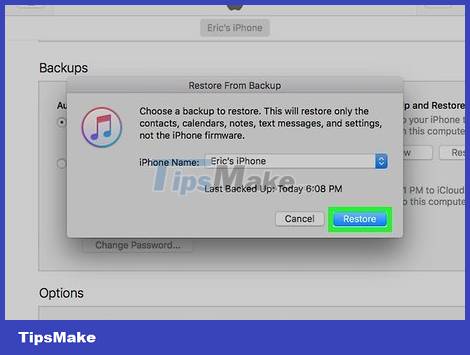
Click the Restore iPhone. option at the top of the window.
Click Restore when the task appears. iPhone will begin to restore to factory settings.
You may need to enter your Apple ID password here.
Wait for the restore to complete. This process only takes a few minutes, but it can take longer if your iPhone needs to be updated.
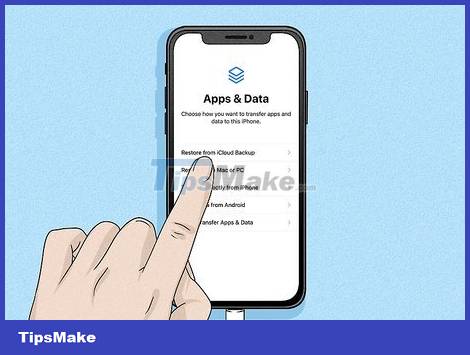
Restore the backup if necessary. If you have a previous iPhone backup available on another computer or iCloud, you can restore the information.
If your iPhone has an activation key, you'll need to enter your Apple ID email address and password to restore an iTunes backup.
If a backup isn't available, set up iPhone as it was when you first bought it
Conclusion
Understanding Unlock iPhone makes it easier to compare options, avoid common mistakes, and apply the information in this guide more effectively. Review the relevant requirements before making changes or choosing a solution.
FAQ
How do you unlock disabled iphone?
Follow the steps in this guide in order, confirm the required settings or tools, and verify the result before making additional changes.
Is it safe to unlock disabled iphone?
It is generally safe when you follow the recommended instructions, use trusted tools, and avoid changing settings you do not understand.
What should you do if the process does not work?
Recheck the requirements, restart the device or application when appropriate, and review each step for missed settings or compatibility issues.
Related Articles
 2 Ways to Unlock iPhone Are Disabled on Computer Fast5 minutes read
 How to Unlock a Disabled iPhone Without Itunes7 minutes read
 How to Fix a Disabled iPhone Password Error5 minutes read
 Playing with the iPad, the 3-year-old Boy Locked His Father's Tablet 49 Years4 minutes read
 How to Unlock iPhone Without Passcode Using Passfab iPhone8 minutes read
 6 Ways to Unlock iPhone Without Password8 minutes read
Reader Comments 0
Sign in with email or Google to join the discussion.