How to turn off hard drive when not in use on Windows 11
If your computer has an SSD and an HDD, you can turn off the hard drive after a period of inactivity. This saves power and can extend the life of the hard drive, especially on laptops..
If your computer has an SSD and an HDD, you can turn off the hard drive after a period of inactivity. This saves power and can extend the life of the hard drive, especially on laptops. Here's how to turn off the hard drive in Windows 11
Instructions to turn off hard drive in Power Options Windows 11
Step 1:
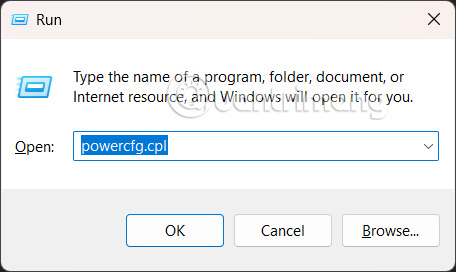
You open the Run dialog box, enter the keyword powercfg.cp and press OK to access.
Step 2:
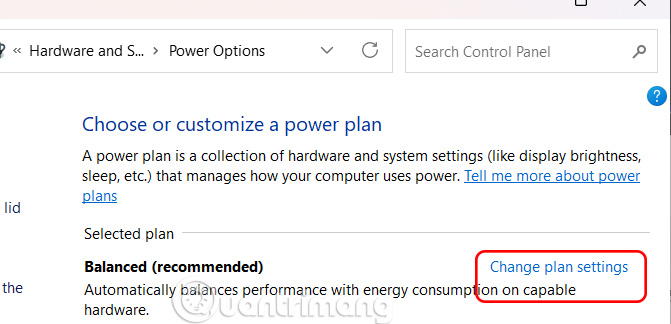
Display the Power Options interface, click Change Plan Settings as shown below.
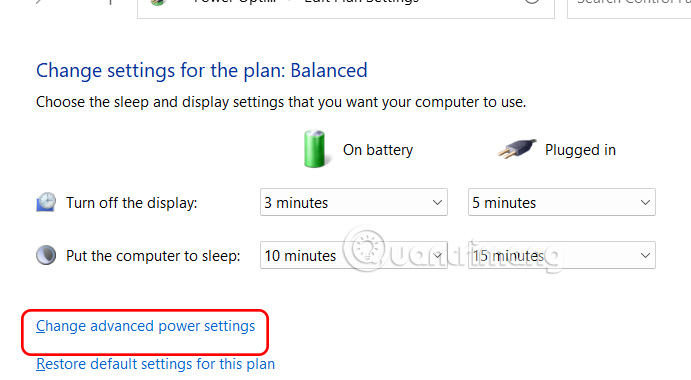
Continue to click on Change advanced power settings .
Step 3:
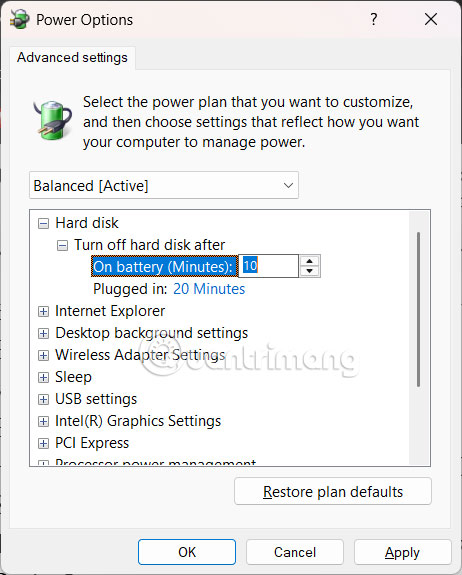
Display the new interface, we click Hard Disk to expand. At On Battery you will see the default battery for 10 minutes. To turn off the hard drive, you set a new time limit for both On Battery and Plugged in modes . Finally, click Apply to save.
How to Turn Off Windows 11 Hard Drive Using Command Prompt
Step 1:
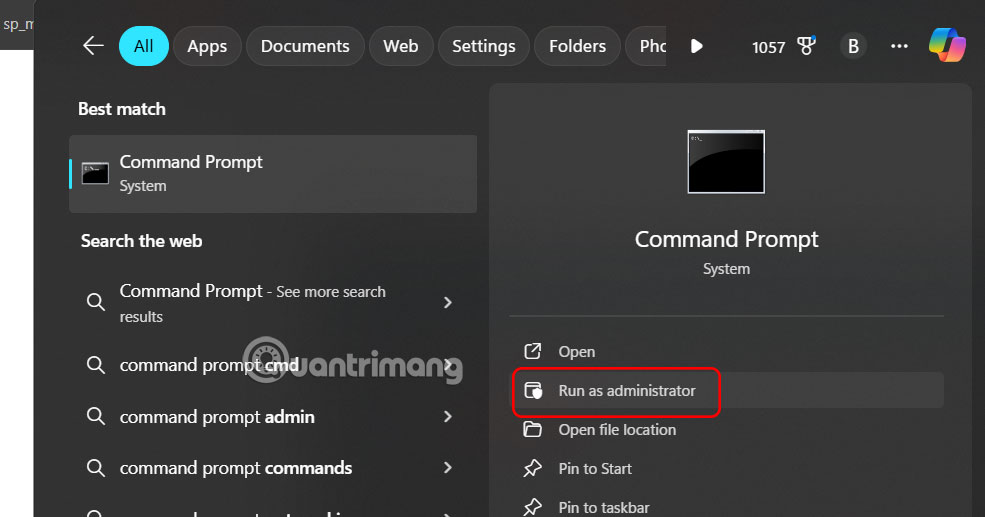
You enter the keyword Command Prompt and select Run as administrator .
Step 2:
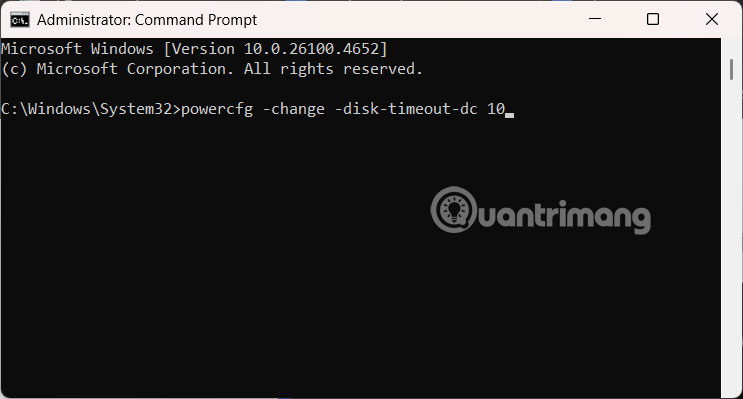
Display the command prompt interface, enter the command powercfg -change -disk-timeout-dc 0 . Replace 0 with the amount of time (in minutes) you want to disable the hard drive after it has been inactive.
After performing the above steps, restart your Windows 11 computer to apply it.