How to Trim a Video on PC or Mac
This wikiHow teaches you how to trim the length of a video in Windows or macOS without having to download an app. Open the folder that contains the video. If the video is on your desktop, just go to the desktop..
Method 1 of 2:
Windows
-
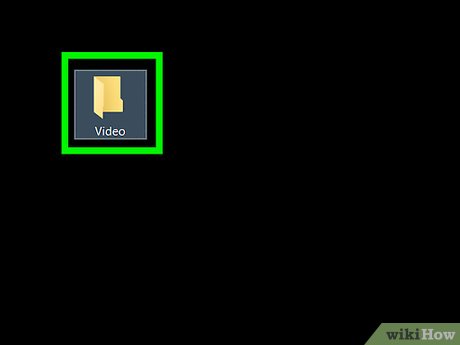 Open the folder that contains the video. If the video is on your desktop, just go to the desktop.
 -
 Right-click the video.
 -
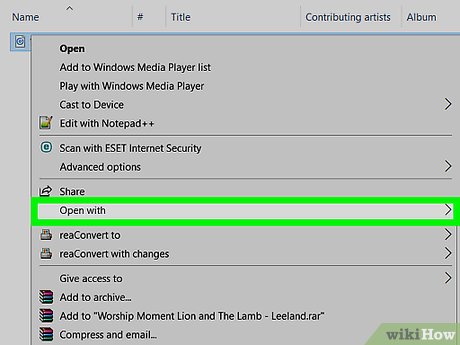 Click Open with.
 -
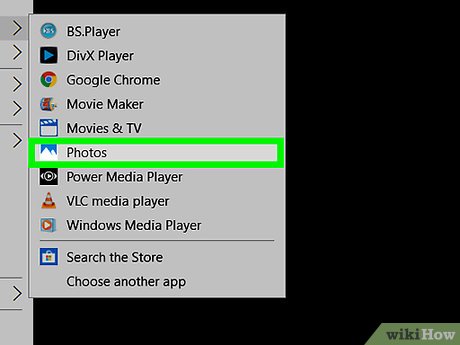 Click Photos. Photos is a built-in tool capable of editing video on your Windows PC.
 -
 Click Trim. It's near the top-right corner of the window. A slider with two white knobs will appear below the video.
 -
 Drag the left knob to the place you want the video to start.
 -
 Drag the right knob to the place you want the video to end.
 -
 Click the play button to view a preview. If you're not satisfied with the trim, continue adjusting the knobs until only the part of the video you want to keep is highlighted.
 -
 Click Save a copy. It's near the top-right corner of the window.
 -
 Enter a name for the video.
 -
 Click Save. The trimmed version of the video is now saved.
Method 2 of 2:
macOS
- Open the Photos app on your Mac. You should find it on the dock. Look for the icon that looks like a photograph.[1]
- Double-click the video you want to trim. This opens the video in Photos.
- Hover the mouse over the video. Several icons will appear.
- Click the gear icon.
- Click Trim.
- Drag the left slider to the place where the video should start.
- Drag the right slider to the place where the video should end.
- Click the play button to see a preview. It's the sideways triangle on the video.
- Click Trim. This saves the video at its new size.
- You can undo the trimming at any time. Just re-open the video, click the gear, and then select Reset Trim.