How to Take Screenshots on Windows 10
'Screenshot' - Vietnamese means screenshot. This feature is especially useful when you want to share screen content with others, such as if you're a tech support employee or creating a technology website like TipsMake! This article will show you some ways to take screenshots on Windows 10. Before you begin: Make sure that the arrangement and layout of the content on the screen is to your liking. Turn off all windows that you do not want to capture. Make sure the screen you want to capture is not obscured by anything..
Take a full screen photo (keyboard shortcut)
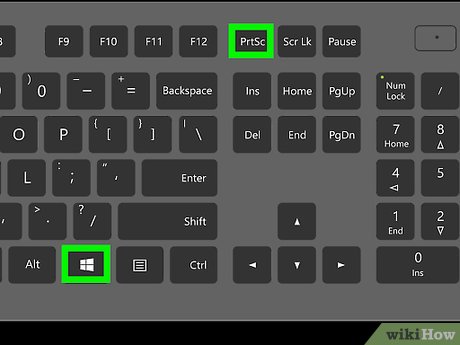
Press the key combination ⊞ Win+⎙ PrtScr . The screen will dim momentarily.
Locate the screenshot.
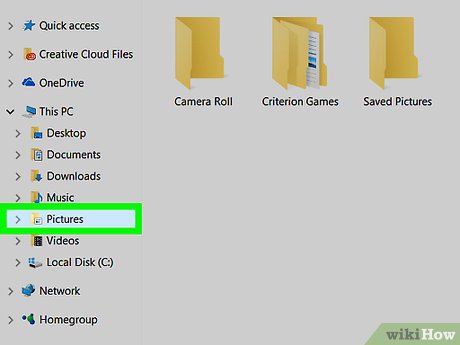
Open File Explorer.
Select Pictures from the left pane.
Go to the "Screenshots" folder.
Open the screenshot. The final screenshot will have the largest number compared to the other photos in the folder. The screen shot will be saved with the following name: "Screenshot (#)".
Capture an open window
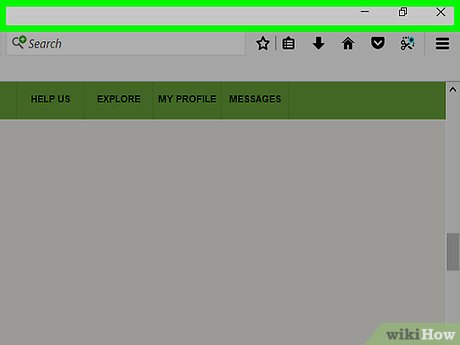
Click the window you want to capture. Click the title bar to select the window.
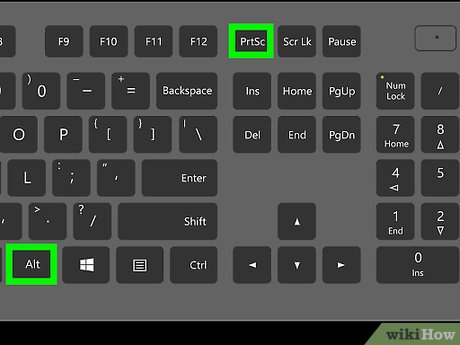
Press the key combination Alt+⎙ PrtScr . The screenshot will be copied to the clipboard.
On some other devices, you may need to press Alt+ Fn+ ⎙ PrtScr.
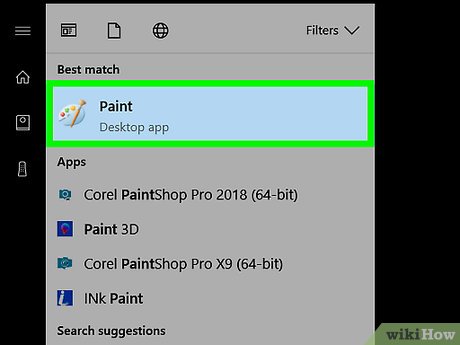
Open Paint. You can find it in the search bar/taskbar icon.
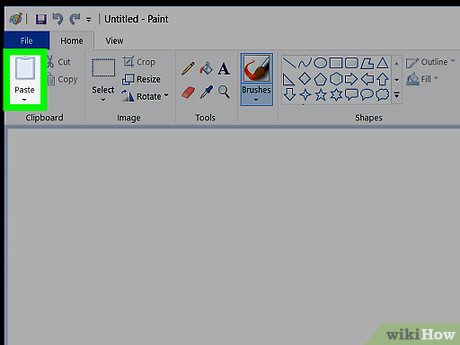
Paste the photo. Click Paste or press Ctrl+ V.
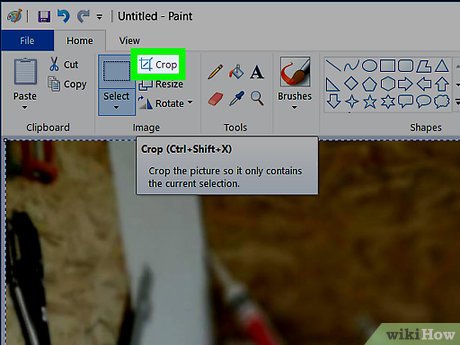
Crop photo. Click the Crop button from the top ribbon. You can also right-click the photo and select the Crop action.
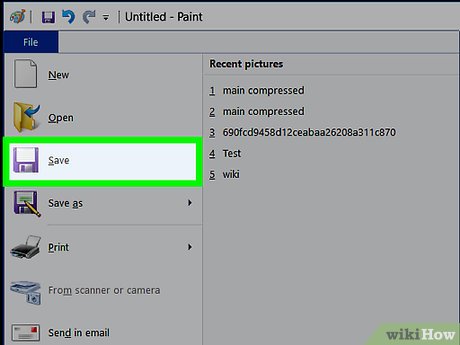
Save the file. Click File > Save or Ctrl+ S.

Choose a save location (optional).
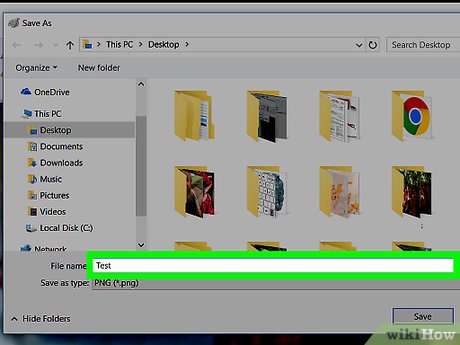
Give the file a custom name (optional). By default, the file name will be "Untitled".
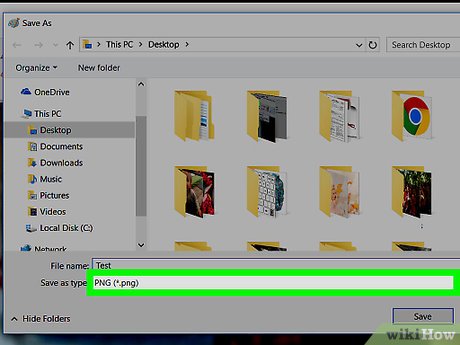
Change the save file type (optional). Click the drop-down next to "Save as type:". The default and highest quality option is PNG.
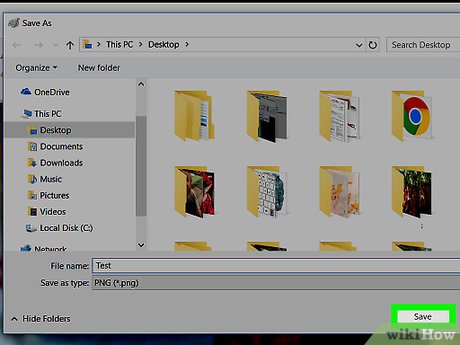
Click Save .
Use the Snipping Tool
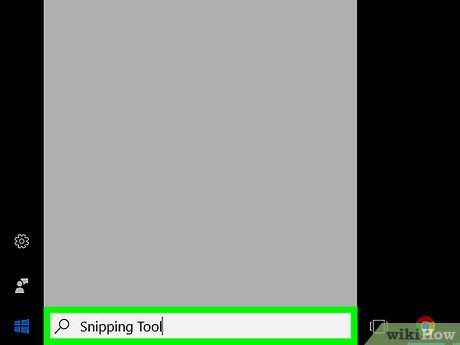
Find the Snipping Tool. Click the Start menu and type Snipping Toolin the Search box.
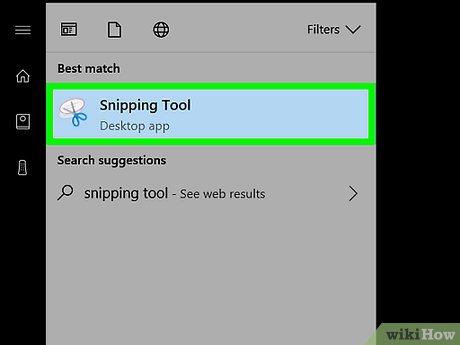
Open Snipping Tool. Click on the icon that appears in the results panel to open the application. This utility allows you to capture any specific area on the screen.
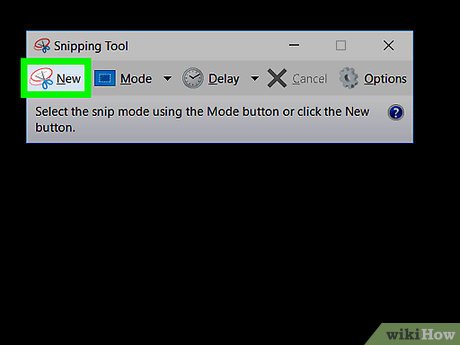
Click the down arrow next to New . You'll see four screenshot options and actions: "Free-form Snip", "Rectangular Snip", "Window Snip", and "Full -screen Snip" (Snip the entire screen).

Select New to dim the screen, the mouse pointer will change to a + sign. Drag the mouse to select the area you want to capture. The visible area of the screen is the selected part.
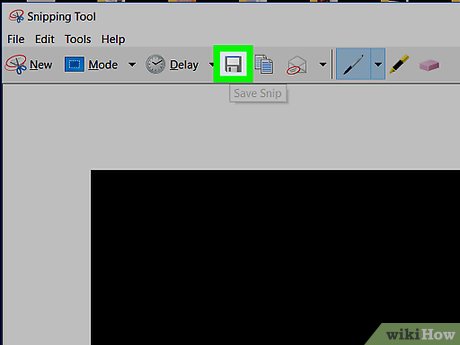
Save screenshots. Click Save or click File > Save as to save the screenshot to your computer.
Use Windows Ink Workspace
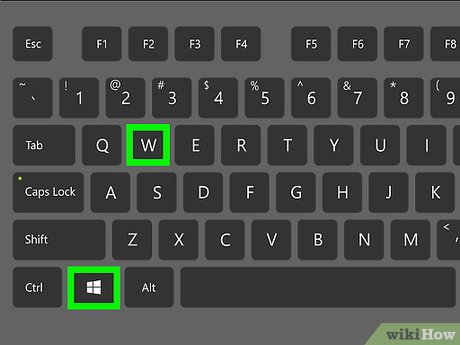
Open Windows Ink Workspace. Press the key combination ⊞ Win+ W. Or, click or tap the pen icon located in the notification area. Windows Ink Workspace opens.
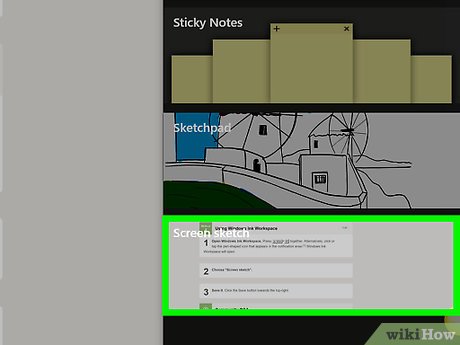
Select "Screen sketch".

Save. Click the Save button at the top right.