How to Take a Screenshot on a Mac Using Grab
Mac users can capture and save screenshots with the built in Grab app. With this free utility, you may capture your entire computer screen, a single window, or a selection of the screen. In addition to capturing and preserving content,....
Part 1 of 2:
Opening the Grab Utility
-
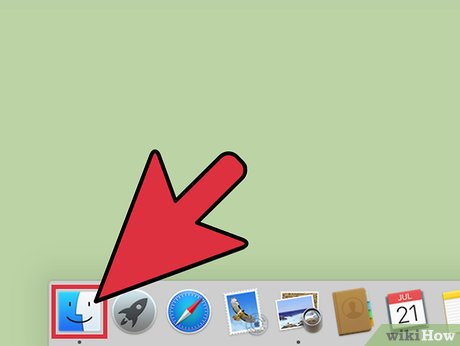 Access the tool through the Finder. The Finder is your Mac's navigational system. It allows you to locate folders, files, and programs.[1]To open a new Finder window, click anywhere on your desktop, select 'File' from the top banner, and then click 'New Finder Window'.
- Alternatively, you can click anywhere on your desktop and then use the shortcut ⌘ Command+N. Or, select the Finder icon (the smiling, square face) from the dock. The dock is located at the bottom or side of your screen.[2]
-
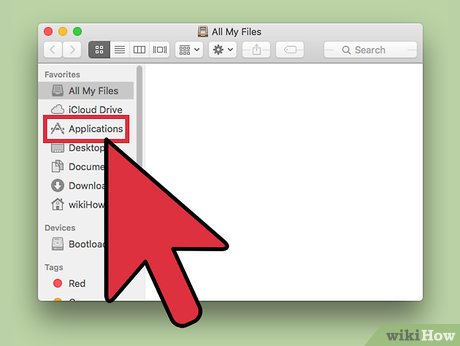 Select 'Applications' from the left pane of the Finder window.
 -
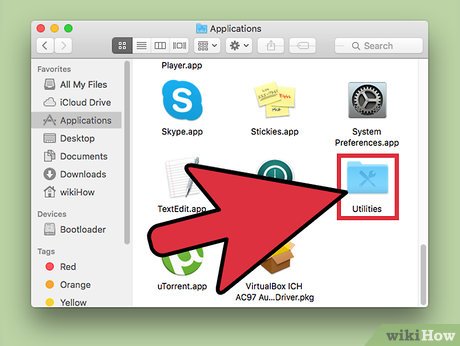 Open the 'Utilities' folder.
 -
 Double-click on the 'Grab' icon, a large scissors over a computer window. The program will launch instantly. Grab does not open as a standard app. Instead the word 'Grab' will appear in the menu bar at the top of the screen.[3]
 -
 Launch Grab from Spotlight. Apple's Spotlight tool provides users with a quick way to search for apps, files, pictures, documents, and more. To launch Spotlight, click on the magnifying glass in the very top, right-hand corner of the screen. A window will appear in the center of your screen. Type 'Grab' into the search bar and press ↵ Enter. The Grab tool will open automatically.
- When you launch Grab, and new window will not open. Instead, the word 'Grab' will appear to the left of the apple icon in the top menu bar.
-
 Add Grab to your dock. If you use the Grab tool frequently, you may want to add it to your dock. The dock contains the icons of popular apps and programs. To add the Grab icon to your Dock:
- Open a new Finder window.
- Select 'Applications'.
- Open the 'Utilities' folder.
- Click on the Grab icon and drag it to the Dock.
- Release your mouse to add the icon to the Dock. The next time you want to use the tool, you can just click on the icon in your dock.
Part 2 of 2:
Taking Screenshots with the Capture Options
-
 Capture a screenshot with the 'Selection' option. With Grab's 'Selection' option, you can take a screenshot of a portion of your screen. To access this option, click 'Capture' and then pick 'Selection' from the drop-down menu. Alternatively, you can use the shortcut ⇧ Shift+⌘ Command+A. Remember, all of Grab's functions are accessible through the top menu bar. Other options in the 'Capture' menu include:
- The 'Window' function captures a computer window. The shortcut for this option is ⇧ Shift+⌘ Command+W.
- The 'Screen' function takes a screenshot of the entire computer screen. The shortcut for this option is ⌘ Command+Z.
- The 'Timed Screen' function captures a screenshot of the entire computer screen ten seconds after you click Start Timer. The shortcut for this option is ⇧ Shift+⌘ Command+Z.
-
 Capture the screenshot with the 'Selection' option. When you click 'Selection', and dialog box with the following message pops up: 'Drag over the portion of the screen you want to capture.' To select a portion of the screen, click, hold, drag your cursor over the desired area. Release the cursor to capture the screenshot.
- If you selected 'Window', click Choose Window. To capture the screenshot, click the window you want to capture.
- If you selected 'Screen', click outside of the dialog box that appears to capture the screenshot.
- If you selected 'Timed Screen', click Start Timer. After ten seconds, Grab will capture a screenshot of your entire computer screen.
-
 Save the screenshot. Select 'File' then 'Save' or use the shortcut ⌘ Command+S.
 -
 Enter a name for the screenshot in the 'Save As' field. The default name is 'Untitled'.
 -
 Click on drop-down menu to the left of 'Where' to select a place to save the file. The default option is 'Documents'.
 -
 Click Save. Your screenshot will save in a *.tiff format. To convert the file to a different format:
- Select 'File' then 'Print'.
- Click 'PDF' and select 'Open PDF in Preview' from the drop-down menu.
- After the screenshot opens in Preview, select 'File' then 'Save'.
- Rename the file and choose where to save it.
- Click on 'PDF' to the left of 'Format' and select the desired format from the list.
- Click Save.