Table of Contents
This updated guide explains how to Set the Time and Date on a Partner Phone System through clear steps, practical examples, and important checks that help prevent common errors.
Part 1 of 4:
Accessing the Menu
-
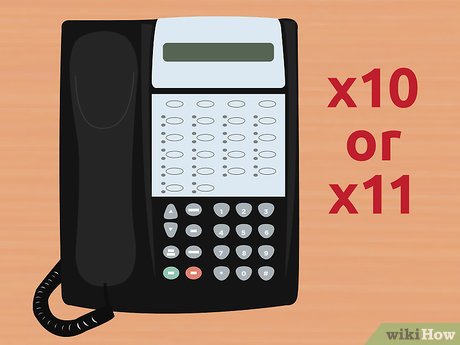 Select extension x10 or x11. The correct extension will display the time and date. Older models require you to use extension x10.
 -
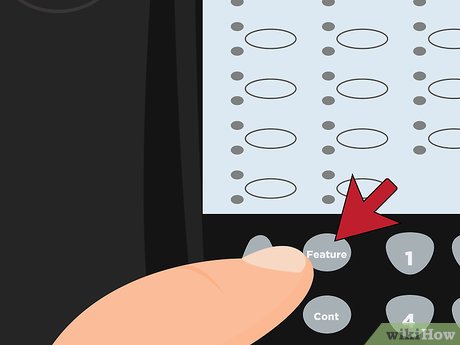 Press the "Feature" button. The date will disappear on the display.
 -
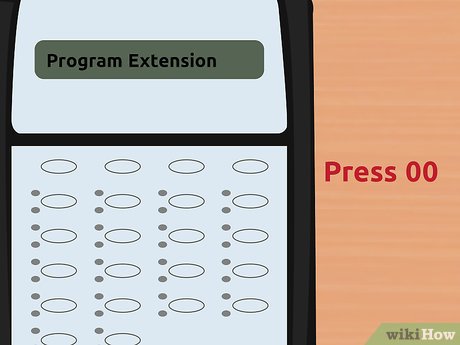 Press . 00 . "Program Extension" will appear on the display.
 -
 Press the left Intercom button twice. "System Program" will appear on the display.
Part 2 of 4:
Setting the Date
-
 Press . #101 on the "System Program" screen. This will allow you to set the date.
 -
 Enter the date in MMDDYY format. Include leading zeros for the month and day if necessary. For example, to set the date as July 22, 2015, you would press 072215.
 -
 Exit the Date menu. You can press the left Intercom button to return to "System Program," or press "Feature" then 00 to completely exit.[1]XResearch source
Part 3 of 4:
Setting the Time
-
 Press . #103 on the "System Program" screen. This will allow you to set the time for the phone.
 -
 Enter the time in 24-hour (Military) format. For example, to set the time to 9:45 AM, press 0945. To set the time to 5:53 PM, press 1753.
 -
 Exit the Time menu. You can press the left Intercom button to return to "System Program," or press "Feature" then 00 to completely exit the "System Program" menu. This will save your changes. [2]XResearch source
Part 4 of 4:
Setting the Day of the Week
-
 Press . #102 on the "System Program" screen. This will allow you to set the day of the week. You only need to do this for older Avaya Partner phones (Release 2.0 and earlier), as newer phones automatically determine the correct day of the week based on the date.[3]XResearch source
 -
 Press the button for the corresponding day. Each day has a corresponding number that you can press to choose that day:
- 1 - Sunday
- 2 - Monday
- 3 - Tuesday
- 4 - Wednesday
- 5 - Thursday
- 6 - Friday
- 7 - Saturday
-
 Exit the Day of the Week menu. Press "Feature" then 00 to completely exit "System Program" and save your changes.
FAQ
What is the easiest way to Set the Time and Date on a Partner Phone System?
Start with the requirements in this guide, then follow each step in order. Check the result after every major change so problems are easier to identify.
Can beginners follow these instructions?
Yes. The process is organized into practical steps, and you can repeat any step before moving forward.
What should I check if the method does not work?
Confirm your software or device version, permissions, settings, file format, and internet connection when the task depends on online services.
Related Articles
 How to Change Date and Time on Windows 114 minutes read
 How to Change Time, Date and Month in Windows 10?5 minutes read
 Date and Time in Cplusplus: Date and Time in C ++5 minutes read
 Math Proves: 26 Years Old Is the Best Time to Get Married7 minutes read
 The Date Command in Windows: A Practical Guide4 minutes read
 How to Adjust Time on Windows 10, Change Day and Month Time4 minutes read
Reader Comments 0
Sign in with email or Google to join the discussion.