Table of Contents
This updated guide examines How to Send Photos and Audio Recordings via Email with Vono and organizes the essential facts, background, and practical takeaways in clear American English.
- How to send videos via Gmail, email
- Instructions for sending attachments using the Mail app in iOS
- Manual secret mode when sending emails on Gmail
- Instructions on how to share notes on iPhone
Instructions for using VoNo to send files via email
Step 1:
We install the VoNo application for Android and iOS by following the link below.
- Download the VoNo Android application
- Download the VoNo iOS app
Next at the first interface if you have an account, then log in through these options. If you don't have an account, swipe left to switch to the email registration interface, then press Confirm below.
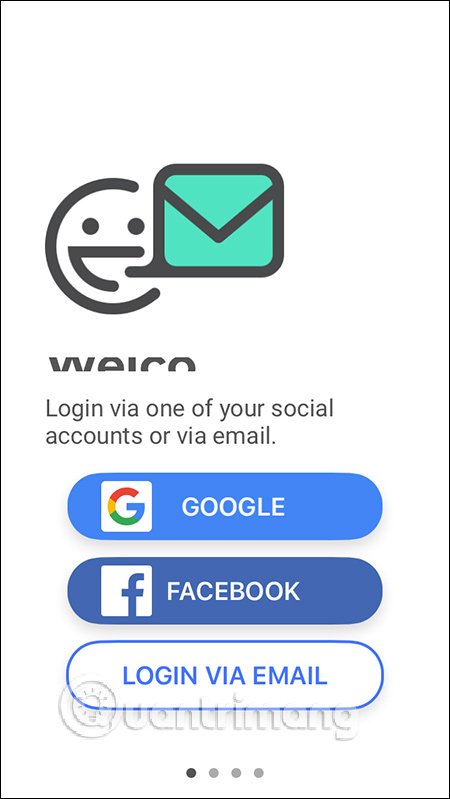
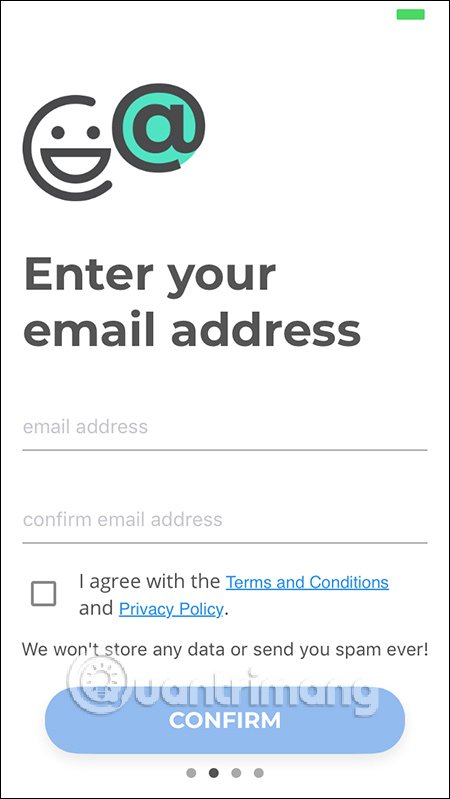
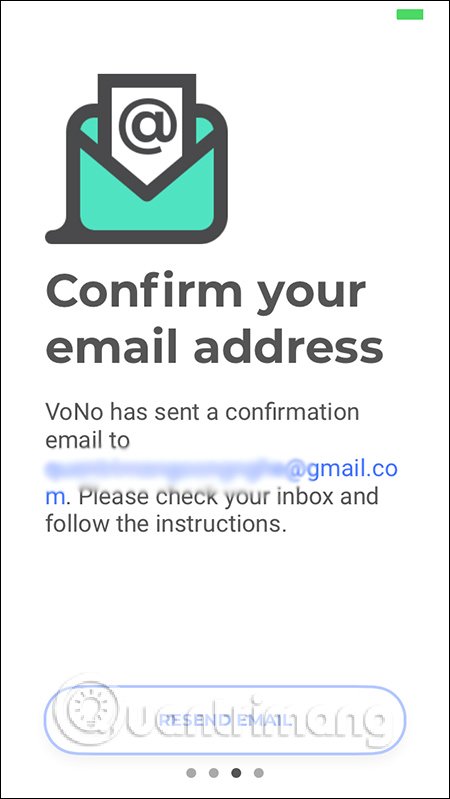
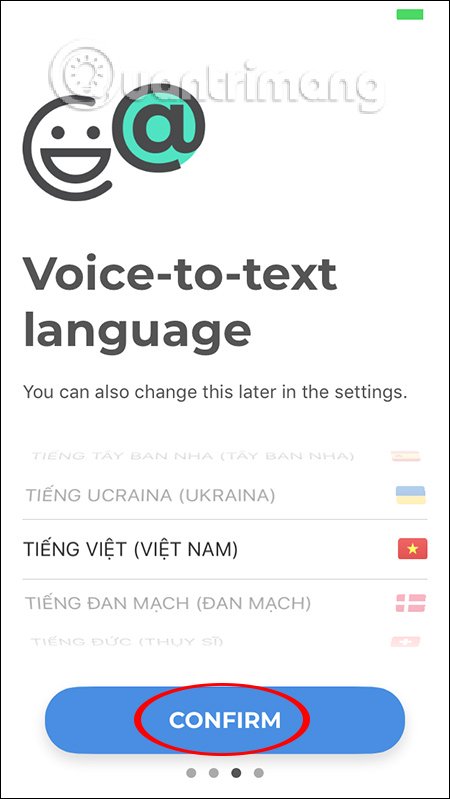
We then need to confirm the registration email . Once confirmed, choose your language from text to text . This language can be changed by Settings in the application.
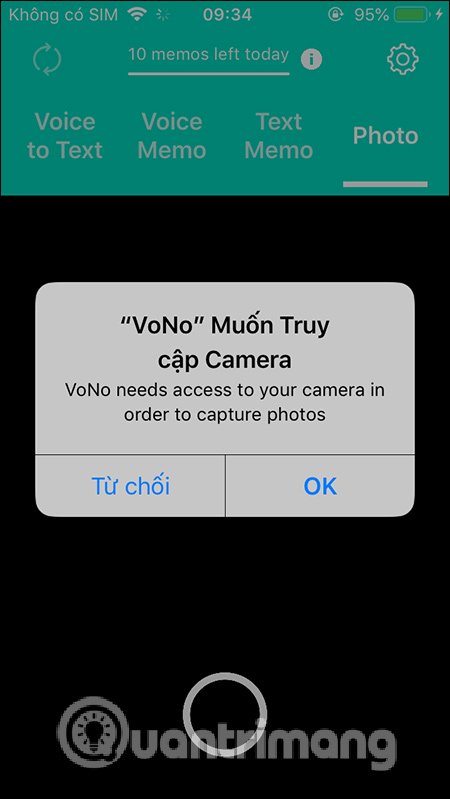
to use VoNo's features we need to allow the application to use some permissions on the device.
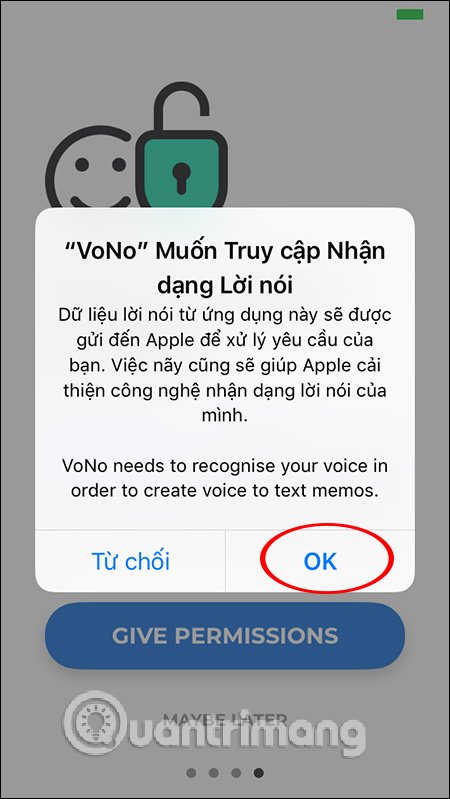
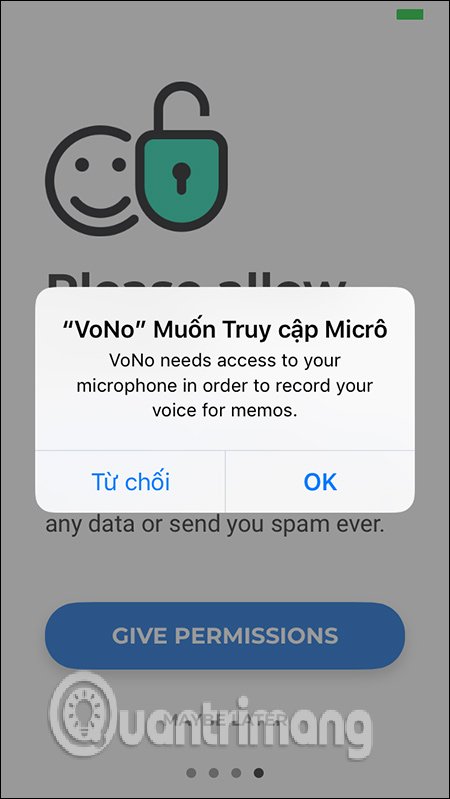
Step 2:
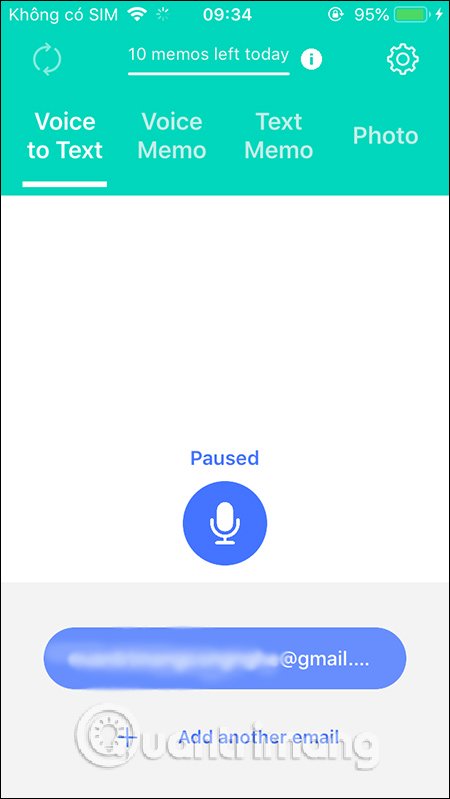
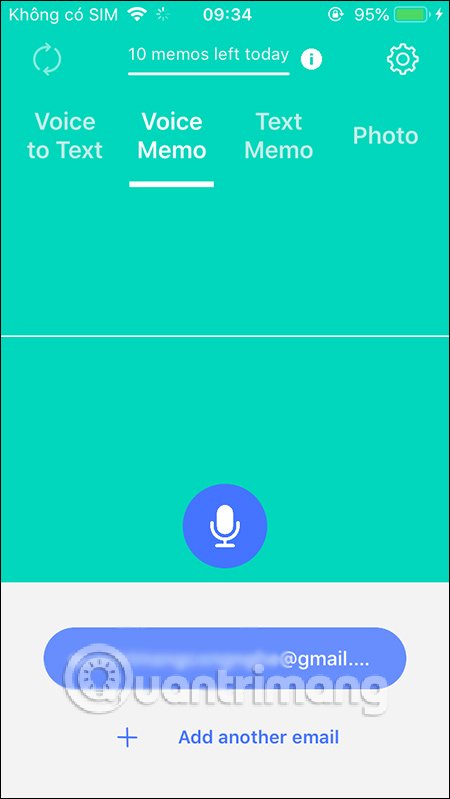
We then access the main interface of the application with different content sharing items.
Step 3:
To share text into voice, users click on Voice to text and then click on the microphone icon to record the voice. The text will appear shortly after. If the text is not correct then press the X to delete . Note that when recording , the user should read slowly, clearly so that the application recognizes the sound to convert into text.
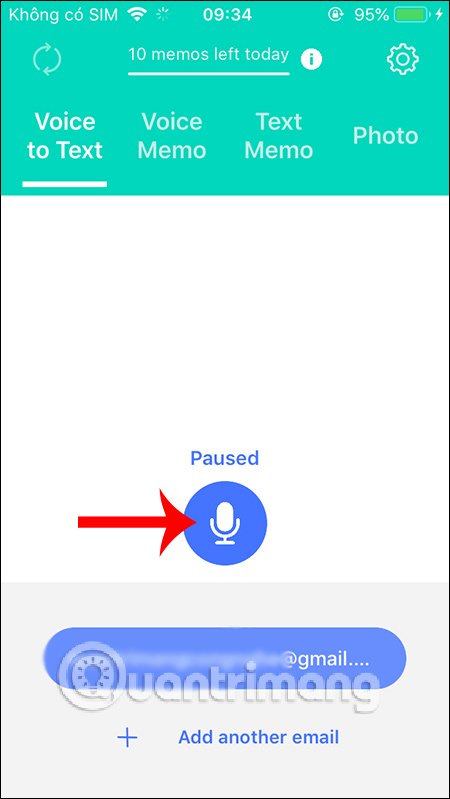
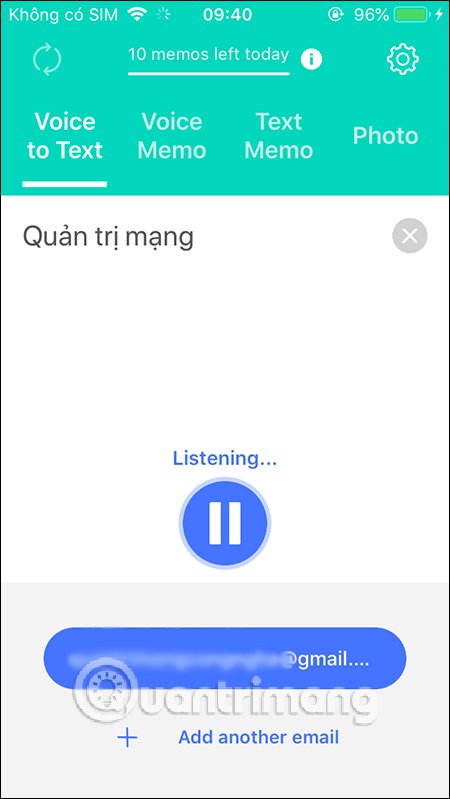
To transfer this file to your email address , click on the personal email address below.
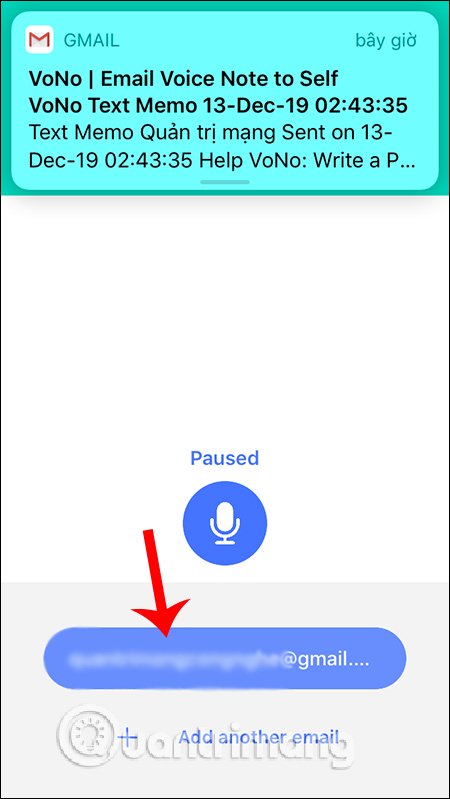
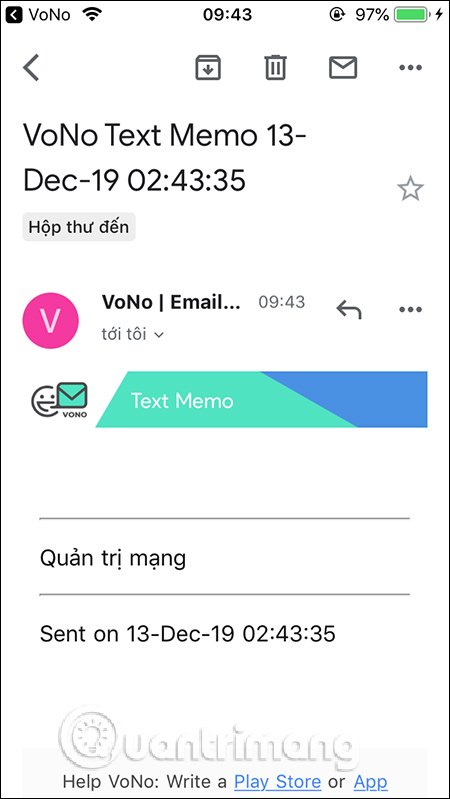
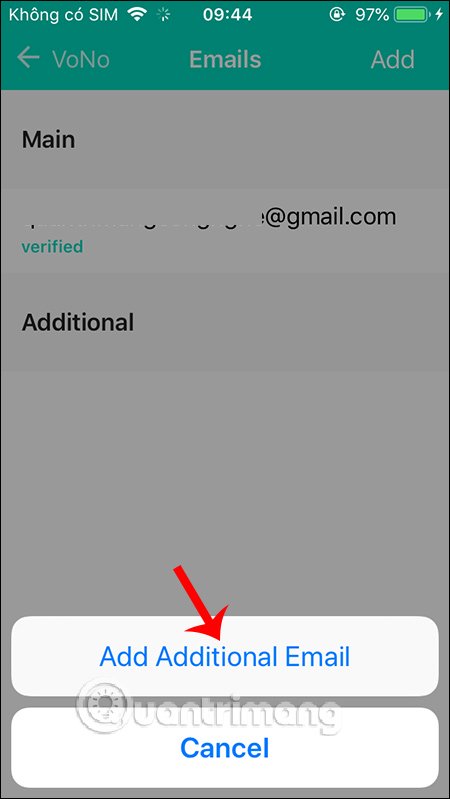
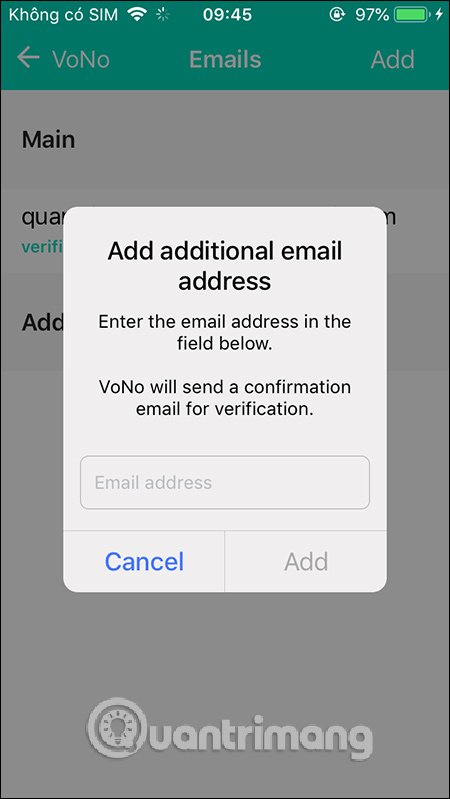
If you want to send to others, then click Add another email . Then switch to the new interface, click the word Add in the top right corner.
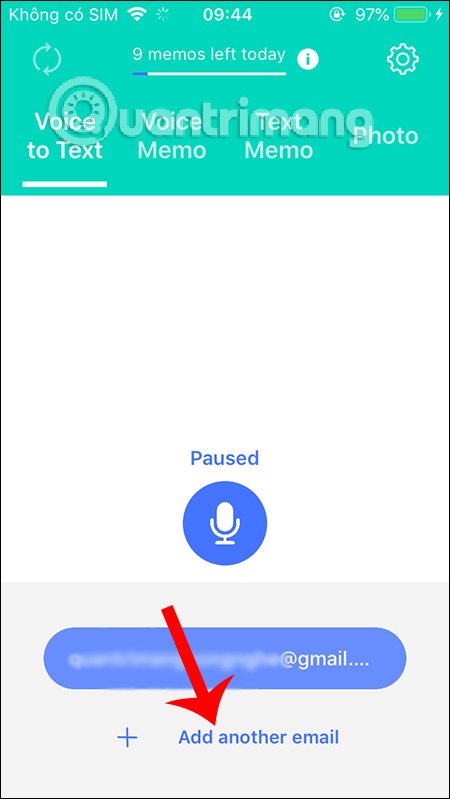
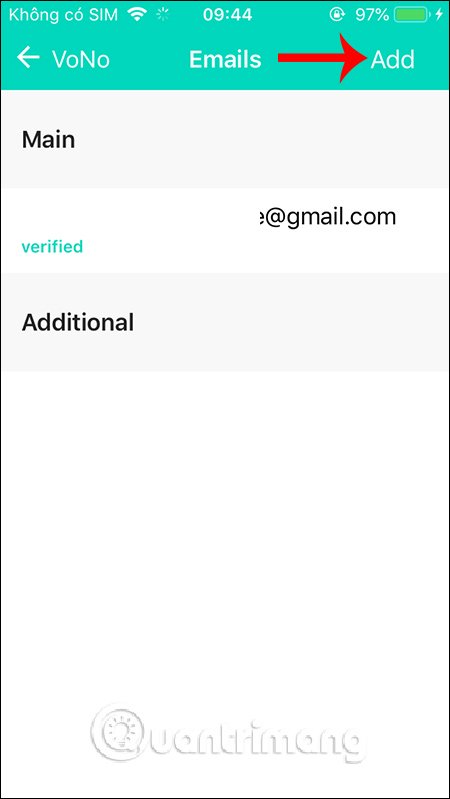
We click on Add another email and enter the email address of the person you want to send . At this time, they also need to confirm the link that VoNo sent to receive the content you share.
Step 4:
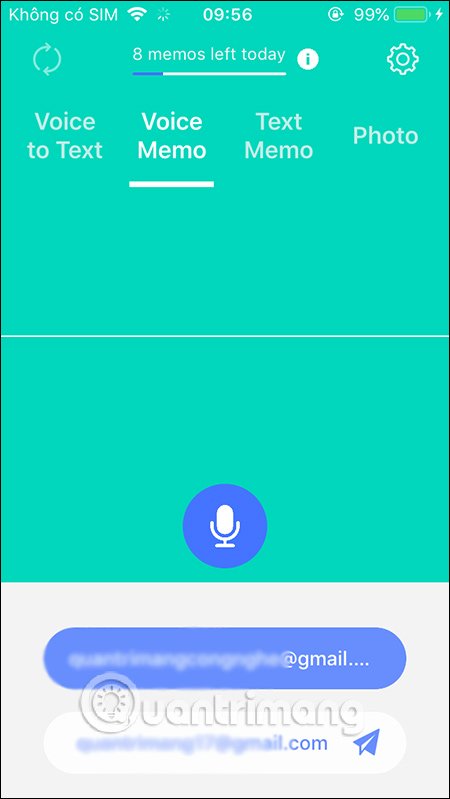
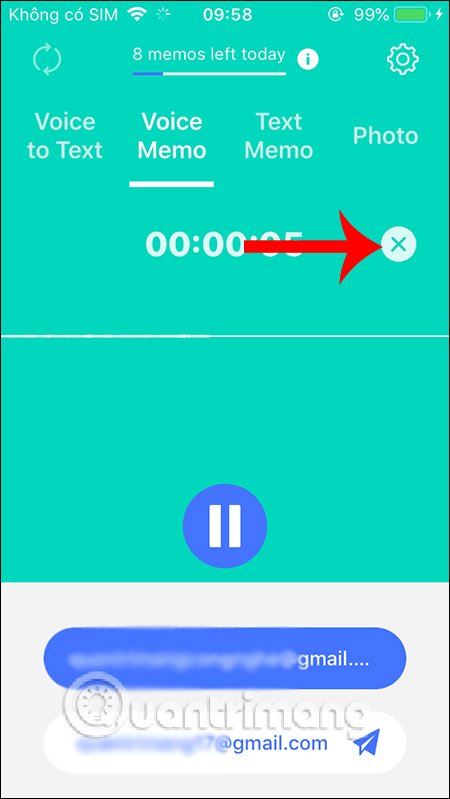
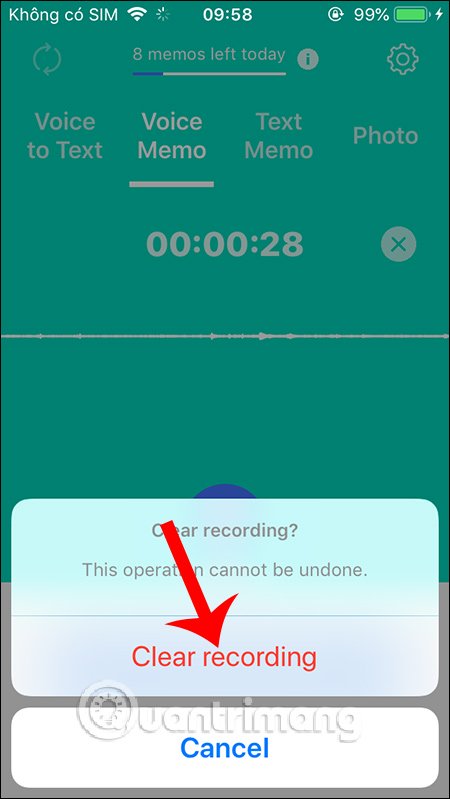
To transfer the audio file, click on the Voice Memo and proceed with the live recording . Click the microphone icon to record. To stop or delete the recording, click the X and select Clear recording .
Step 5:
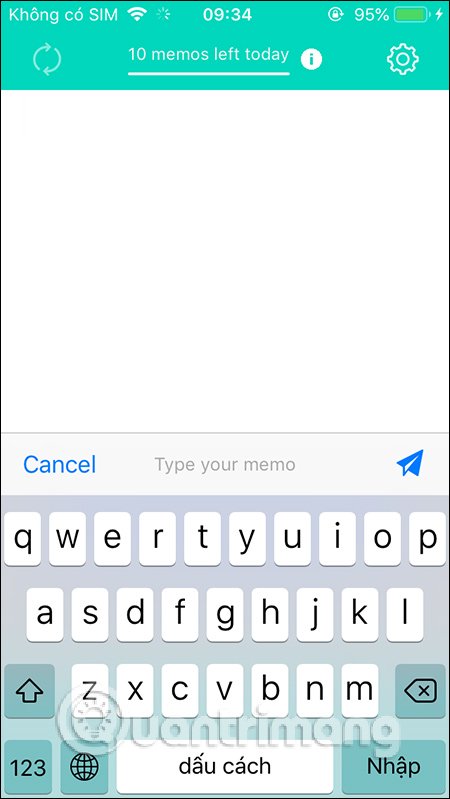
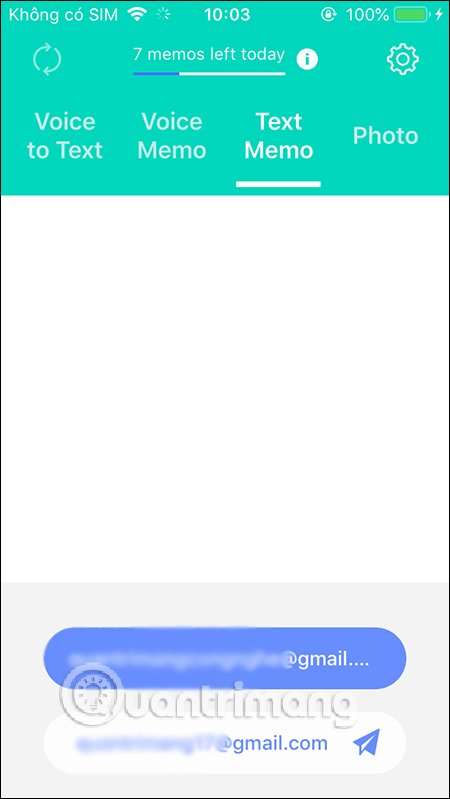
To transfer text , click Text Memo and then enter the content you want to send, click the Send icon in the keyboard interface. Then also select the email you want to send.
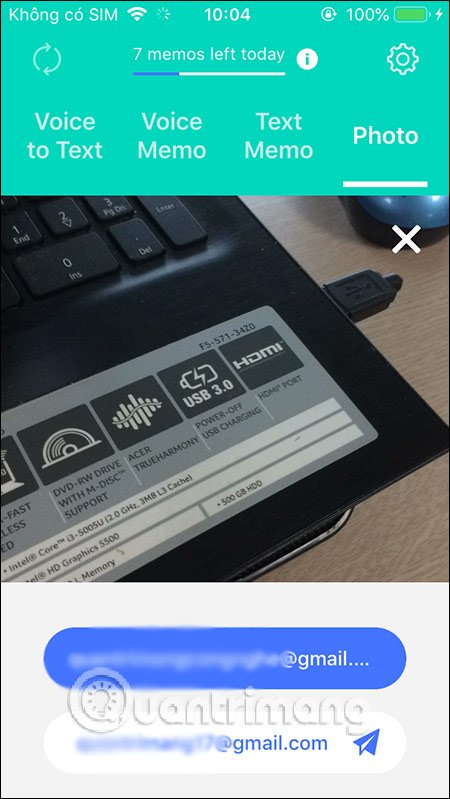
Finally, to send the image directly, then click on Photo and then take a picture is okay. To delete the captured image also click the x icon. Below is the email option to press send.
Step 6:
So you're done transferring content to someone else. To change some of the default settings in the application, click the gear icon .
In this interface you can switch to the language you want when converting from voice to text.
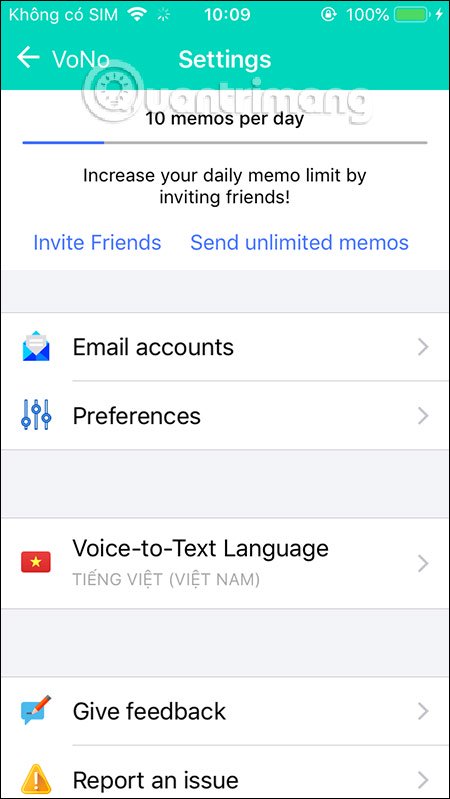
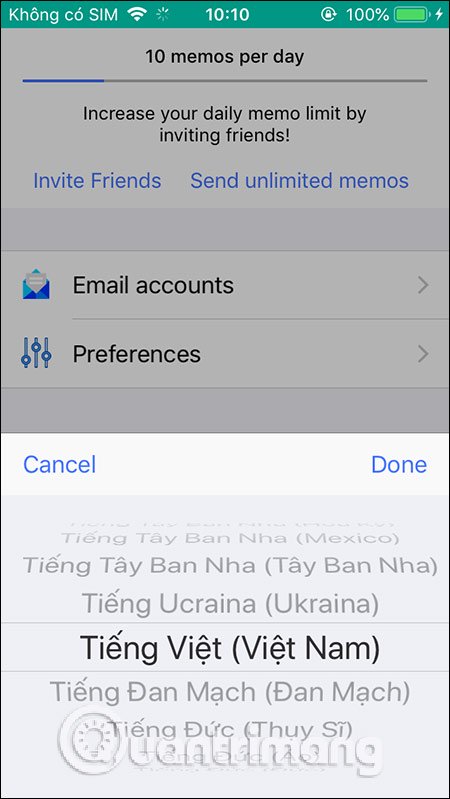
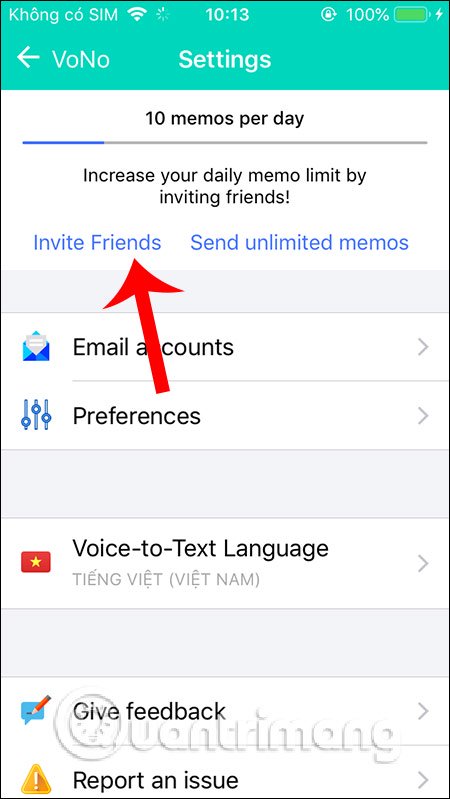
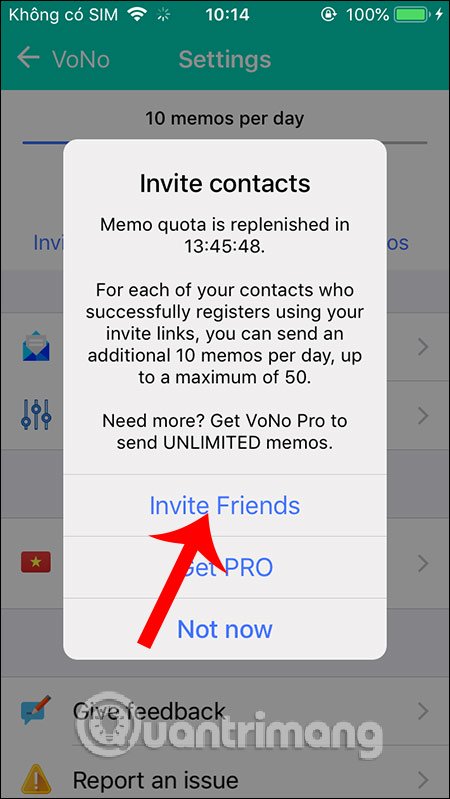
Note to the user that we can only transfer as many as 10 content in a day with a free account. To add 50 content , you can send the application invitation to your friends and when they register successfully, we receive plus points.
Click Invite Friends, then click Invite Friends to send the application invitation to friends.
Thus VoNo application supports us to send many types of content to others and is secure, when the file recipient also needs to verify the account.
I wish you successful implementation!
FAQ
What is How to Send Photos and Audio Recordings via Email with Vono about?
It provides a structured overview of VoNo Email Voice Note to Self, explains the main context, and highlights practical takeaways for readers.
Why does this topic matter?
Understanding the main concepts helps readers evaluate the issue, avoid common mistakes, and make better-informed decisions.
How should readers use this information?
Use the guidance as a practical starting point, confirm details that may have changed, and follow current product, safety, or security recommendations.
Related Articles
 Instructions for Sending Audio Files via MMS on Android3 minutes read
 How to Email Audio Files: Step-by-Step Guide11 minutes read
 What Is Audio Interface: 9 Best USB Audio Interface8 minutes read
 How to Email Photos from a Cell Phone: Step-by-Step Guide7 minutes read
 Send Email with Powershell: How to Send Email with Windows3 minutes read
 How to Send Audio Messages on Twitter3 minutes read
Reader Comments 0
Sign in with email or Google to join the discussion.