How to Screenshot Skype
Method 1 of 5:
Taking a Screenshot on Windows 7
-
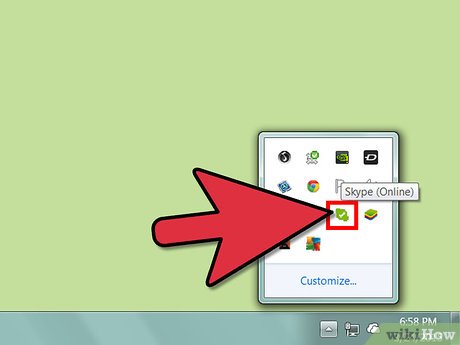
 Keep the Skype window on the top of the other tasks. This will preserve the snapshot for the current chat dialog or the chat history.
 -
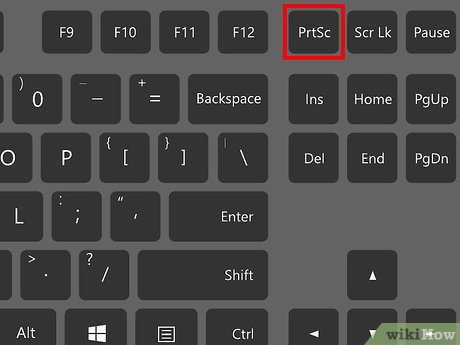
 Press 'Print Screen' key to capture the full screen.
 -
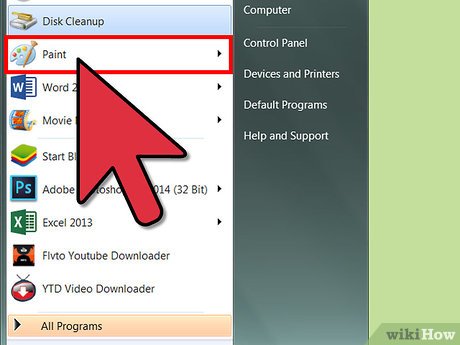
 Forward to 'Start' – 'All Programs' – 'Accessories' – 'Paint'. Press 'Ctrl + V' to paste the screenshot to the editing board.
 -
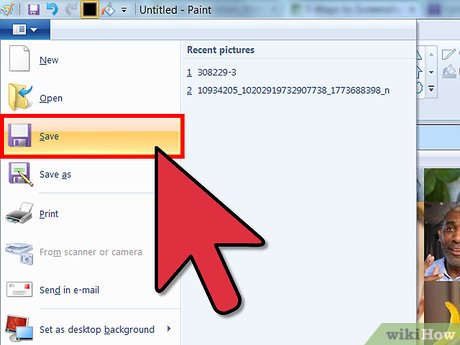
 Edit as needed. After editing it, navigate to 'File' and 'Save' on top bar, to save the screenshot.
- When selecting the output formats, JPEG is advised for the general purposes.
Method 2 of 5:
Taking a Screenshot on Windows 8
-
 Press the 'Windows' key, together with 'Print Screen'.
 -
 Go to the Start screen, open File Explorer from the task bar, and select 'Pictures' under 'Libraries'. Here you will find the folder with your screenshots.
Method 3 of 5:
Taking a Screenshot on a Mac
-
 Press the 'Command + Shift + 4 + Spacebar' combination. Click the Skype Window to take a screenshot accurately.
- Once it's done, you will hear a camera tone, which indicates that your snapshot has been saved to desktop in a PNG format.
-
 Make a snapshot for video calls in Skype. Skype has a built-in setting on the Options panel to take still screenshot for video calls. In order to navigate to that panel, hit 'Tools' – 'Options' on main interface, then check 'Enable keyboard shortcuts' and 'Take a snapshot during video calls' separately. You will soon get a pop-up window in which you can enter the key combination as shortcut. Now you can have video calls as usual and use the shortcut to make video snapshots conveniently. Images saved in this way would be placed in 'Gallery' folder.
Method 4 of 5:
Using the Free Online Screenshot Tool for Windows
-
 Find the Free Online Screenshot tool. Free Online Screenshot is a handy screenshot tool for you to produce Skype screenshots efficiently. This tool is located in the home page of screenshot.net and does not require any registration, license fees, installation or other hassles.
 -
 Activate the App. Visit the site, then hit the 'Take Screenshot' button on it and you will get to the interface of this tool after allowing a Java Applet.
 -
 Make a screenshot. Click the 'Quick Screenshot Mode' on the interface to commence screen capture and your mouse cursor will turn into cross-hairs. Hover it on the dialog box of Skype (or video call window), hit your mouse as soon as you could see a frame appears around the borders, and then the screenshot is done.
 -
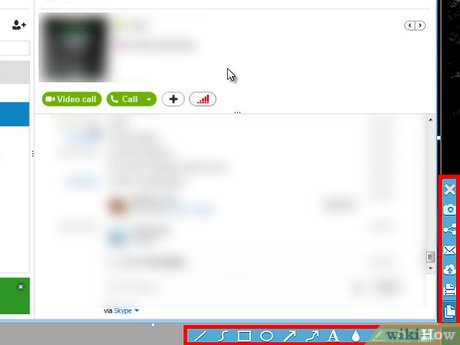
 Edit the screenshot, as needed. Upon your confirmation of the screenshot, you will find two bars with rich options appearing on the sides of it. These options are provided for you to edit, add comments to, save and share your screenshot. Forward to the horizontal bar and you are able to enhance the graph with lines, shapes, color, etc. Moreover, you can annotate it by using texts, highlights, blurs and more. All of these changes will take effect for the screenshot immediately.
 -
 Save and share the screenshot via Skype. Right after you are done with the above steps, you can simply hit the 'Disc' icon on vertical bar to save the screenshot to an indicated directory. With that image in your local drive, you can easily drag it to a dialog box to share with others.
 -
 Share the screenshot to a social network. If you're willing to post that screenshot to your social accounts, the publisher also provides free space for storing the images (all of your files will be under protection). In order to do so, you may click on the 'Social Share' icon on vertical bar, select a social symbol from the list and then sign in your account to post it.
Method 5 of 5:
Using the Grab Tool for Mac
Mac provides users with a handy screenshot tool that comes with every system – it's called Grab. It only takes a few moments to make a screenshot on your Mac.
-
 Run the program. Go to 'Applications' – 'Utilities' – 'Grab' to activate the application. The menus of this app will be shown on the upper-left side of the screen.
 -
 Choose the capture mode. You can choose 'Window', hover your mouse around the Skype chat window and click to produce the screenshot. When a new window appears, choose 'Save' from 'File' in the top menu, to save your image file.
Share by
Samuel Daniel
Update 05 March 2020
