Table of Contents
If a laptop will not start, protect the data before trying to repair Windows. Do not format the drive, reinstall the operating system, initialize an “unknown” disk, change partitions, or save recovered files back to the same drive. First decide whether the failure is limited to the screen or operating system, or whether the storage device itself may be failing.
Stop immediately and contact a reputable data-recovery specialist if an HDD repeatedly clicks, grinds, or spins up and down; the laptop or drive was dropped, wet, burned, or electrically damaged; the drive disconnects repeatedly; or the data is irreplaceable. Repeated power cycles and scans can turn a recoverable physical failure into a worse one.
Identify the failure before touching the drive
The laptop runs but the screen is blank
Power lights, fan noise, keyboard lighting, or startup sounds suggest that the laptop may still be running. The storage could be healthy and the display, cable, graphics hardware, or backlight may be the problem. Try an external display before removing the drive.

A blank screen does not necessarily mean the storage drive has failed.
Windows does not boot
A repair loop, boot error, blue screen, or frozen logo can result from damaged system files, a boot configuration problem, an update, or a storage fault. If the drive is detected consistently and makes no abnormal sound, files may be copied from a separate boot environment or by connecting the drive to another computer.
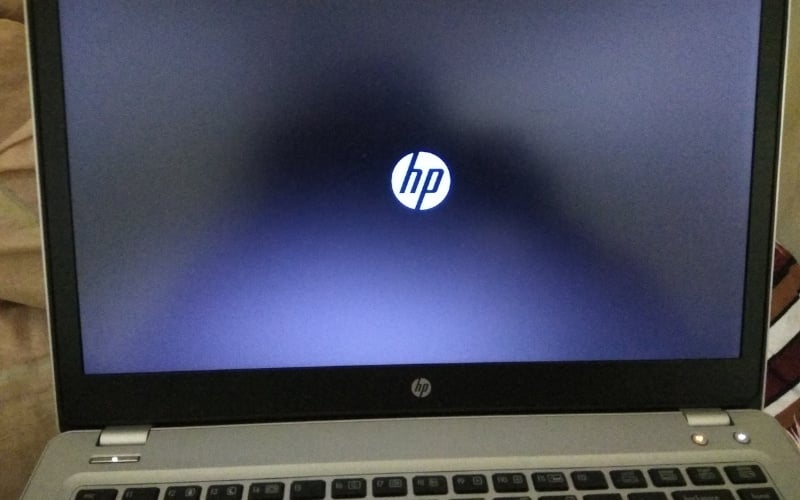
A boot failure can be logical, but storage health still needs to be considered.
The HDD or SSD shows failure symptoms
Warning signs include recurring read errors, severe freezes whenever a file is opened, a drive that disappears intermittently, or an HDD that makes persistent clicking, clunking, or grinding sounds. SSDs may fail without noise and may simply stop being detected.
Do not open a hard drive's sealed casing. That exposes its internal surfaces to contamination and requires specialist equipment to address. Seagate's guidance on abnormal drive sounds advises contacting recovery services before troubleshooting when a drive grinds and the data is needed.
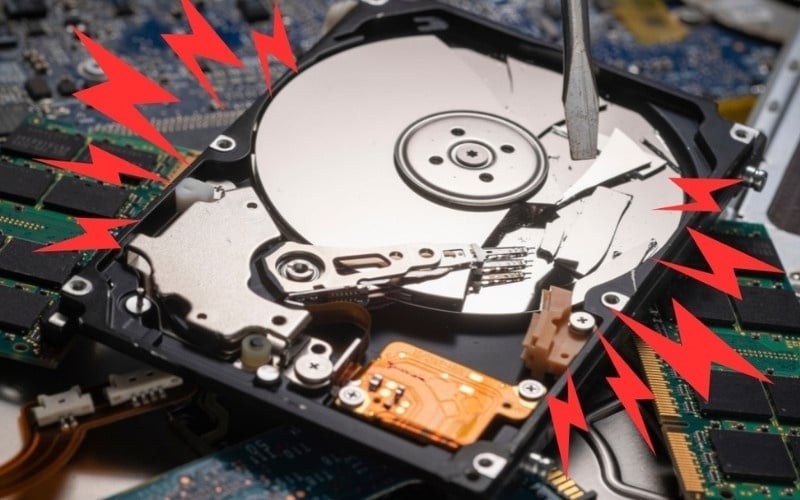
Persistent mechanical noises are a reason to stop, not to run more scans.
Choose the lowest-risk recovery path
| Situation | First approach | Do not do |
|---|---|---|
| Only the laptop display appears broken | Connect an external display and copy important files | Reset or reinstall Windows |
| Windows will not boot, but the drive is stable and detected | Use a trusted bootable environment or connect the drive read-only to another computer | Run repairs before copying the data |
| Files were recently deleted from a healthy drive | Stop writing to the drive and scan it from another system | Install recovery software or restore files to the source drive |
| Drive clicks, grinds, was dropped or wet, disconnects, or is not detected reliably | Power it down and consult a specialist | Keep retrying adapters, scans, repair tools, or power cycles |
| Drive is encrypted | Locate the password or recovery key before changing hardware | Assume encryption can be bypassed by recovery software |
Method 1: Use an external monitor
If the laptop appears to boot normally, connect a monitor or TV using the supported HDMI, DisplayPort, USB-C, or older video connection. Select the correct input on the display, then use the laptop's display-switch key if required.
Once you can see the desktop, copy the most important files first to an external drive or trusted network location. Do not begin system updates or repairs until the copy has been checked on another device.

An external display is the least invasive option when only the screen has failed.
Method 2: Remove a healthy drive and connect it elsewhere
This method is appropriate only when the laptop has failed but its drive is stable, consistently recognized, and physically removable. Many thin laptops have soldered storage or require difficult disassembly, so consult the service manual first. Opening the case may affect warranty coverage.
- Shut the laptop down and disconnect its charger.
- Follow the manufacturer's instructions to disconnect or disable the internal battery.
- Use electrostatic-discharge precautions and the correct screwdriver.
- Identify the drive before buying an adapter: 2.5-inch SATA, mSATA, M.2 SATA, and M.2 NVMe require different connectors.
- Connect the drive to a compatible computer and decline any prompt to initialize, format, or repair it.
- Copy irreplaceable files to a separate healthy drive first.
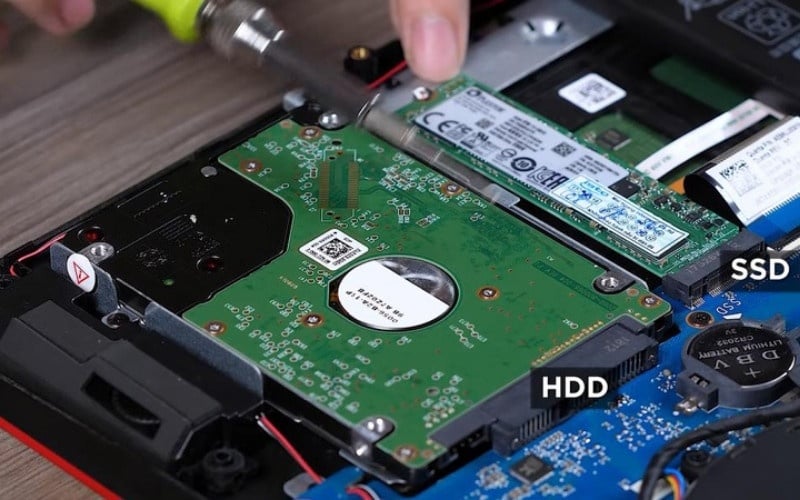
Remove a drive only when it is healthy enough to read and the laptop is designed for service access.
If you are unsure which adapter fits, review the differences among 2.5-inch SATA, M.2 SATA, and M.2 NVMe SSDs before connecting anything.
Method 3: Use the correct USB enclosure or adapter
A USB enclosure lets a compatible internal drive appear as an external drive. Match both the physical size and interface: a case for M.2 SATA may not read an M.2 NVMe drive, and neither fits a 2.5-inch SATA drive.
Connect the enclosure to a reliable computer and copy data to a different disk. If Windows says the disk must be initialized or formatted, cancel. If the device drops offline, produces I/O errors, or makes abnormal sounds, disconnect it safely and stop. An enclosure cannot repair damaged media.
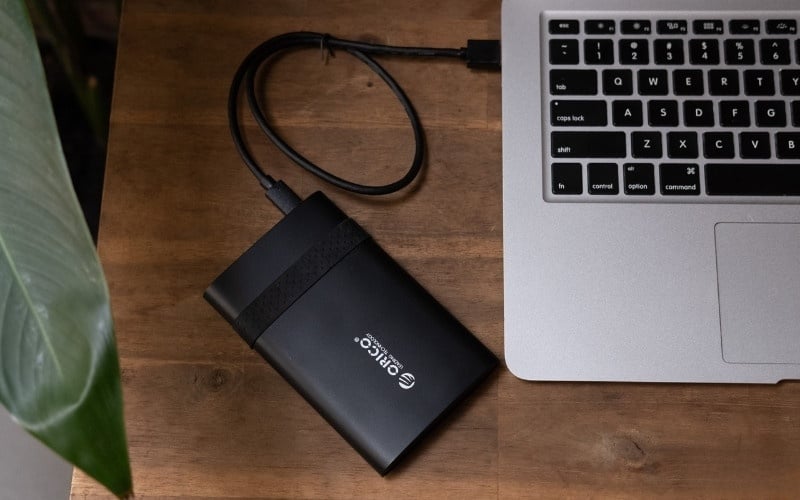
The enclosure must match the drive's connector and interface.
Method 4: Boot a separate recovery environment
When the laptop hardware works but Windows does not, a trusted Linux live USB, Windows PE environment, or vendor recovery tool may let you copy files without booting the installed system. Create the USB on another computer. Boot from it without selecting any installation, reset, partition, or formatting option.
Mount the internal drive without writing to it when the environment supports that choice, then copy important files to a separate external drive. Secure Boot, storage-controller settings, and device encryption can prevent the drive from appearing. Record existing firmware settings before changing anything, and do not switch storage modes casually because that may keep the installed system from booting.
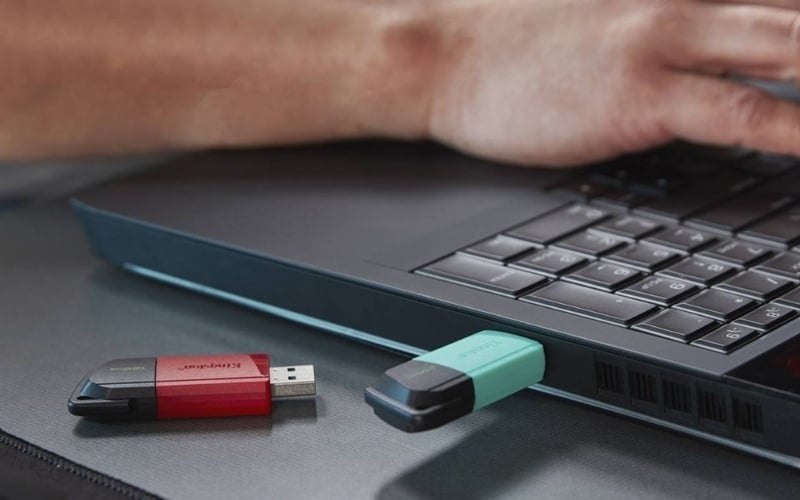
A bootable environment should be used to copy files, not reinstall over the source drive.
Method 5: Recover deleted files from a healthy drive
Recovery software is for logical loss—such as accidental deletion or a damaged file system—when the hardware remains stable. Stop using the source drive immediately. Deleted data can be overwritten by ordinary activity, and SSD features such as TRIM may make some deleted blocks unavailable to recovery tools.
- Run the software from another computer or another drive.
- Scan the affected drive without modifying its partitions.
- Save recovered files to a separate healthy device.
- Open a sample of recovered files; a filename alone does not prove the contents are intact.
No tool guarantees recovery. If the drive shows physical symptoms or contains critical data, do not experiment with multiple programs. TipsMake's list of computer data-recovery tools can help with logical deletion, but it is not a substitute for hardware recovery.
Install the tool elsewhere and recover files to a different drive.
Encryption changes the recovery process
A BitLocker-protected Windows drive normally requires its password or 48-digit recovery key when moved to another computer or when hardware changes. Check the Microsoft account, a printout or USB copy, a work or school administrator, or another location where the key was backed up. Microsoft's BitLocker recovery-key instructions explain the supported places to look.
Microsoft cannot recreate a missing recovery key, and data-recovery software does not bypass properly functioning encryption. Preserve any password, recovery key, Apple FileVault key, or organizational recovery information before service or hardware changes.
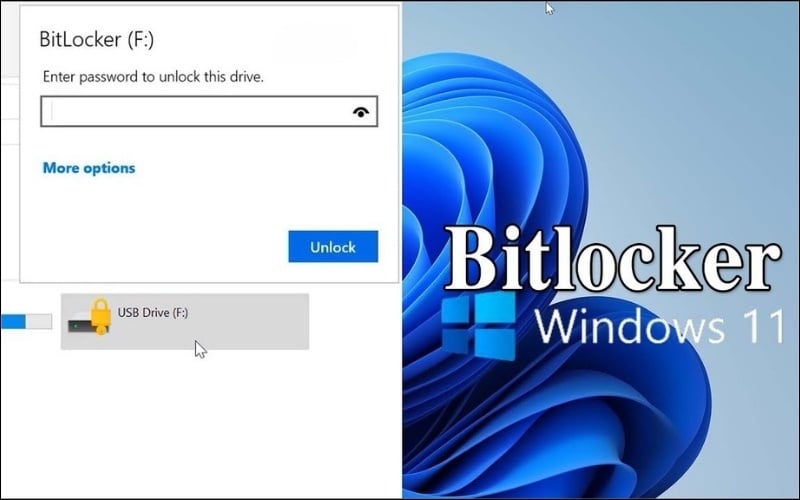
Encrypted storage still requires valid unlocking credentials.
Actions that can make recovery less likely
- Formatting or initializing the source drive.
- Reinstalling Windows or performing a factory reset.
- Saving downloads, programs, or recovered files to the affected drive.
- Running
CHKDSK, file-system repair, defragmentation, secure erase, or partition tools before the data is copied. - Running repeated full scans on an unstable drive.
- Opening a sealed HDD, swapping circuit boards, freezing the drive, hitting it, or using improvised electrical fixes.
- Continuing to power a wet or burned device.
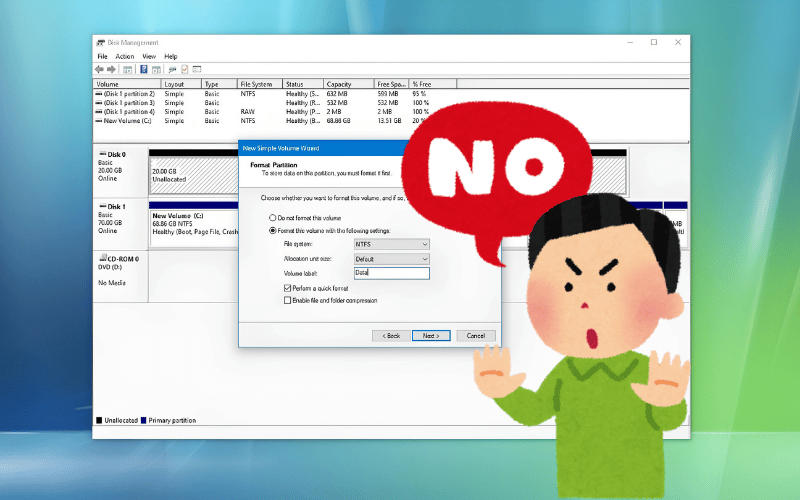
Repair actions write to the disk and should wait until the data is secure.
After the files have been recovered
- Open important documents, photos, videos, and archives from the destination drive to verify them.
- Create another copy on a separate device or trusted cloud service.
- Only after recovery, check the source drive's health and error history. TipsMake explains several Windows drive-health checks.
- Replace a drive that has recurring errors, bad sectors, intermittent detection, or physical damage. Do not trust it with the only copy of anything important.
- Set up an automatic backup that keeps more than one copy and test a restore periodically.
Verify the recovered files, then keep at least one additional copy elsewhere.
When the data matters more than the cost of recovery, the safest decision is often to stop early. A specialist has the best chance when the drive has not already been subjected to repeated DIY attempts.
Related Articles
 How to Recover Data from Broken Laptop Hard Drive: Clear Instructions17 minutes read
 How to Repair a Physically Damaged Hard Drive: Clear Instructions12 minutes read
 How to Recover Data from 'Ghost' (or Image) Error-Free Hard Drive5 minutes read
 How to Recover Lost Data from HDD: Step-by-Step Guide7 minutes read
 10 Fastest Ways to Recover Deleted Hard Drive Data: Best Options Compared16 minutes read
 Create Recovery Recovery Hard Drive for Windows 107 minutes read
Reader Comments 0
Sign in with email or Google to join the discussion.