How to Reset BIOS Password
Have you ever been unable to access your old computer because you forgot your BIOS password? Without the password, the computer is completely useless. Fortunately, there is a way to reset the password. Read this article to learn how.
Table of Contents
Password Jumper
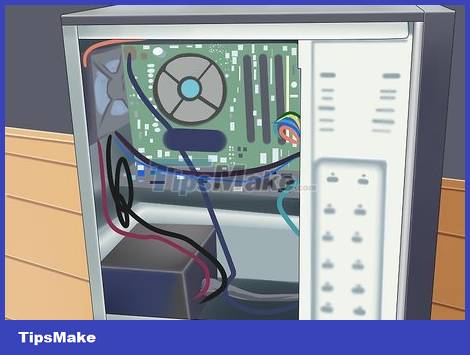
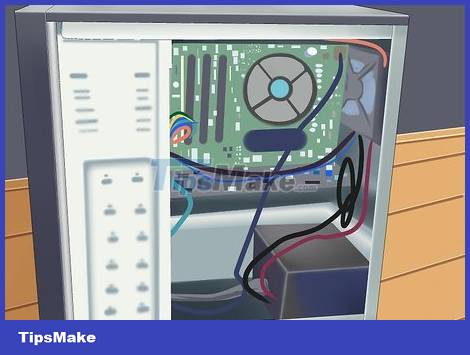
Open Computer. This method applies to desktop users. Unplug the power cord from the back of the computer. Remove the case to access the motherboard. Motherboard is the main board of the computer, all the important parts are located here.
Remember to ground yourself before touching the inside of the computer, or you will damage components.

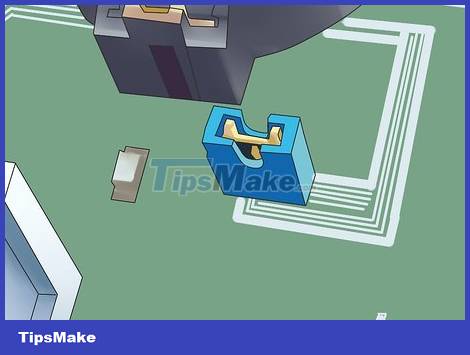
Find the BIOS jumper. There are dozens of jumpers on the motherboard, you have to choose exactly. See the motherboard documentation and check it out carefully. Jumper plugged in 2 out of 3 is the BIOS password controller.
Jumper name can be CLEAR CMOS, CLEAR, CLR, JCMOS1, PASSWORD, PSWD, etc.
The jumper is usually located in the corner of the motherboard and near the CMOS battery.

Move jumpers. To reset the BIOS password, you need to move the jumper plug in 2 out of 3 slots. On most systems, moving the jumper to another scale can change the password. For example, if the jumper is plugged in at pins 1 & 2, you can simply switch to pins 2 & 3.
Some systems will reset the password when the jumper is completely removed.

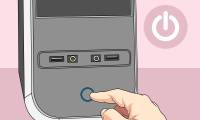
Turn on the computer. After rebooting, the machine will clear the BIOS password. Turn off the machine and return the jumper to the original position. Close the case and use as usual.
Back door password
Determine if you can reach the CMOS jumper. If using a laptop, often can not reach the jumper. So you need the backdoor password. These passwords are encrypted, but you can decrypt them with special key generation commands.
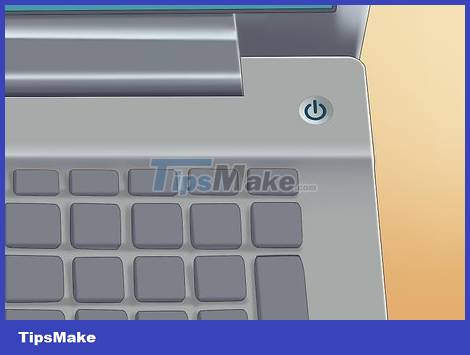
Turn on the computer. When asked for a password, enter it 3 times. The System Disabled screen will then appear. Don't worry, the system is not disabled but will work normally after reboot.
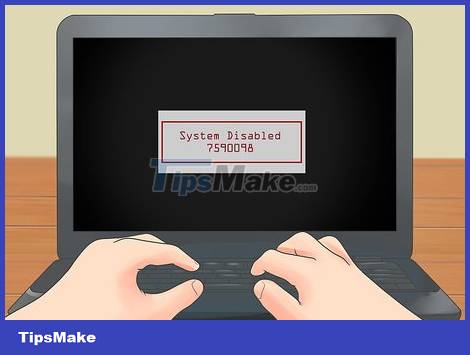
Record the sequence of numbers displayed on the screen. You need this sequence of numbers to create a BIOS backdoor password. This sequence can contain both letters and numbers.

Create a password. On a working computer, go to this page and enter the passcode from the laptop. The program will generate a password for you. This process may take several minutes.
Some laptops use their serial number to generate a password. Depending on the table in the More Details section of the website above, decide which number to enter.
Remove the CMOS battery
Open Computer. This method only applies to desktop computers. Make sure the computer is powered off. Remove the case to access the motherboard. Unplug the power cable at the back of the computer to completely disconnect it.
Don't forget to ground yourself before touching the inside of the computer, or you will damage components.

Locate the CMOS battery. The CMOS battery is round, silver in color, looks like a watch battery. Carefully remove the battery from the case. Wait about 5-10 minutes to discharge all the power accumulated in the motherboard.
You can bypass the timeout by moving the CLR_CMOS jumper to the 'clear' position while removing the battery. As such, it will automatically release the accumulated power in the CMOS chip.

Install the battery. All BIOS settings will be reset when you turn on the computer. You need to reset the date and time in the BIOS settings menu.
Was this article helpful?
Your feedback helps us improve.
Related Articles
 Ways to reset BIOS password or remove BIOS password9 minutes read
 How to Reset a BIOS Password9 minutes read
 Set BIOS and UEFI password to protect data on your Windows 10 computer safely7 minutes read
 How to quickly remove BIOS password on computer4 minutes read
 How to Reset Your BIOS10 minutes read
 How to reset BIOS settings to default.3 minutes read
Reader Comments 0
Sign in with email or Google to join the discussion.