Table of Contents
Overview
This guide explains how to replace airpod pro ear cushions in clear, practical terms. It covers the key concepts, recommended steps, common limitations, and useful checks so you can make a better-informed decision.
Many of you want to replace a new earbud for your AirPods Pro headphones but are wondering how. This guide explains on how to remove and replace the AirPods Pro earbud in an straightforward way.
How to replace Airpod pro ear cushions
– Step 1: Gently pull to remove the AirPods Pro ear cushion
First, use one hand to hold the body of the headset firmly. Then, use the thumb and index finger of the other hand to gently pull the two sides of the headset cushion outward.

– Step 2: Replace the new ear cushion
Prepare a new earbud, then align the earbud with the connector on the earbud, and press it in.
Things to consider when choosing the right earbud
Airpods ear tips have many different names such as earplugs, silicone ear tips. Airpods ear tips come in many sizes from small to large to fit the user's ears. Including sizes S, M, L.
Try it on and see if it feels comfortable. Move it around to make sure it is secure and doesn't fall out of your ear. If it feels loose, try adjusting it to make it more comfortable.
How to choose the right rubber tips for AirPods Pro
First, choose the most suitable and comfortable headphone size, put on the headphones and follow these steps to check the fit:
Step 1: Go to Settings on iPhone > Select Bluetooth > Click the letter i next to AirPods Pro headphones.

Step 2: Then select Check headphone fit > Select the Play icon to let the device test the headphone fit.
Step 3: The phone will tell you whether each earbud is suitable or not. If it is suitable, you will receive a blue message "good seal", if not suitable, the phone will display yellow text "adjust or try another earbud".
If you test that it shows green text then continue using that buffer size. If it shows yellow text then you need to adjust or change another buffer until it shows green text.
Here are 3 steps to help you check if the rubber pads for your AirPods Pro are suitable or not. Try it now to be able to use AirPods fully.
Cleaning AirPods Pro
- Do not use AirPods underwater.
- Use soft cloth for cleaning.
- Use a damp cloth to wipe the airpods. Then dry them with a soft cloth.
- Wait for the airpods to dry completely before placing them in the charging case.
- Be sure not to allow any liquid to enter the gaps.
- Use a dry toothpick to clean the microphone and speaker grille.
- Do not use sharp objects or abrasive materials to clean AirPods.
How to properly store headphones
Use the headphone case
The best way to keep your headphones and the foam pads on your headphones in the best condition and avoid external contact is to use a case for your headphones and store them in a cool, dry place.
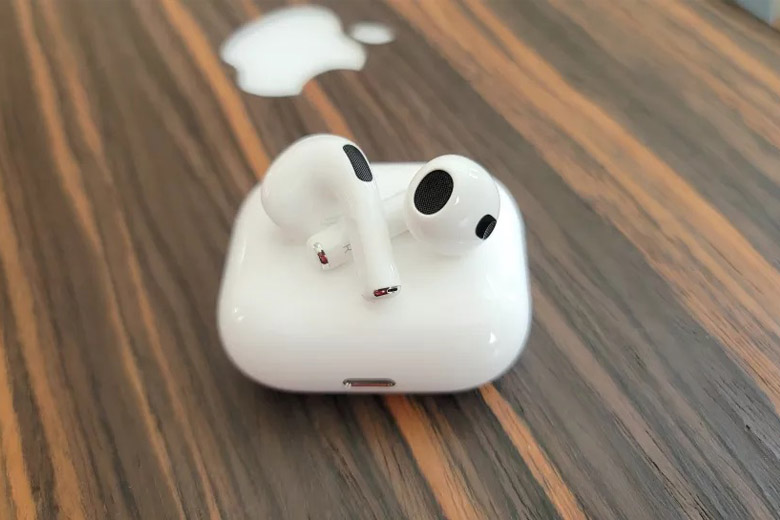
Dry after use
To overcome the peeling, drying after use is especially necessary and can overcome the smell of the headset. Make sure that after using the headset, leave the headset in the dryest and most airy place for 15-20 minutes so that the foam pad can be dried in the headset for 5-7 minutes, this will help the surface of the ear cushion become drier, avoiding the retention of sweat on the surface of the imitation leather. Do not use a dryer to dry the surface of the foam pad.
You should use an additional desiccant/desiccant pack when storing the headphones in the case to increase the effectiveness of preserving the headphones.
How to deodorize
To deodorize the foam pads on the headphones, you must first dry the foam pads, then use a tightly sealed bag and put your headphones in it with a small bag of dry coffee grounds or 1-2 tea bags dipped with a few desiccant/desiccant packets. Within 1-2 days, the smell on the headphones will be significantly reduced, however, to achieve high efficiency, you should do the same thing about 2-3 times.
Hopefully the above methods of removing and replacing the Airpods cushions are useful for your headphone usage. If you have any questions, please contact this guide via hotline 19001903 for advice!
Key Takeaways
Use the guidance above as a practical reference for replace airpod pro ear cushions quickly and. Check compatibility, follow the steps carefully, and verify important details with official documentation when software, security, accounts, health, or purchases are involved.
FAQ
How do I replace airpod pro ear cushions?
Follow the steps in this guide in order, confirm each setting before continuing, and save, restart, or reconnect the device when the instructions require it.
What should I check before I begin?
Confirm the correct device, account access, software version, compatibility, and a current backup whenever the process could affect files, settings, or security.
What should I do if the process does not work?
Repeat the steps carefully, check for model or version differences, install available updates, and consult the manufacturer's official support documentation.
Related Articles
 How to Turn Off Siri Reading Messages on AirPod iPhone: Complete Guide4 minutes read
 5 Best Accessories to Protect Airpods8 minutes read
 How to Connect Airpod to Windows Laptop and Macbook: Complete Guide7 minutes read
 How to Connect Airpods to Windows 11 Laptops Are Extremely Simple2 minutes read
 How to Connect Airpod to Laptop6 minutes read
 How to Easily Replace Mechanical Keyboard Switches for Beginners9 minutes read
Reader Comments 0
Sign in with email or Google to join the discussion.