Table of Contents
Photoshop can replace unwanted text with pixels sampled or generated from the surrounding image. For current versions, try the Remove tool first. Use Content-Aware Fill when you need more control over the selection and sampling area.
Only remove text, logos, or watermarks from images you own or have permission to edit. Removing attribution or ownership marks from someone else's work may violate copyright or license terms.
Before you edit
- Duplicate the image layer so the original remains available.
- Zoom in far enough to include every letter edge and shadow.
- Work in small sections on patterned or highly detailed backgrounds.
- Save a layered PSD before exporting the final JPEG or PNG.
Fast method: use Photoshop's Remove tool
Choose the Remove tool from the retouching group in the toolbar. Set the brush slightly wider than the text stroke, then paint over the text and any outline or shadow. Photoshop fills the painted area from surrounding content. For a long line, several short strokes often produce a cleaner result than one large stroke.
Inspect the repaired area at 100% zoom. If you see repeated patterns, smudged edges, or missing details, undo and use a smaller brush, or switch to Content-Aware Fill. Adobe's Remove tool guide reflects the current desktop workflow.
Remove text from a simple background with Content-Aware Fill
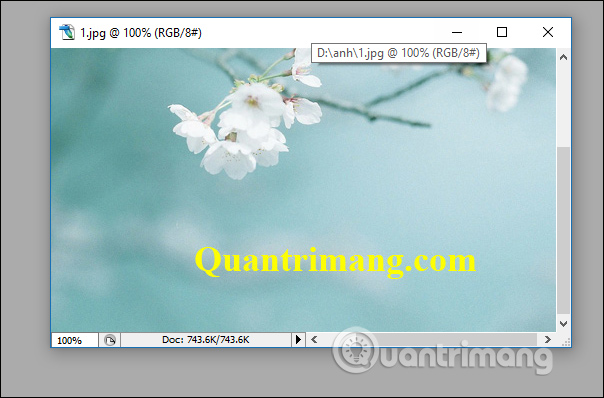
This method works well when the text sits on sky, a wall, a flat color, or another low-detail area.
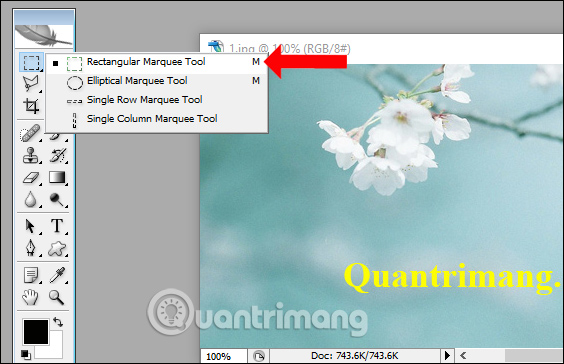
- Select the Rectangular Marquee tool (M) for a straight text block, or the Lasso tool for an irregular shape.
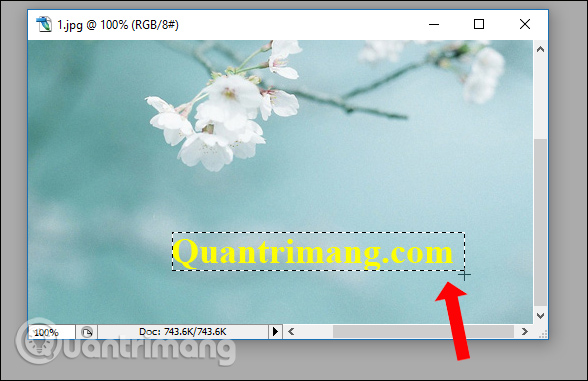
- Draw a selection that covers the letters, antialiased edges, outline, and drop shadow. Leave a narrow margin around the text.
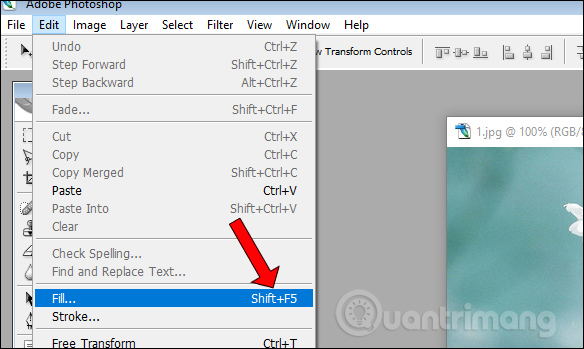
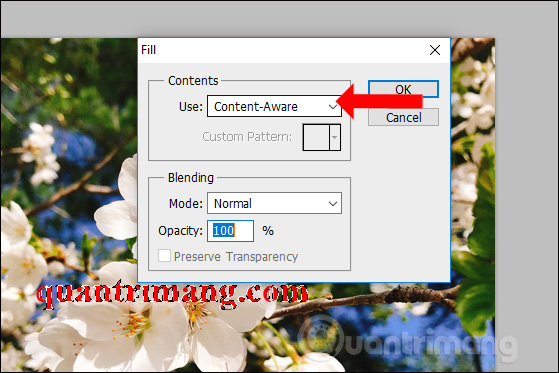
- Right-click inside the selection and choose Content-Aware Fill. In older Photoshop versions, the same operation may appear under Edit > Fill with Content-Aware selected.
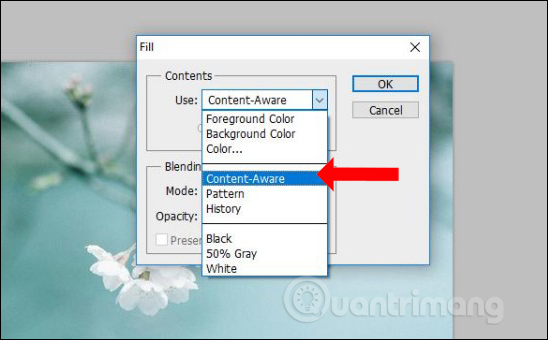
- Preview the replacement. Adjust the sampling overlay if Photoshop is copying an unwanted edge or object, then output the result to a new layer and select OK. The legacy Fill dialog used Normal blending at 100% opacity.
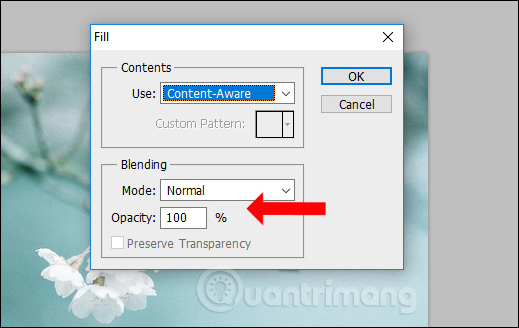
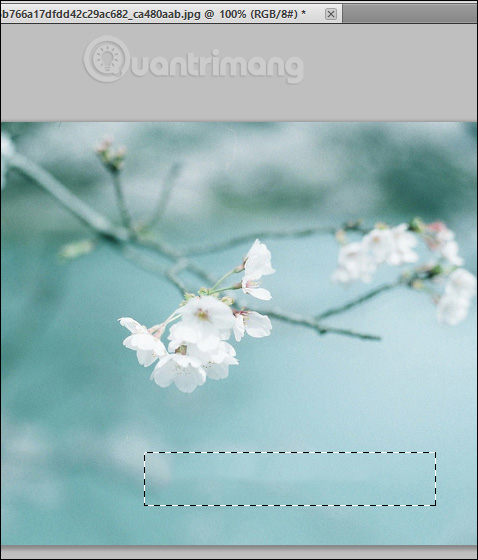
The fill is an estimate, not a guarantee. Judge the result at full size instead of assuming it will always be blur-free.
Remove text from a detailed background
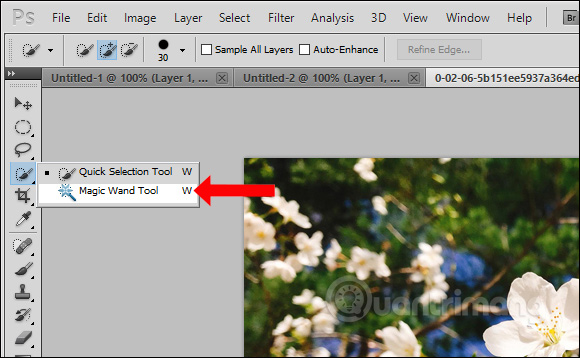
Texture, faces, foliage, brickwork, and straight architectural lines make the repair harder. The original example below uses an older Magic Wand workflow; it remains useful when the letters have a uniform color, but the Object Selection, Quick Selection, or Lasso tool may produce a better selection in current Photoshop versions.
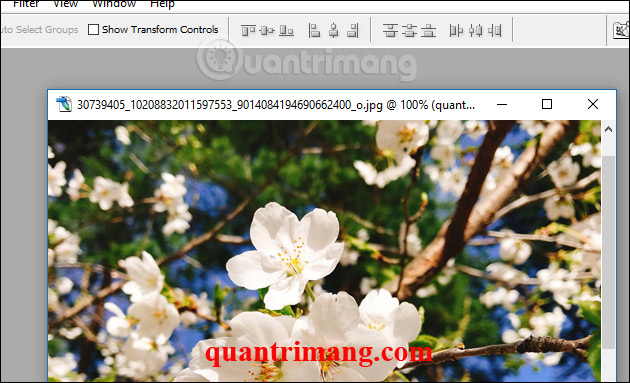
- Select the letters. With the Magic Wand tool (W), hold Shift while clicking additional disconnected areas.
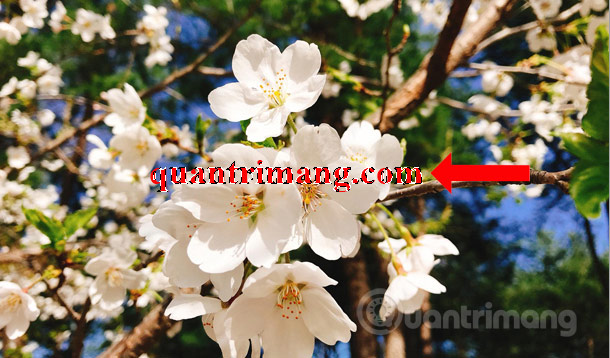
- Use Select > Modify > Expand to add a small border around the selection. The correct number of pixels depends on image resolution; expand only enough to include colored fringes and shadows.
- Open Content-Aware Fill, remove unsuitable sampling areas from the overlay, and preview the result before committing it to a new layer.
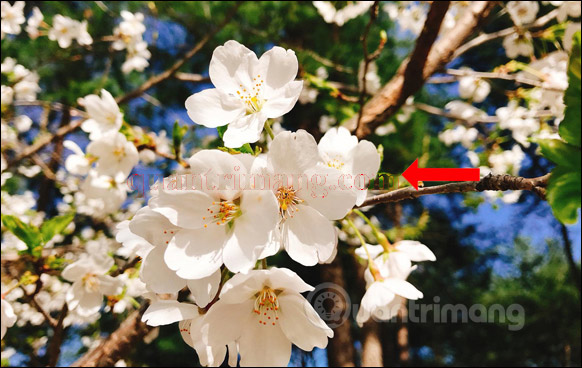
- If a faint outline remains, select and repair only that small area. Avoid repeatedly filling one large rectangle, which can smear detail.
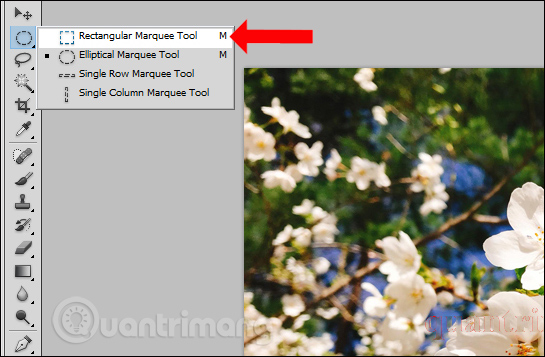

Adobe's Content-Aware Fill instructions explain how to control the sampling area in the current workspace.
Clean up visible artifacts
- Repeated texture: use the Clone Stamp on a new layer and sample from more than one nearby area.
- Soft or smeared edges: rebuild them with the Clone Stamp or a small Healing Brush instead of filling the whole region again.
- Color mismatch: add a clipped adjustment layer or use a low-opacity brush sampled from the surrounding area.
- Busy background: repair one letter or small group at a time and resample frequently.
Related Articles
 Remove Objects in Photos with Photoshop's New AI-Powered Remove Tool5 minutes read
 How to Remove Text on Photos with Photoshop10 minutes read
 How to Insert Text in Photoshop: Step-by-Step Guide9 minutes read
 How to Delete Text on Photos in Photoshop5 minutes read
 Steps to Remove Watermark in Photoshop So That You Have the4 minutes read
 5 Best Image Removal Software on the Best Computer6 minutes read
Reader Comments 0
Sign in with email or Google to join the discussion.