Table of Contents
This practical guide walks through how to overlay and Combine Two Images on iPhone. It organizes the required steps, settings, and checks so you can complete the task with fewer mistakes.
This guide walks you through both methods.
Overlay Photos in the Photos App on iPhone
The first method to stack photos on iPhone is to use the Photos app. This is the easiest way if you don't want to download an additional third-party app just to superimpose two photos.
To start, you need to turn the subject of the first photo into a sticker. The Photos app has a handy feature that allows you to create custom stickers from photos on your iPhone. So, open the Photos app, scroll to the desired photo and tap to view it.
Now, select and hold the photo subject and release. You'll see a bright white line running along the edge of the object when the object is successfully recognized and selected. then choose Add sticker .
The photo subject will be added to the sticker collection on iPhone. select the x icon to exit the sticker window.


Now, let's return to the photo gallery. This time, scroll to the second photo you want to use as the background layer and tap to view it. Tap Edit > Highlight (highlight pen icon). Tap the + Icon from the bottom toolbar and select Add sticker .


Select the newly created sticker to stack it on top of the current photo. You can use the circles in the corners to adjust the size of the photo sticker. Tap the blue Done Button, then tap the yellow Done button to save the new photo.


Overlay Images Using Third-party Applications
If you want to stack photos on your iPhone and have more image customization features available, use the Union app.
Union has a clean, easy-to-use interface that offers a variety of photo blending and stacking options. You can download Union for free from the App Store.
- (Free, subscription available)
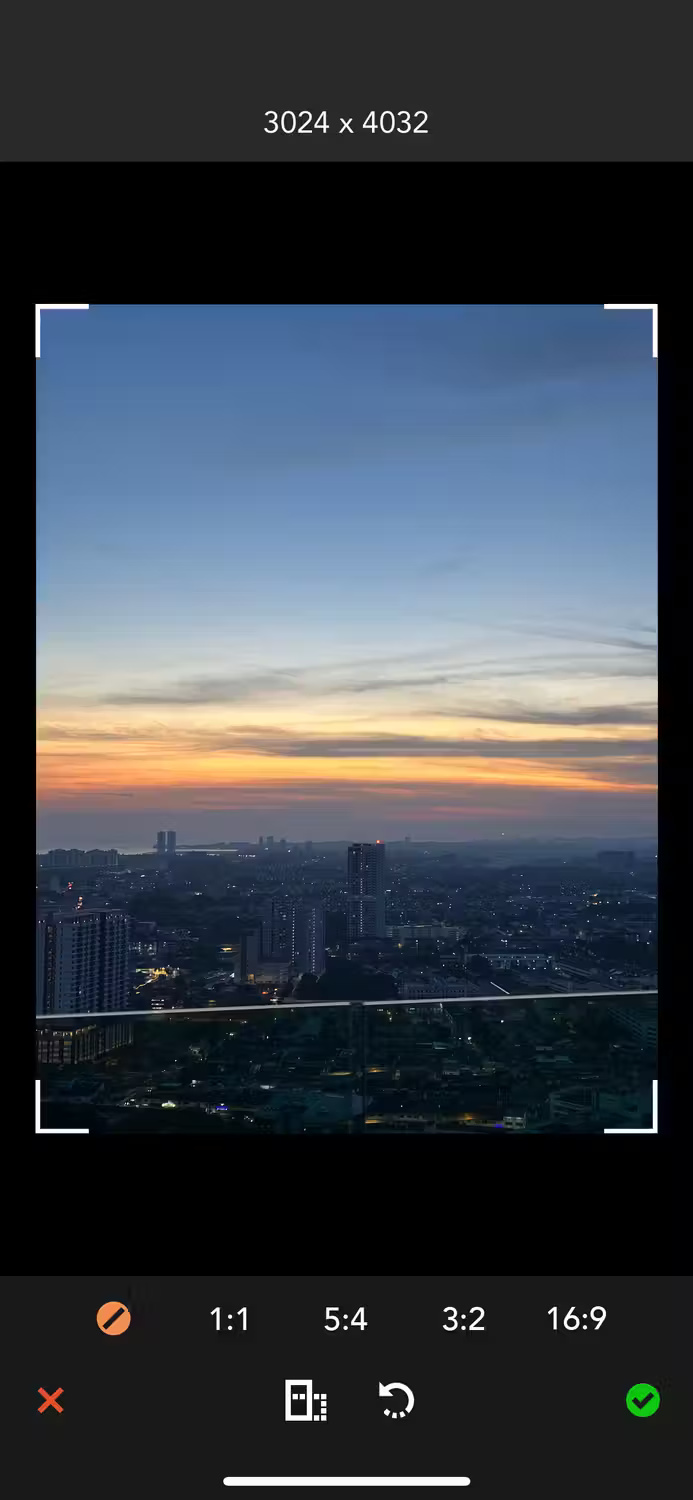
To stack photos in Union, open the app and tap Get Started . select Background > Photo And choose from the photo library to add a background layer to the photo.
Next, you can change the aspect ratio if desired. Once satisfied, tap the green check mark icon to save the background.

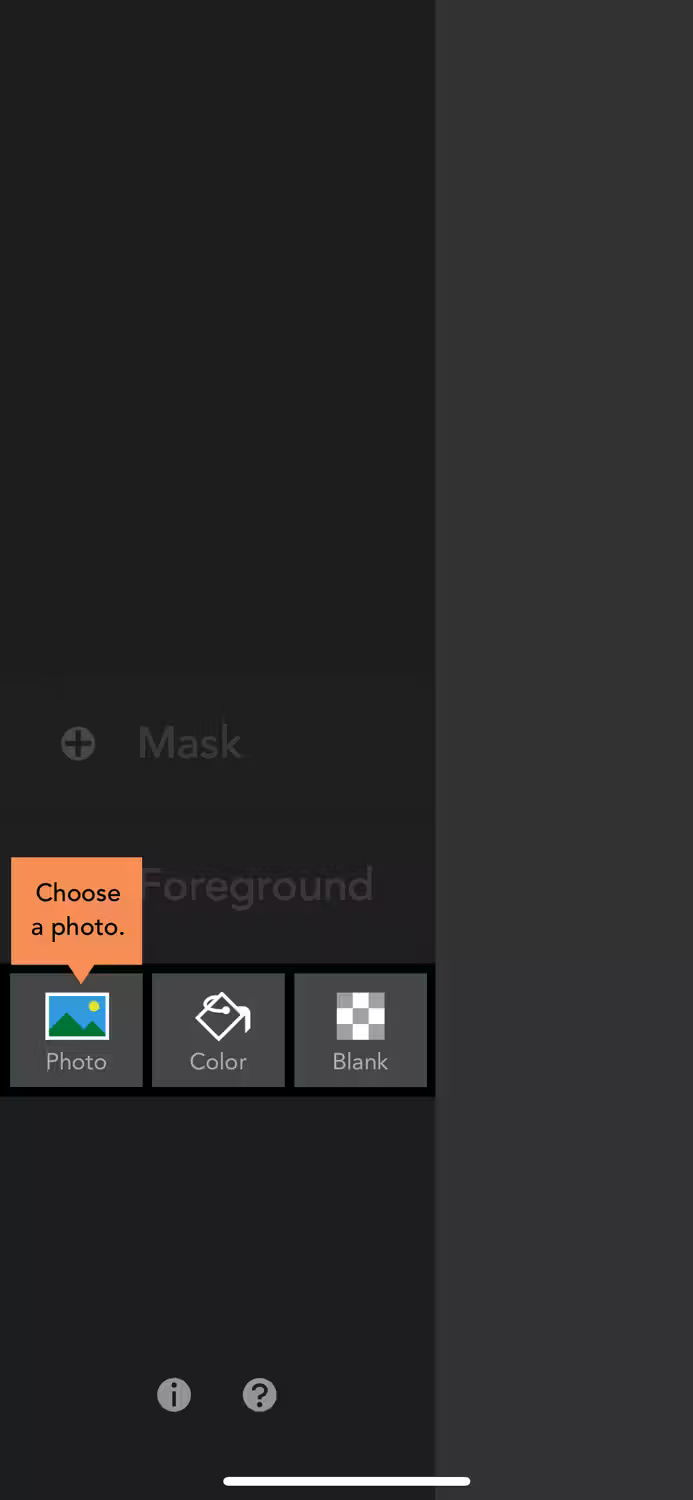
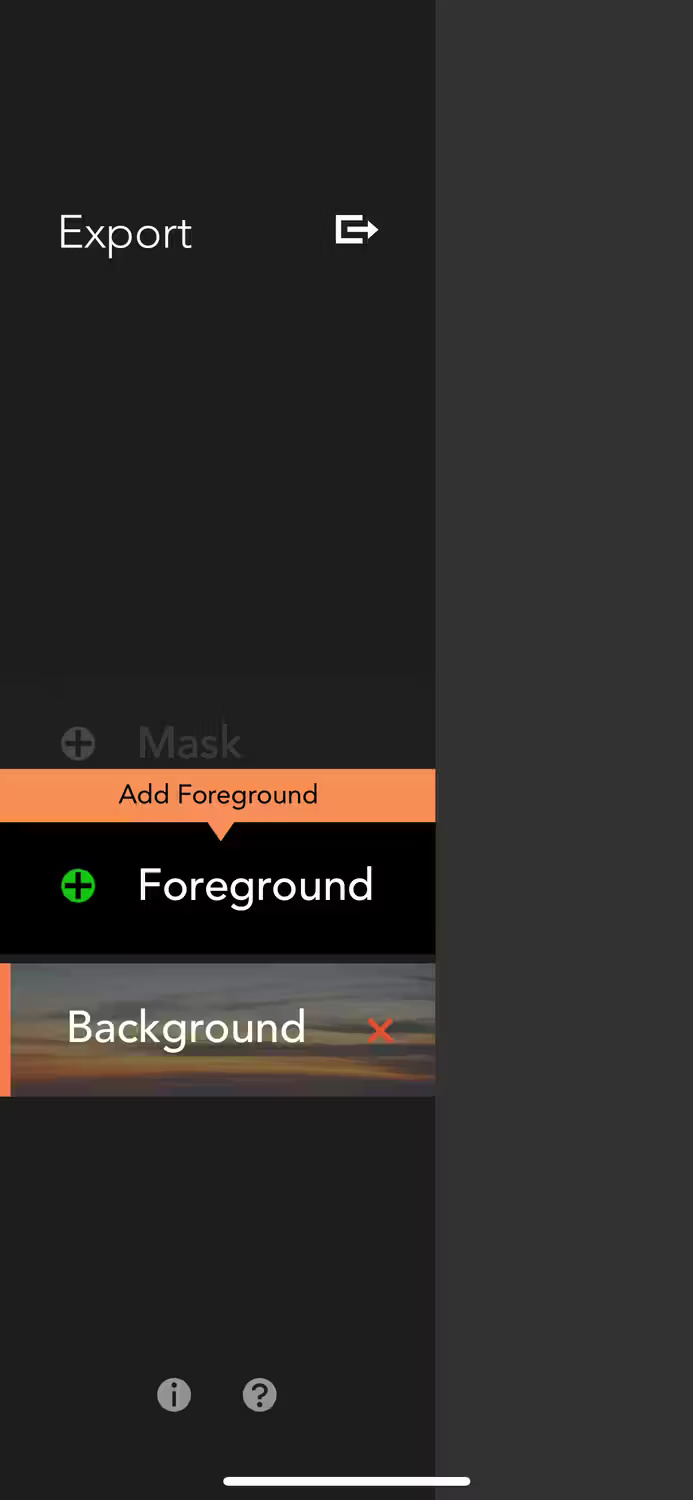
Next, select the three horizontal lines icon in the upper left corner and select Foreground > Photo To add the photo you want to paste on top of the existing background image.
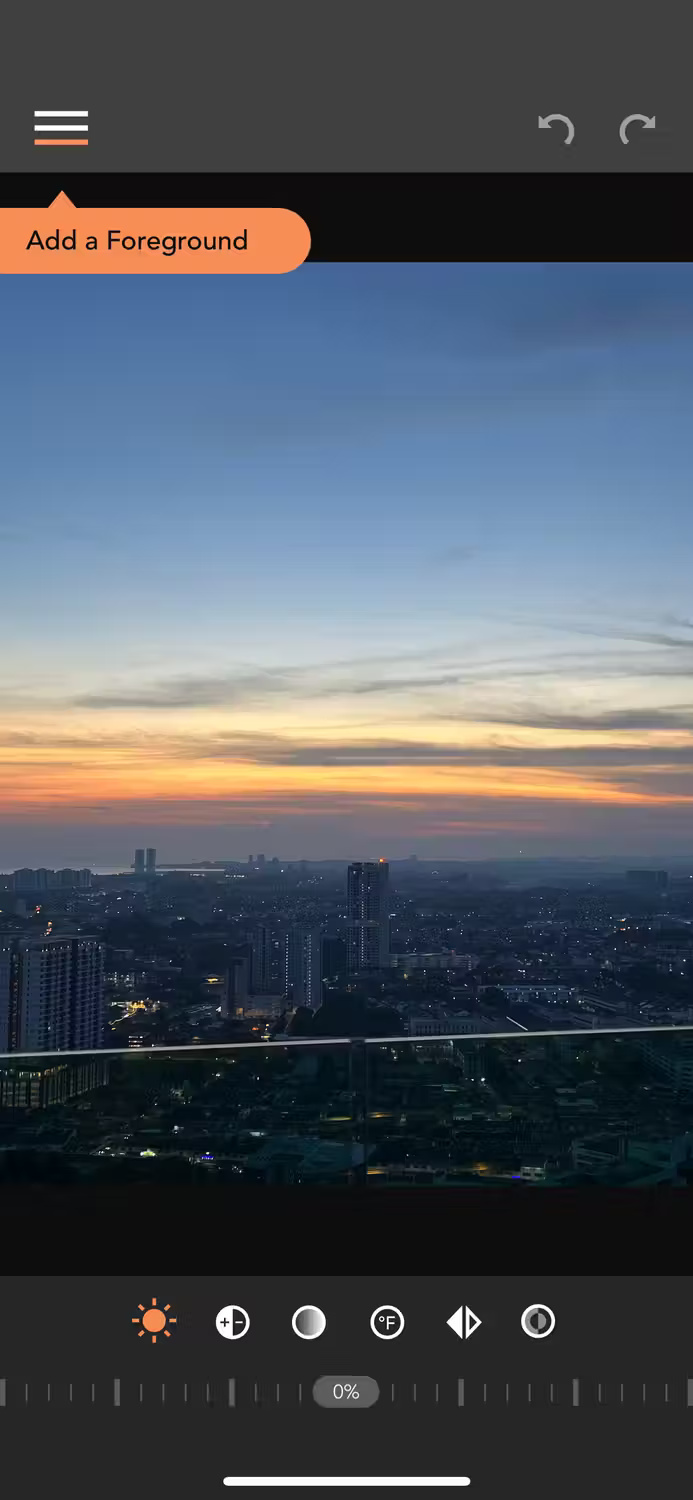
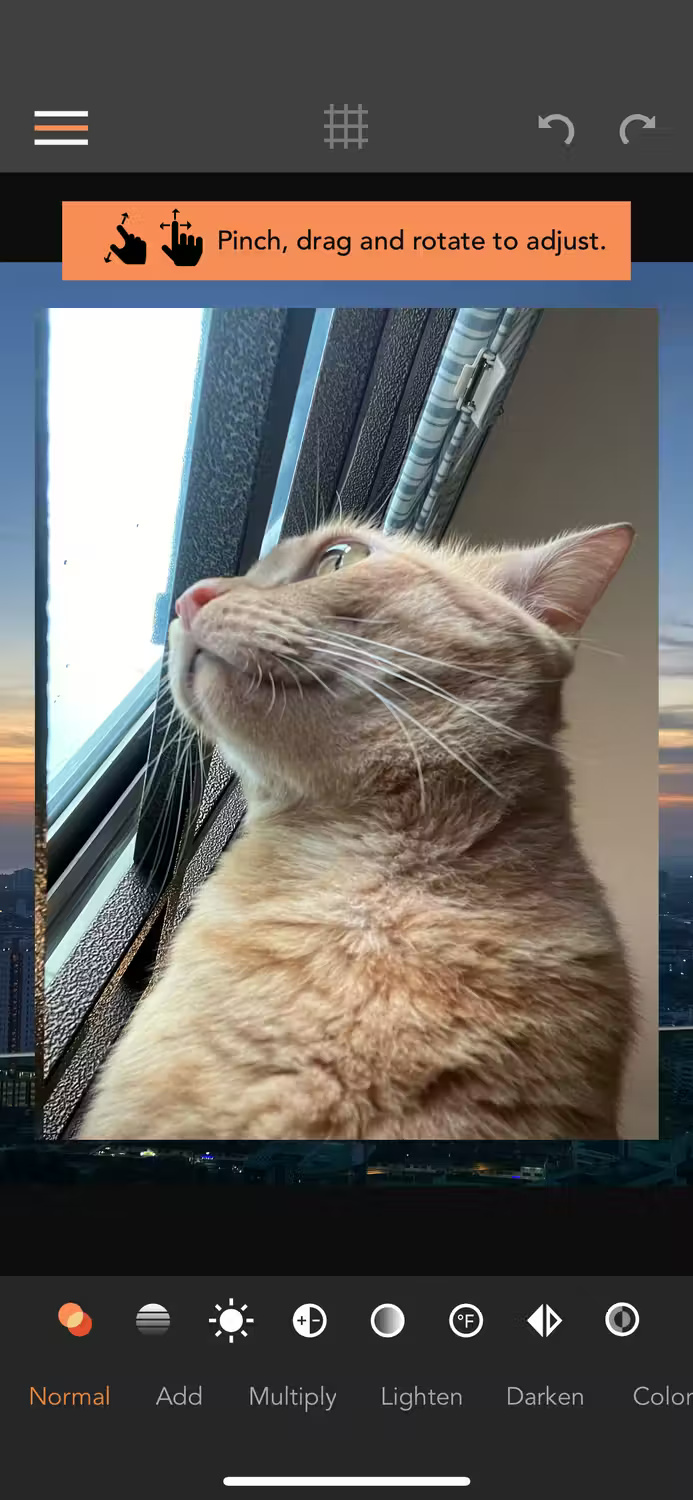
After adding a photo, you can pinch or drag it to adjust it. Then, with the Blend Mode Icon (two overlapping circles) selected, scroll along the bottom toolbar and select options like Darken, Overlay, Soft Light , etc. to choose how you want to blend. superimpose the front image on the back image.
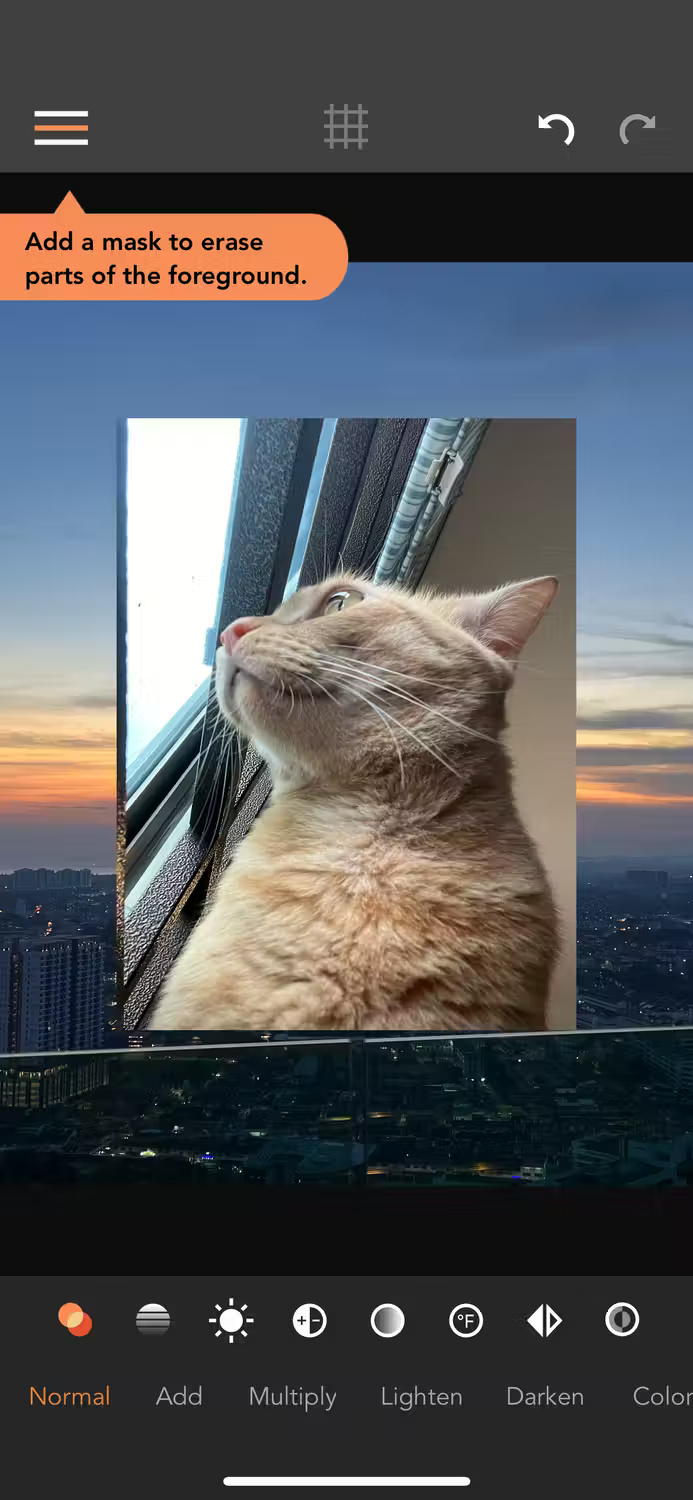
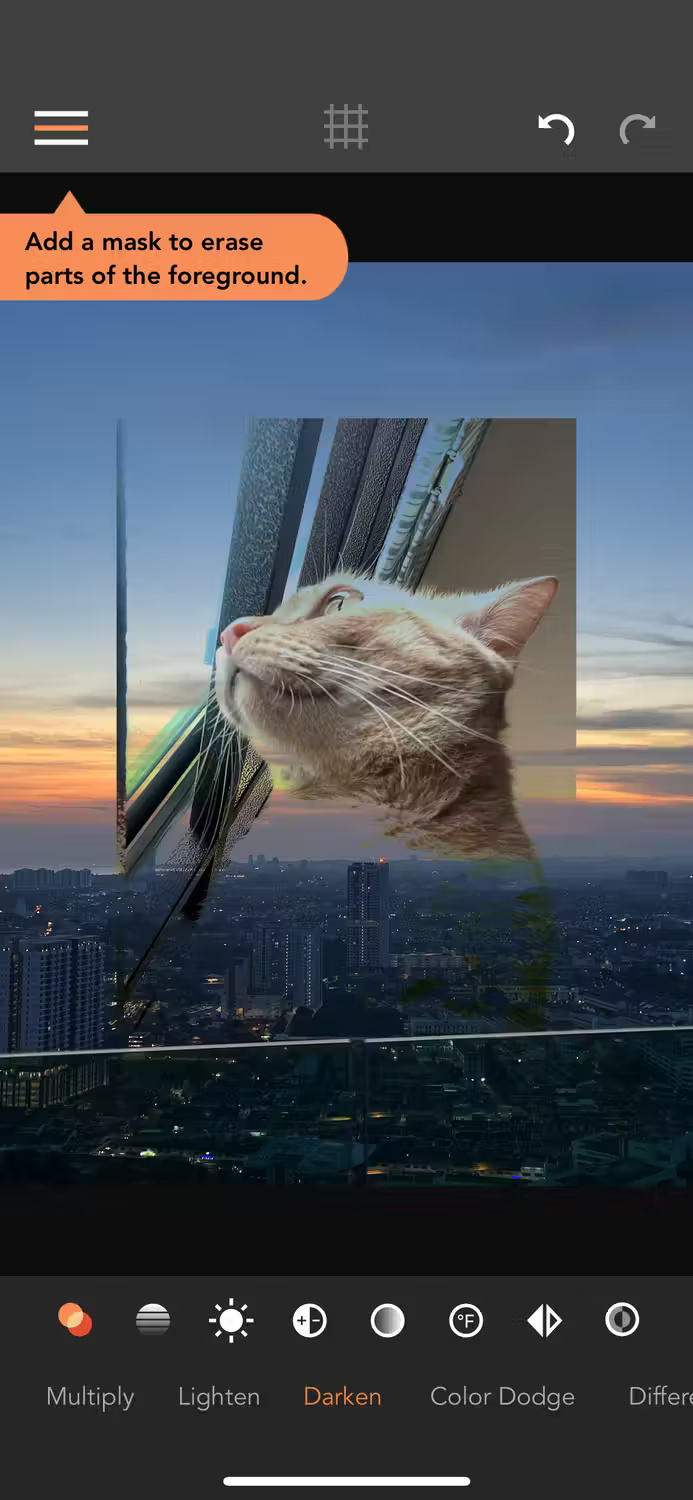
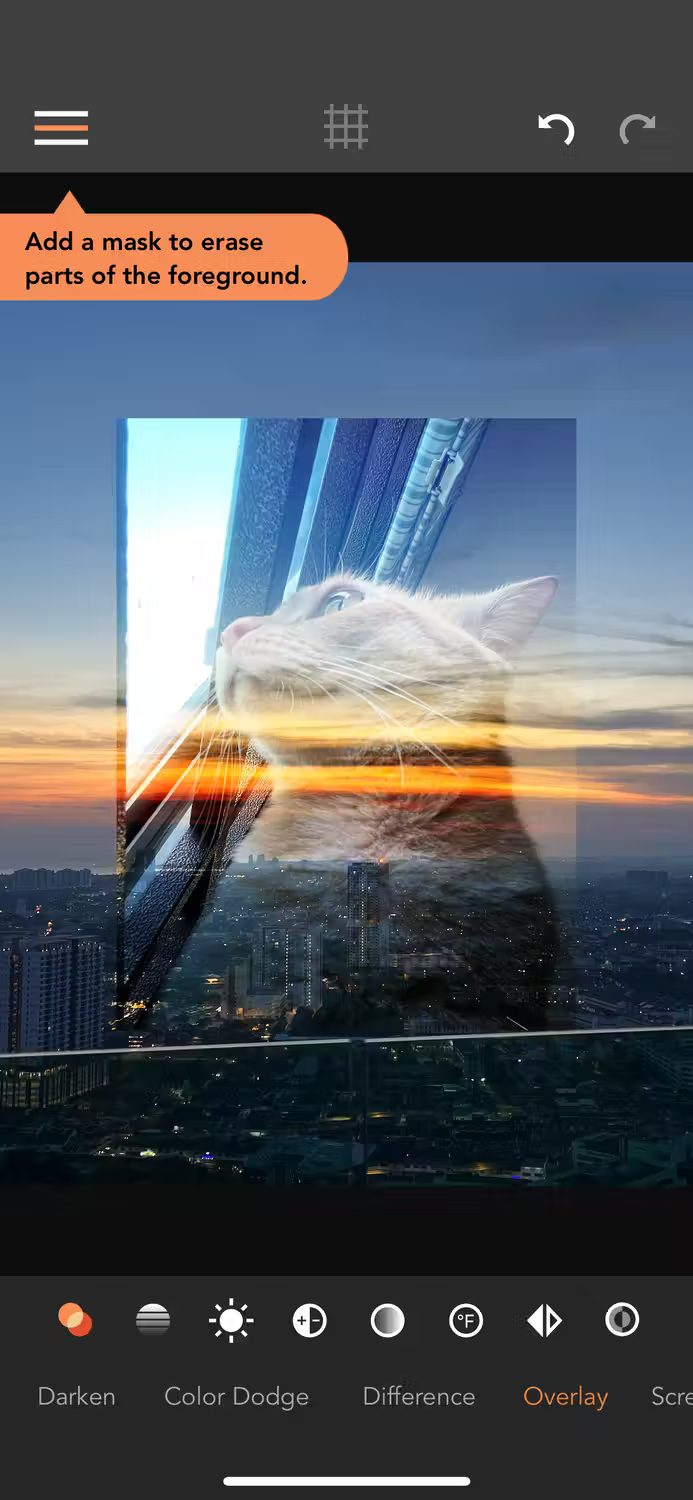
Return to the 3-dash menu and tap Mask > Erase To erase unwanted parts of the foreground image, or Mask > Shape To change how the foreground image stacks onto the background.
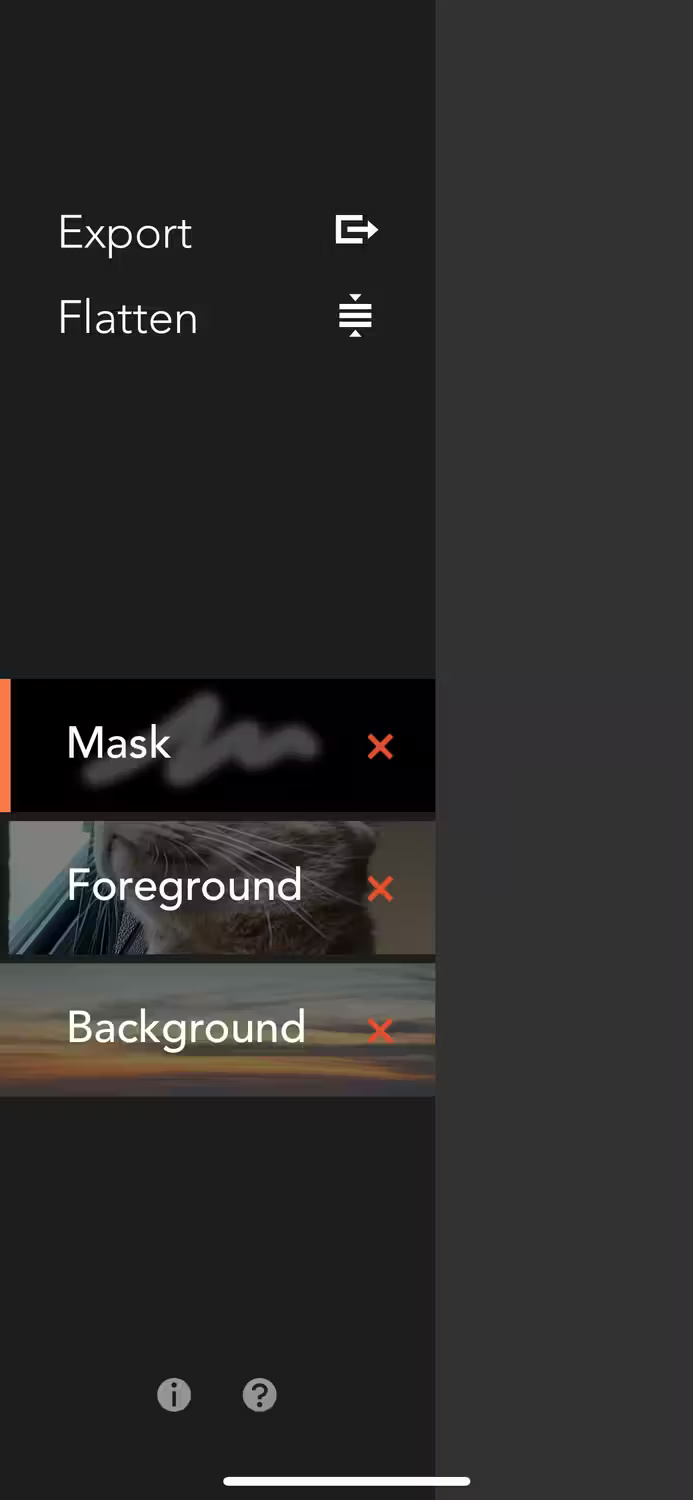
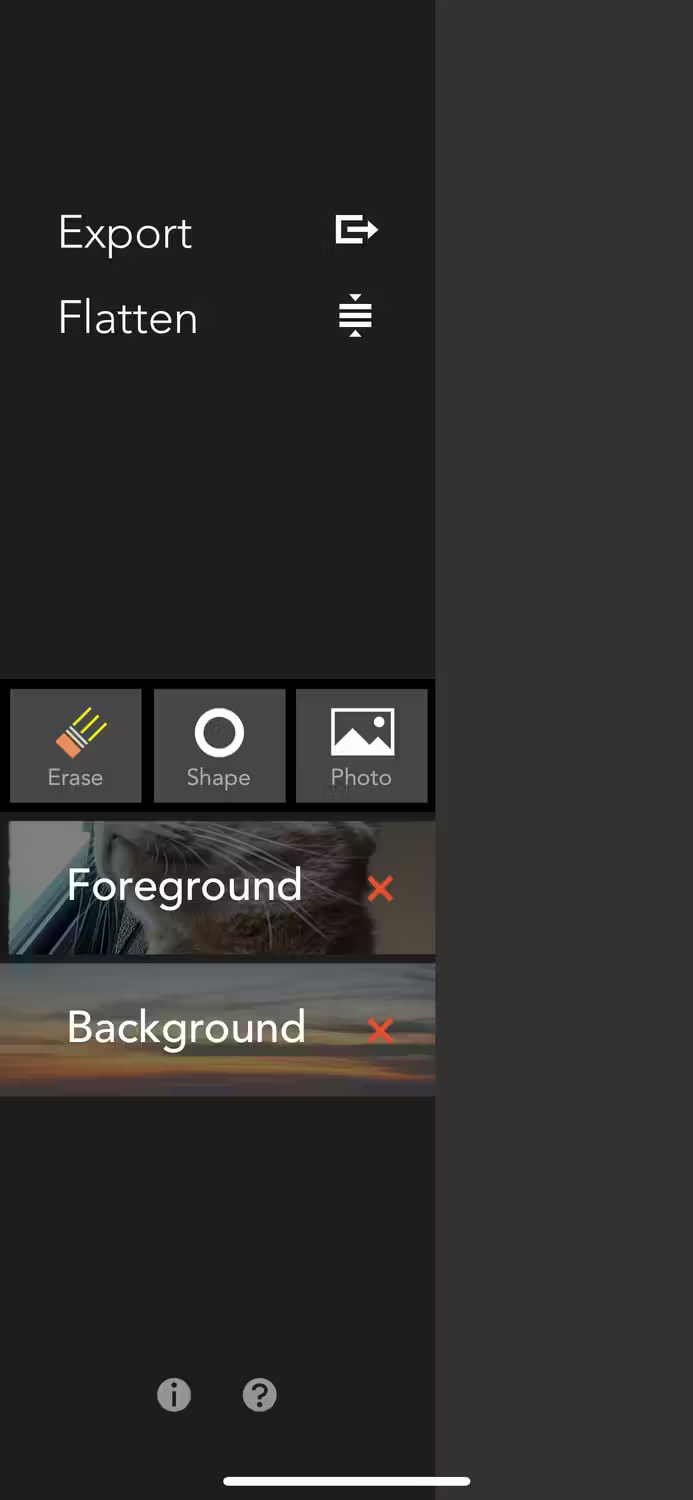
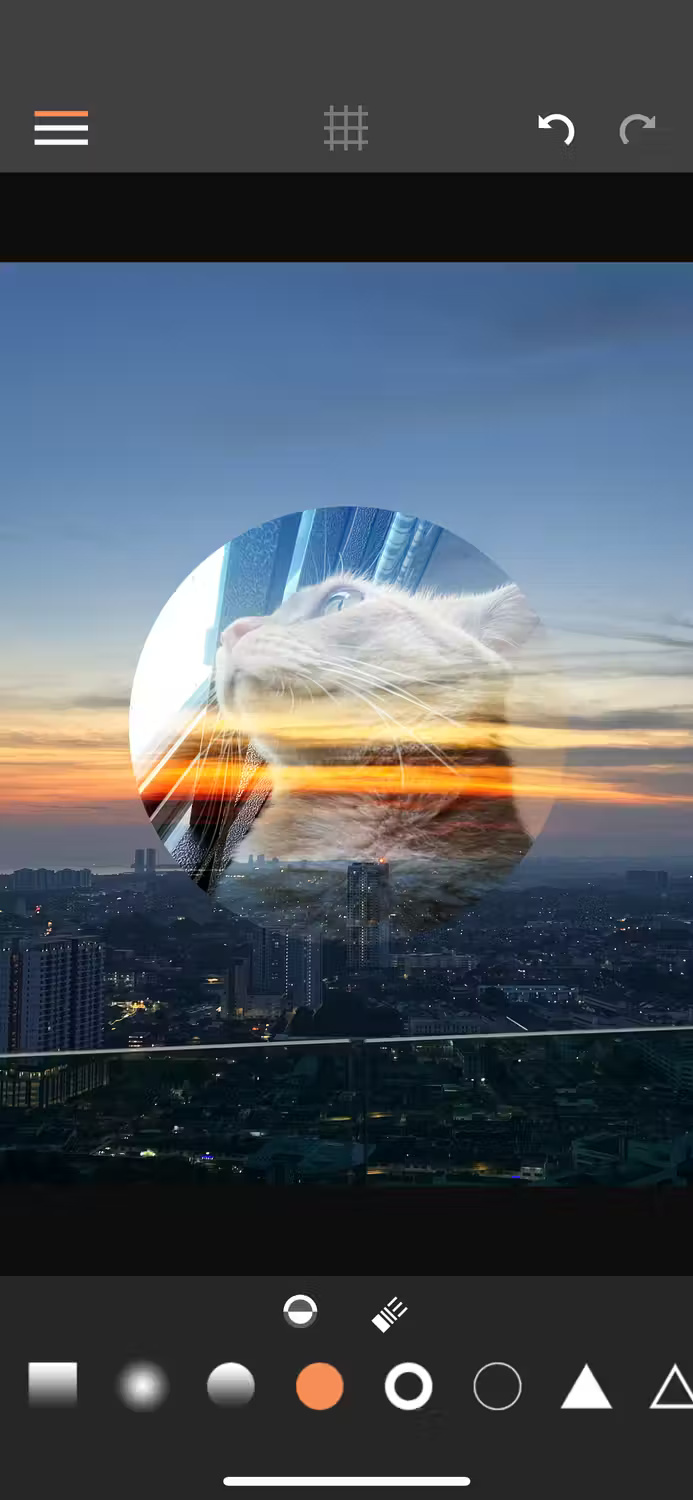
The main disadvantage of Union is the inability to export complete images without paying for a subscription. For free users, the workaround is to take a screenshot on iPhone and crop the image to get the desired part.
In general, if you just want to quickly stack photos on your iPhone without achieving a seamless union between two photos, creating a sticker in the Photos app and pasting it onto another photo is the simplest method. For example, this is very useful when you want to create memes on your iPhone.
However, if you don't have a specific photo subject that can create stickers or want to create something more elegant and artistic, consider third-party apps like Union to easily stack photos. photos on iPhone.
FAQ
What do I need before I overlay and Combine Two Images on iPhone?
Prepare the required device, software, account access, and any files mentioned in the steps. Back up important data before changing system settings.
Why does the process look different on my device?
Menus and options can vary by operating system, app version, device model, or region. Use the closest matching setting and check the official documentation when needed.
What should I do if a step does not work?
Restart the app or device, confirm permissions and connectivity, update the software, and repeat the step carefully. Avoid unofficial downloads or tools.
Related Articles
 How to Disable Geforce Overlay on Windows6 minutes read
 TV Overlay Remote: Complete Guide7 minutes read
 How to Merge Photos on iPhone8 minutes read
 How to Combine Photos in Word, Combine 2 Photos Into 1 Frame4 minutes read
 How to Fix 'Screen Overlay Detected' Error on Android Device7 minutes read
 How to Combine Multiple Screen Shots into a Single Photo on iPhone5 minutes read
Reader Comments 0
Sign in with email or Google to join the discussion.