How to quickly number pages in Word 2010, 2013, 2016, and 2019
Page numbering in Word makes documents easier to follow and more professional. You can customize page numbers by position, display style, or starting from a specific page. This article provides detailed instructions on how to do this in Word versions from 2010 to 2019.
Table of Contents
This guide shows you how to number pages in Word starting from the first page, any page, or beginning with a number greater than 1. It helps you format your document more easily.
Table of Contents:
1. How to number pages from the beginning
2. Numbering from any page
3. Starting from a number greater than 1
4. How to delete page numbers
1. How to number pages in Word starting from the first page
1.1. Word 2016, 2019, 2021
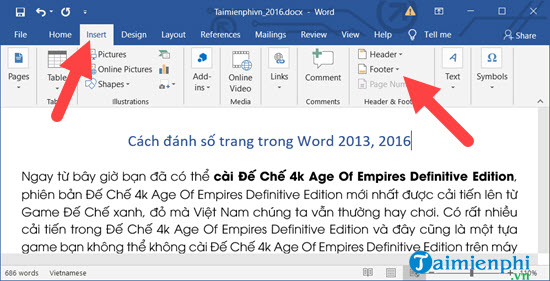
Step 1: Open the Word file, then click Insert = > select Footer .
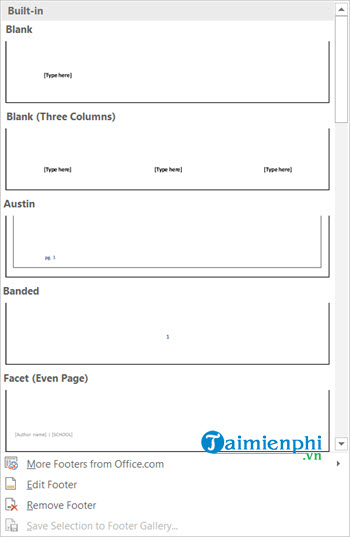
Step 2: In the Footer section , you will see many different templates; these are what help you insert page numbers in Word.
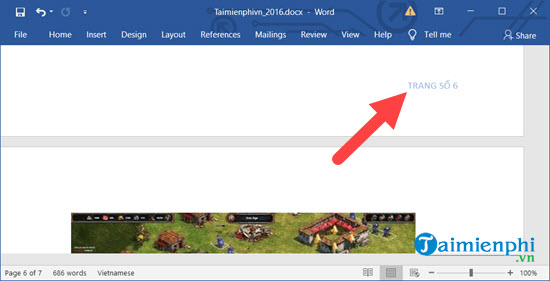
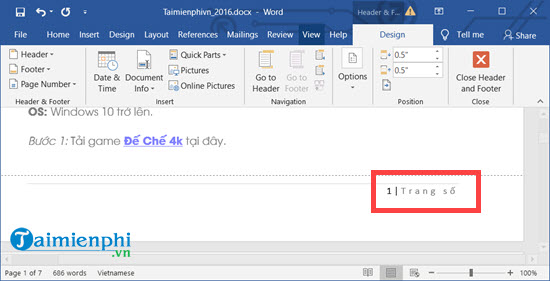
Step 3: After making your selection, you will see that the last line of each page will have a default page number; you can adjust this to your liking.

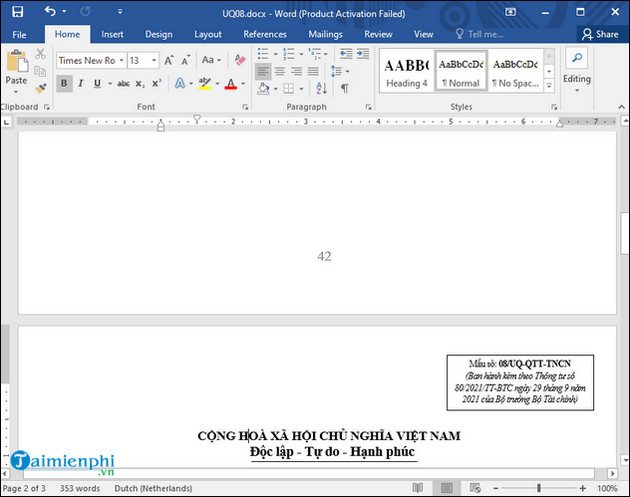
You can see that at the bottom of each page, Word's system automatically adds page numbers.
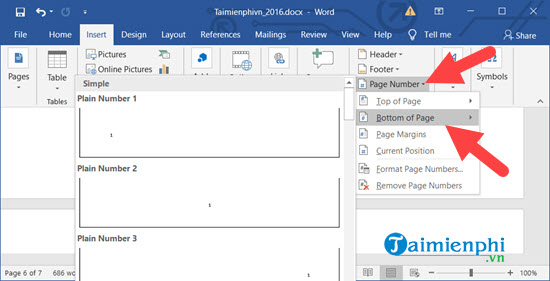
Step 4: Additionally, you can go to Page Number to further customize the page numbering. Here, simply select Bottom of Page and choose a style that suits you.
Result:
1.2. Word 2013, 2010
Since the interfaces of Word 2013 and 2010 (the latest update) are relatively similar, the numbering method in these two versions is also very simple. You just need to follow the steps below to apply it to both versions.
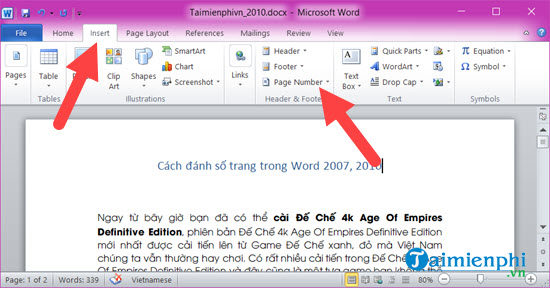
Step 1: On the Word 2010 document interface, click Insert and select Page Number .
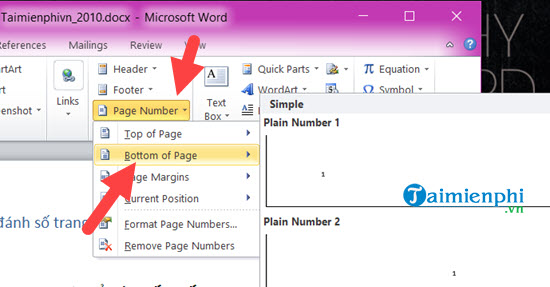
Step 2: Here, simply select Page Number > then select Bottom of page , and finally choose the display style you want.
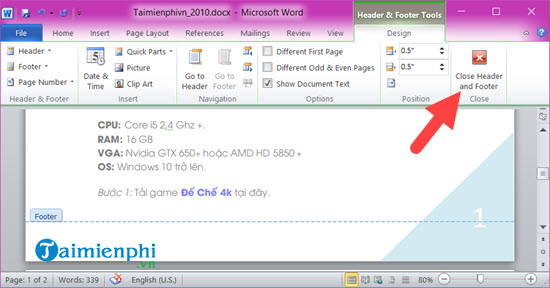
Step 3: Click on Close Header to close it.
1.3. Word 2007
Go to the Insert tab and select Page Number in the Header and Footer group.

Choose where to insert the page numbers; the following is an illustration showing how to place page numbers at the bottom of each page:
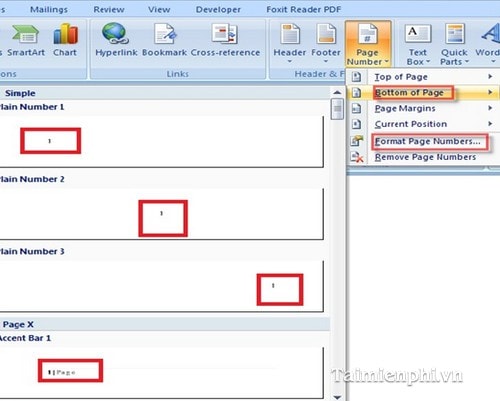
Click on Format Page Numbers… to set the desired options, just like in Word 2003. Click Remove Page Numbers to delete the inserted page numbers.
1.4. Word 2003
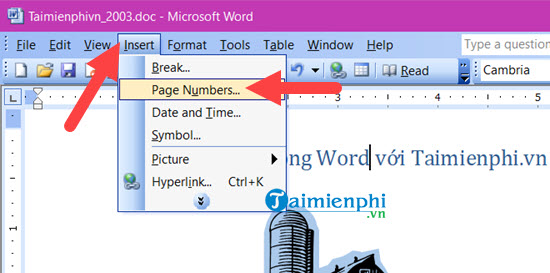
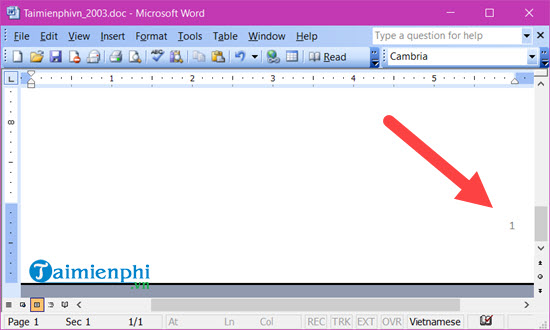
Step 1: Open the Word file and select Insert > Page Numbers .
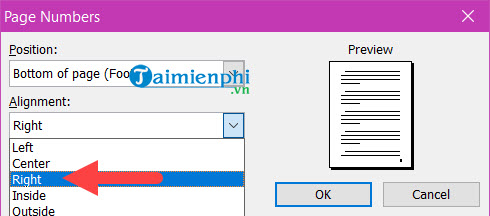
Step 2: Here, the interface is quite simple, as you can only choose the position: top, bottom, left, right, or center.
Step 3: Alternatively, you can go to the Format section and choose the page numbering style you want.
The result is shown in the image below.
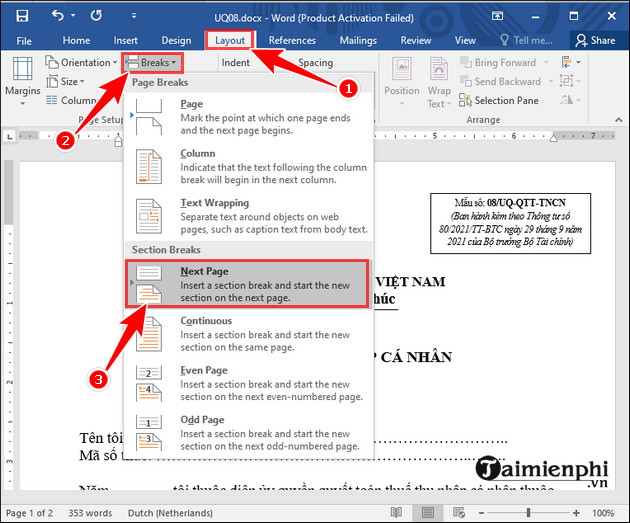
Step 1: Place the mouse cursor on the page you want to number => Select Layout => Select Breaks => Select Next Page .
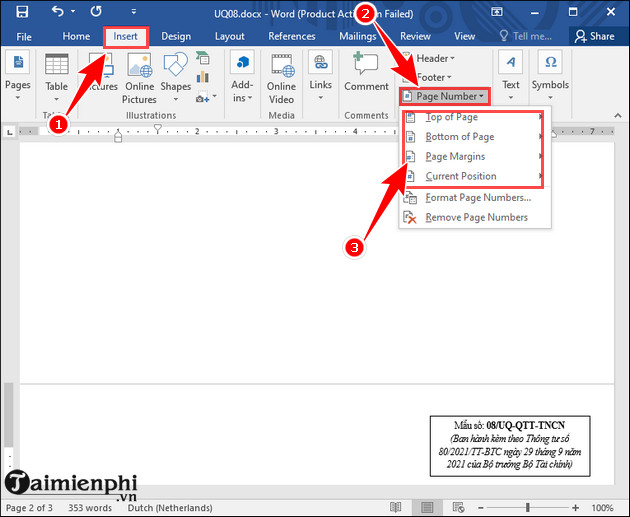
Step 2: Select Insert => Select Page Number => Choose location and style.
Step 3: Select Design => Uncheck Link to Previous => Select Close Header and Footer to remove the page numbers for section 1.
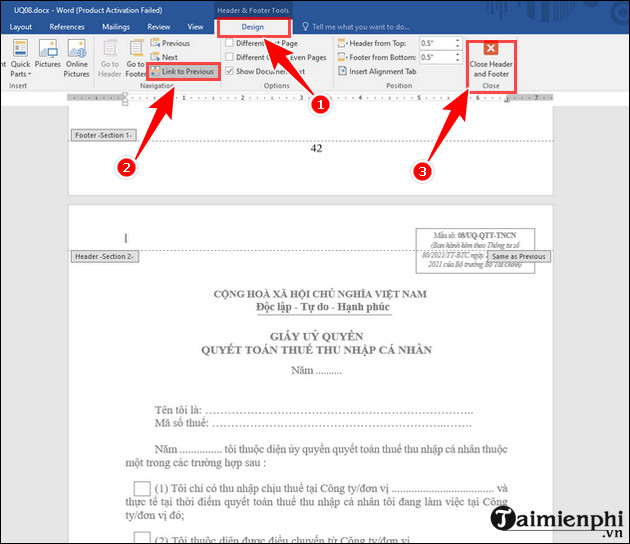
- Result:
3. Numbering method starting with a number greater than 1.
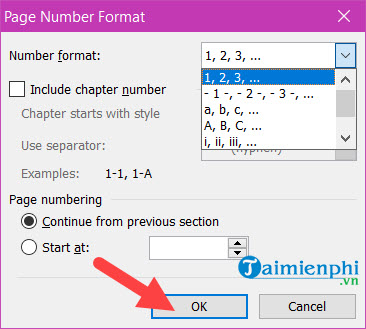
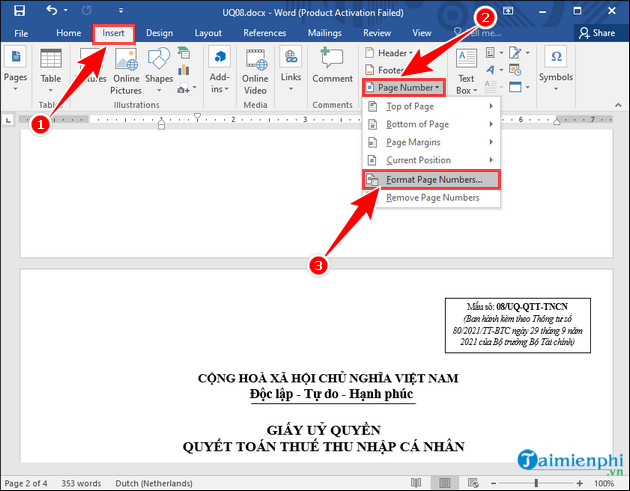
Step 1: Open the Word file where you want to add page numbers => Select Insert => Select Page Number => Select Format Page Numbers.
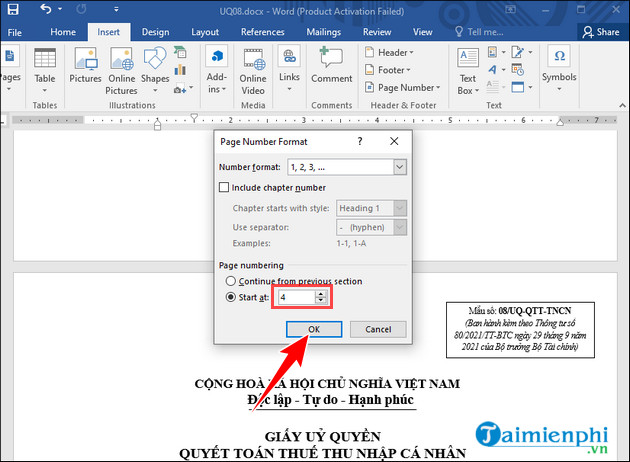
Step 2: In the Page Number Format dialog box , under Start at, select the starting number and then click OK .
Step 3: Proceed to number the pages as usual.
4. How to delete page numbers in Word
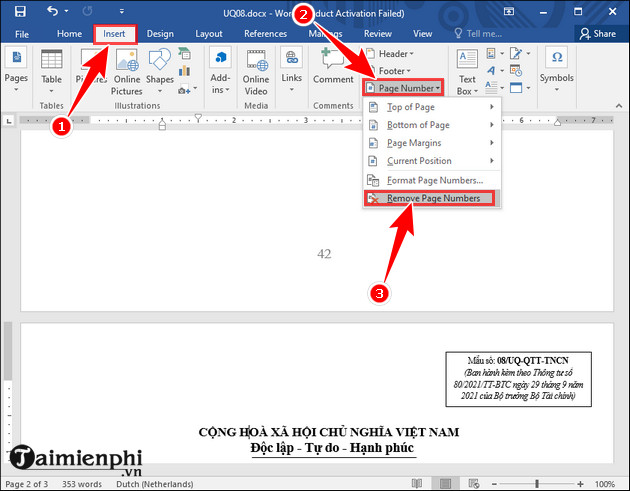
Open the Word file with page numbers => Select Insert => Select Page Number => Select Remove Page Numbers .
- Result:
Page numbering in Word makes documents more professional and easier to follow. If you want to start numbering from any page, you can use the Section Breaks feature for flexible customization. Additionally, choosing the right page number format will help make your text clearer and more consistent.
Was this article helpful?
Your feedback helps us improve.
Related Articles
 How to quickly see the total number of pages of Word files?2 minutes read
 How to style pages symmetrically on Word3 minutes read
 How to number pages in Word starting from page 23 minutes read
 The most detailed guide on how to number pages, skipping the first page and starting from any page in Word.6 minutes read
 Number pages in Word 2013, insert page numbers automatically3 minutes read
 How to type pages in Word 2007 from any page4 minutes read
Reader Comments 0
Sign in with email or Google to join the discussion.