How to Print Double Sided on a Mac
This wikiHow teaches you how to print double-sided pages on a Mac computer. In order to print double-sided pages automatically, you must have a printer that is compatible with duplex printing. If your printer is not capable of printing....
Method 1 of 2:
With a Duplex Compatible Printer
-
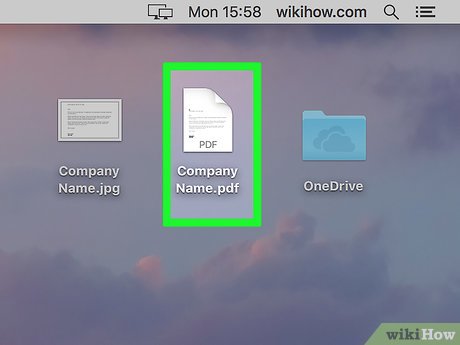 Open a document you want to print. This can be a Word or Office document, a PDF, or a Safari web page, etc.
 -
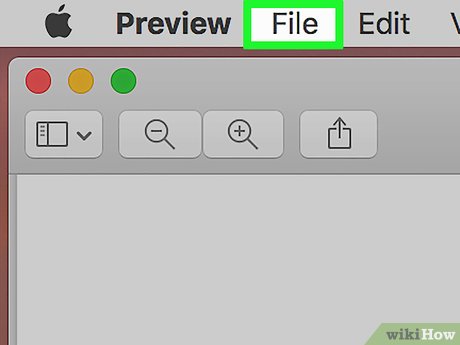 Click File. It's in the menu bar at the top of the screen.
 -
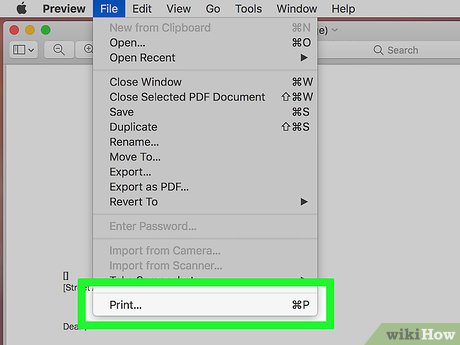 Click Print. You can also print by pressing ⌘ Command+P.
 -
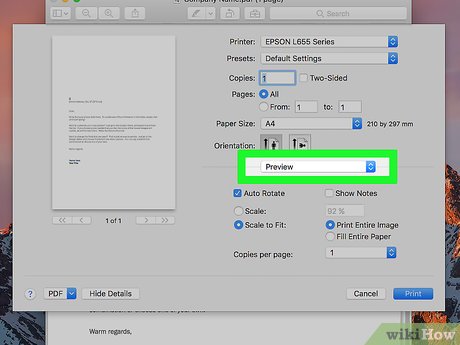 Click the drop-down menu below the orientation options. By default, it will have the name of the app or program you are using.
 -
 Select "Layout". It's in the pulldown menu with the name of the app you are using.
 -
 Click the "Two-Sided" drop-down menu. It is below the "border" drop-down menu.
- If the "Two-Sided" drop-down menu is greyed out, your printer may not support double-sided printing.
-
 Select "Long-edge binding" or "Short-edge binding".
- "Long-edge binding" is what is most commonly used. Select this option if you plan on binding your pages by the long edges of the paper. This would be the left and right edges if you are printing using portrait orientation.
- Select "Short-edge binding" if you plan of binding your pages by the short edges of the paper. This would be the top and bottoms of the pages using portrait orientation, or the left and right using landscape orientation.
-
 Click Print. Your pages will now print double-sided.
Method 2 of 2:
With a Non-Duplex Compatible Printer
-
 Open a document you want to print. This can be a Word or Office document, a PDF, or a Safari web page, and more.
 -
 Click File. It's in the menu bar at the top of the screen.
 -
 Click Print. You can also print by pressing ⌘ Command+P.
 -
 Click the radial button next to "From:" and "To:" boxes. This allows you to print a select range of pages of your document.
 -
 Type the first page number you want to print in the "To:" and "From:" boxes. For example, type a "1" in both boxes to print the first page of your document.
 -
 Click Print. This will print only the first page of your document.
 -
 Turn the printed page over and place it back in the printer's paper feed. Typically, you will place the printed side facing down.
 -
 Click File. It's in the menu bar at the top of the screen.
 -
 Click Print.
 -
 Click the radial button next to "From:" and "To:" boxes. This allows you to print a select range of pages of your document.
 -
 Type the second page number you want to print in the "To:" and "From:" boxes. For example, type a "2" in both boxes to print the second page of your document.
 -
 Click Print. This will print the second page of your document on the reverse side of the first page. Repeat using this method for as many pages as you need to print.