Table of Contents
This guide explains how to play Android Games on Windows with BlueStacks, with clear steps, practical tips, and important checks before you begin.
BlueStacks is one of the earliest PC emulation software on the market. Please follow the article on how to play Android games on Windows with BlueStacks below!
Step 1: First, you download BlueStacks at the following address https://www. bluestacks. com/en/index. html
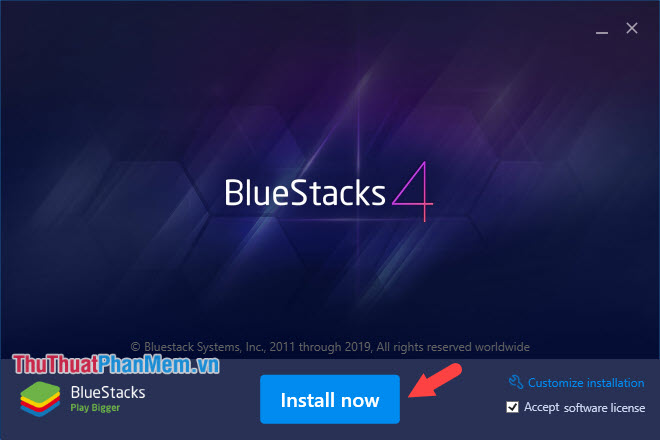
After downloading, open the file and install it on your computer.

Click Install now to install.
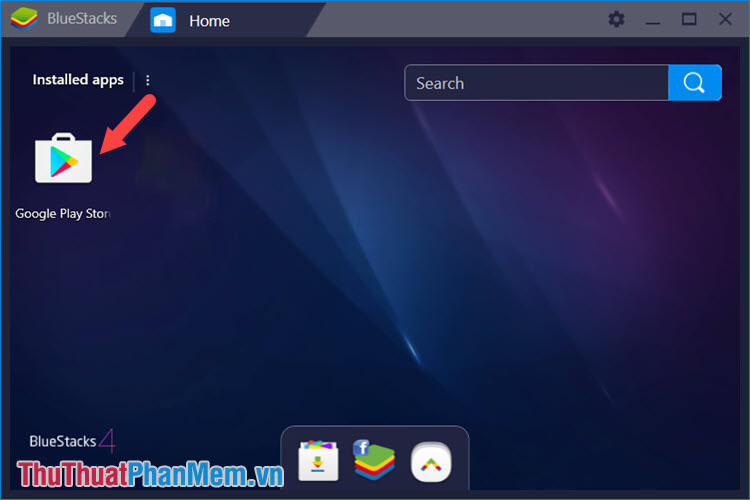
Step 2: After the installation is complete, you click on the Google Play Store application to install games, Android applications for the emulation software.
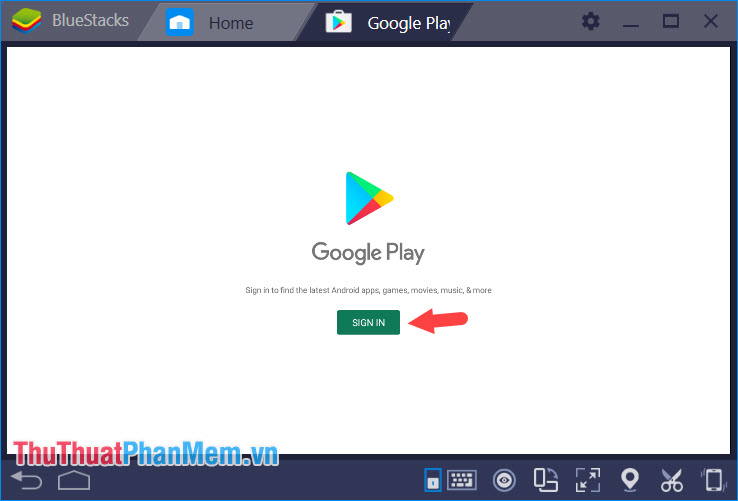
Step 3: Click Sign In and log in to the Play Store with your Gmail account.
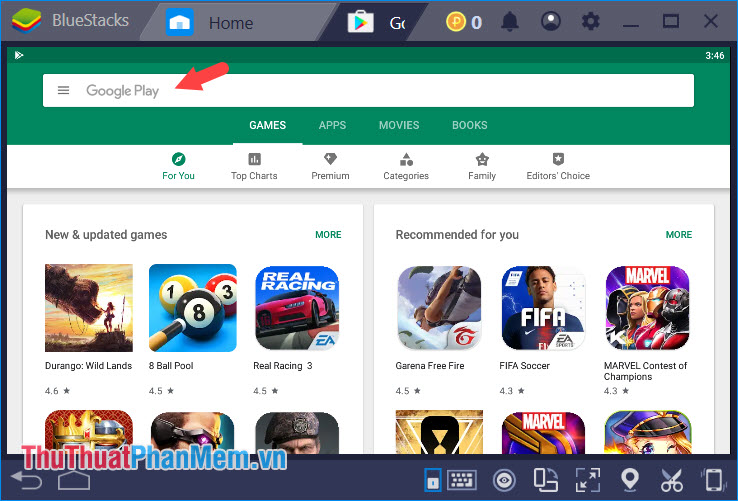
Step 4: After logging in to your Google Play account, we begin to search and download your favorite games on Android. In the article I will take Subway Surfers as an example.
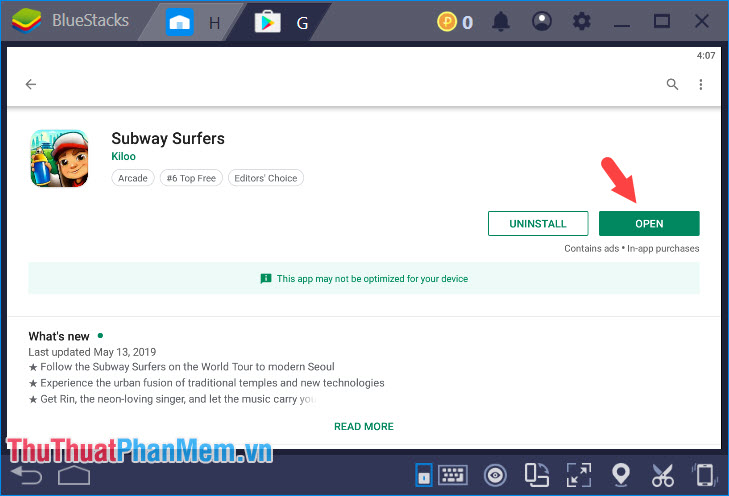
After successful installation, you click Open to open.
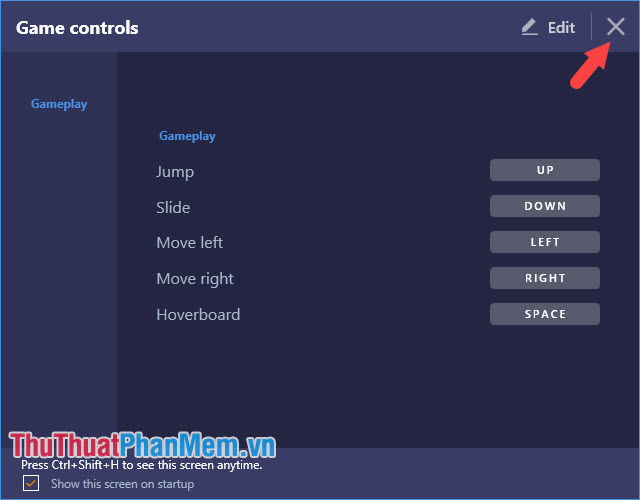
Step 5: After opening the game, BlueStack requires us to set buttons with the keyboard to play the game such as Jump (jump), Slide (slide), Move left (move left), Move right (move right ), Hoverboard (using skis). After configuration is complete, you click on the X in the corner of the screen to turn off that panel.
Step 6: After completing the above steps, you play and enjoy the results.
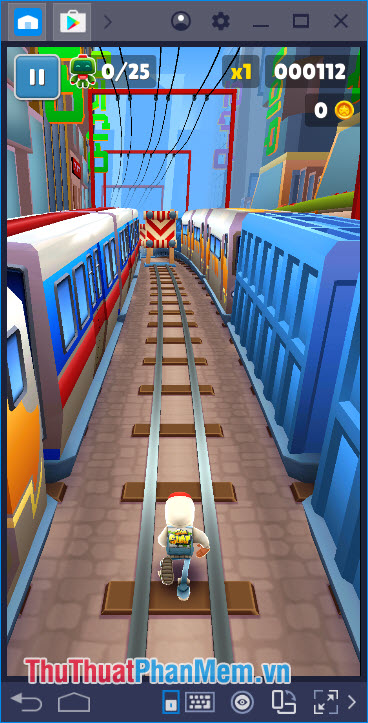
Depending on the game, BlueStacks will offer different keyboard configurations (key mapping). However, some games will give us a bad experience when playing with emulators like racing games controlled by gyroscope. Wish you have moments of fun and rewarding entertainment with your beloved PC!
FAQ
What should I know about Play Android Games on Windows with BlueStacks?
Focus on the key features, requirements, limitations, and practical use cases explained in this guide.
How do I get the best results with Play Android Games on Windows with BlueStacks?
Follow the recommended steps, use current software or information, confirm compatibility, and review settings before major changes.
Are there any risks or limitations?
Potential limitations depend on compatibility, data quality, cost, privacy, support, and how the product or method is used.
Related Articles
 Play Android Games on Windows with Bluestacks3 minutes read
 8 Ways to Speed up Bluestacks to Play Android Games Faster5 minutes read
 How to Download and Use BlueStacks X to Play Android Games5 minutes read
 How to Fix Bluestacks Blue Screen Error When Playing Games5 minutes read
 Play Mobile Games on the Web with Bluestacks X5 minutes read
 Bluestacks - Quality Android Emulator Software on PC: Key Facts12 minutes read
Reader Comments 0
Sign in with email or Google to join the discussion.