Table of Contents
The safest way to run desktop RAM above its default speed is to enable the memory kit's built-in profile in BIOS or UEFI, then test the complete system for errors. Intel calls these profiles XMP, while many AMD DDR5 kits use EXPO; motherboard vendors may use names such as A-XMP or DOCP. Manual tuning can offer more control, but it requires hardware-specific voltage and timing research.
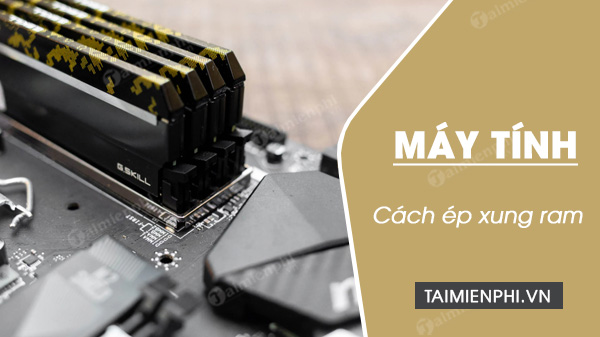
What RAM overclocking changes
Memory performance depends on frequency, primary and secondary timings, command settings, and voltage. Raising frequency can increase bandwidth, while tighter timings can reduce latency. The result also depends on the processor's memory controller, motherboard trace layout, number and capacity of modules, and BIOS version.
A memory kit's advertised profile is not the same as the basic JEDEC default. Enabling XMP or EXPO is still an overclock on many systems, and the CPU's memory controller may not remain stable at the kit's rated speed—especially with four modules or high-capacity DIMMs.
Before changing memory settings
- Confirm that the motherboard, processor, and RAM profile are compatible.
- Update to a stable BIOS version if its release notes address memory compatibility.
- Back up important data. Unstable RAM can corrupt files being written.
- Record the current BIOS settings or save a default profile.
- Run a memory test at default settings so an existing hardware fault is not mistaken for an overclocking problem.
CPU-Z can display the active DRAM frequency on its Memory tab and the stored profiles on the SPD tab. Because DDR transfers data twice per clock, software may report a clock around half the marketed effective data rate. CPU-Z reports information; it does not itself overclock RAM. See how to read CPU-Z parameters for details.
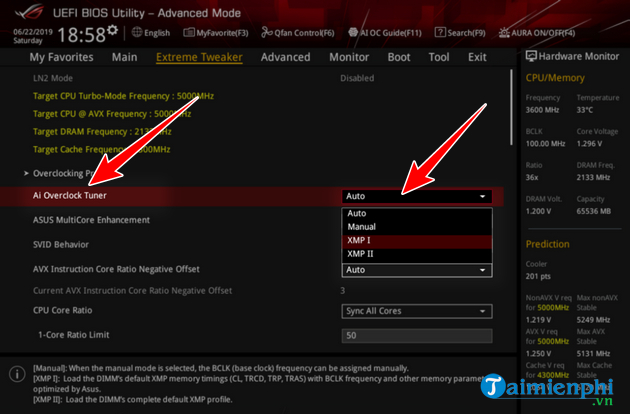
Enable an XMP or EXPO profile
- Restart the computer and enter BIOS or UEFI using the key shown during startup.
- Open the memory or overclocking section. Depending on the board, it may be called OC, AI Tweaker, Extreme Tweaker, or something similar.
- Find the XMP, EXPO, A-XMP, or DOCP control and select the kit's primary profile.
- Confirm that the displayed frequency, timings, and DRAM voltage match the profile printed in the kit specifications.
- Save the configuration, restart, and verify the active settings in Windows.
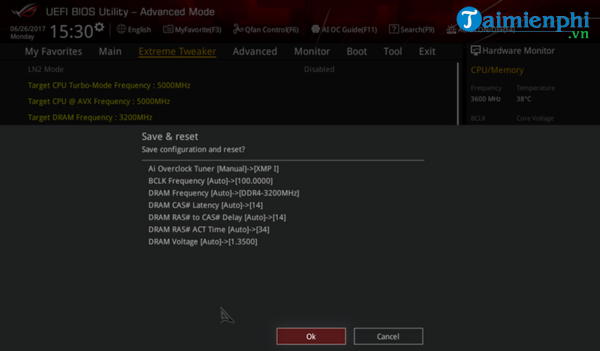
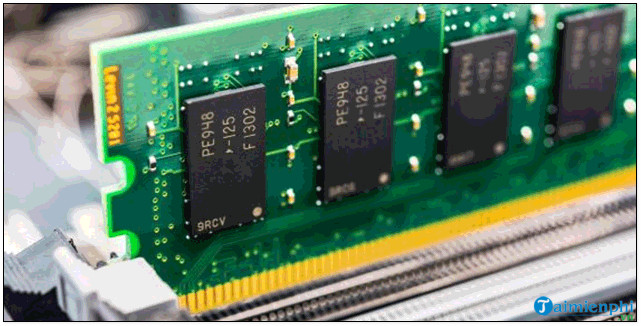
TipsMake's explanation of XMP and how to enable it in BIOS or UEFI provides additional background. Menu labels differ between motherboards, so use your board manual rather than copying another model's screens exactly.
Test memory stability
Booting successfully is not enough. Run a bootable memory test such as MemTest86 or Memtest86+, then test inside the operating system with a workload that allocates a large amount of memory. Gaming, compression, compilation, and long renders can reveal errors that a short synthetic test misses.
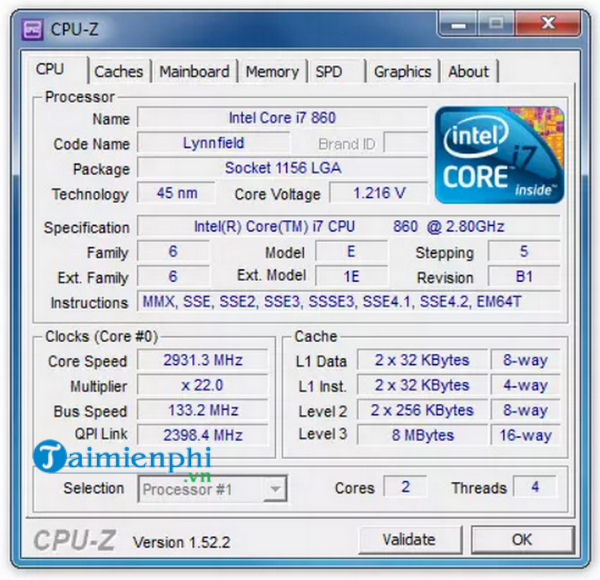
Any reported memory error is significant. Also watch for application crashes, decompression errors, corrupted files, failed installations, unexplained restarts, or blue screens. TipsMake's guide to testing computer RAM covers Windows Memory Diagnostic and other checks.
If the profile is unstable
Return to BIOS and try the following in order:
- Load the motherboard's default memory settings and confirm the errors stop.
- Try a second, more conservative profile if the kit provides one.
- Lower the memory data rate one step while keeping the profile's timings and voltage.
- Update the BIOS if the manufacturer documents improved memory compatibility.
- If using four modules, test the supported slot arrangement and each matched kit separately.
Do not assume that adding voltage is the first or best fix. Safe limits differ by memory generation, integrated memory controller, motherboard, and cooling. Copying fixed DRAM, System Agent, SoC, or VCCIO values from an unrelated system can damage hardware or reduce its life.
Manual RAM tuning
Manual tuning should start only after a known-stable profile or default configuration has been established. Change one category at a time:
- Raise memory frequency by one available step and test.
- If frequency is stable, adjust one primary timing at a time, keeping a record of every change.
- Use only voltage ranges documented for the exact memory IC, CPU platform, and motherboard.
- After each adjustment, run a short test; after reaching a candidate setting, run extended tests and real applications.
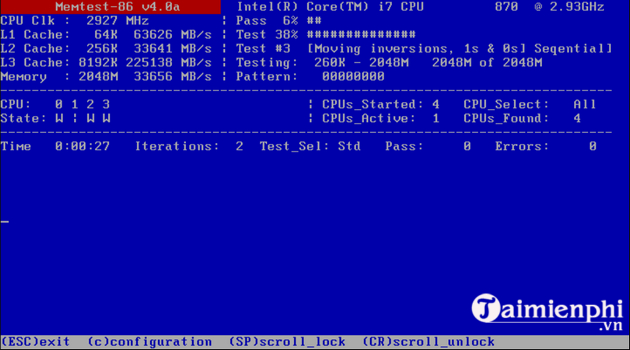
Better benchmark results do not always translate into a noticeable improvement. Compare latency, bandwidth, and the performance of your real workload against the default and profile settings. Keep the simpler configuration if the gain is small.
Recover from a failed memory setting
If the system restarts repeatedly or cannot enter BIOS, shut it down and follow the motherboard manual's memory-safe-boot or clear-CMOS procedure. Some boards have a dedicated Safe Boot, Retry, or Clear CMOS button. After recovery, load defaults and retest before applying a lower setting.
A successful RAM overclock is not the highest frequency that reaches the desktop. It is a thoroughly tested configuration that remains error-free during cold boots, sleep and wake, long workloads, and everyday use.
Related Articles
 Overclock CPU, GPU and RAM Easily and Safely8 minutes read
 Everything You Need to Know About Overclocking the Raspberry Pi 4006 minutes read
 Is It Possible to Overclock the Computer Screen? How Like?8 minutes read
 Overclock: Complete Guide3 minutes read
 How to Safely Overclock Your CPU6 minutes read
 How to Overclock RAM Easily with AMD Ryzen Master: Practical Guide6 minutes read
Reader Comments 0
Sign in with email or Google to join the discussion.