How to manage passwords on mPass Windows 10 - Secure account information
To manage website account information, manage passwords more securely, many people choose to use password management software. mPass – Password Manager is a UWP application on Windows 10 that supports keeping web accounts and passwords to avoid revealing personal information.
mPass is a cross-platform support application including Windows, Android and iOS for users to easily access on any device, through a login account.
Logins, passwords, and other personal information are stored and secured in a strongly encrypted database. Especially with Samsung devices or devices with Android 6 or higher installed, there is an option to log in with fingerprints, limiting information theft. In addition, the application also has a password generator and password strength analyzer. The following article will guide you how to use mPass on Windows 10.
Instructions for password security on mPass
Step 1: Users download the mPass application on Windows 10 by following the link here.
Step 2:
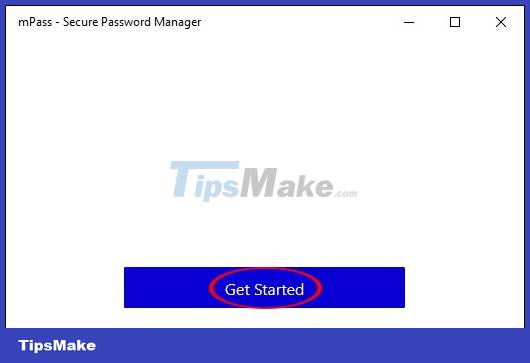
After downloading and installing the application you start as usual. At the interface we click the Get Started button to use the application.
Step 3:
First of all we need to register for an mPass account. Enter all the information in the interface of mPass and click Register below to create an account.

Next, open the mPass registered email address to authenticate the account.

Step 4:
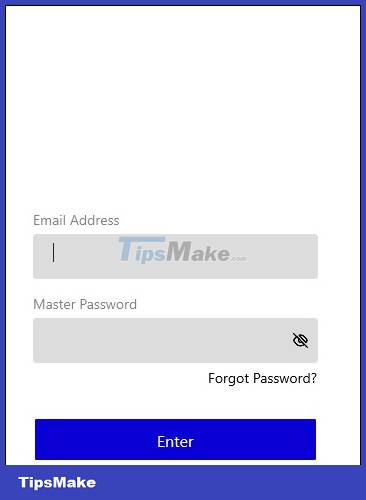
After successfully confirming the account, we log in to the account into the mPass interface and then press Enter to access the application.
Step 5:
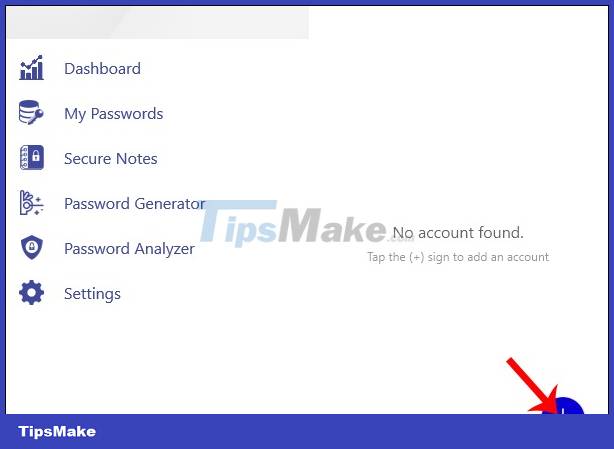
Display the main interface of the application with the password management tool menu on the left side of the interface. Click the plus icon to add an account to keep in mPass.
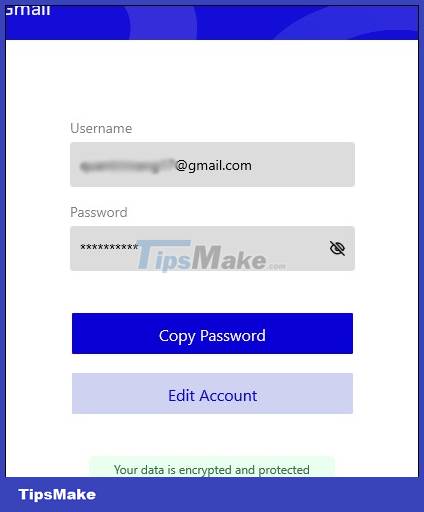
The interface for entering account information is displayed. Here the user fills in the required information, then clicks Save Password to save the account information.
- Website or App name: Enter the website address or the name of the application with the account.
- Username: Enter the account name.
- Password: Enter the account password.
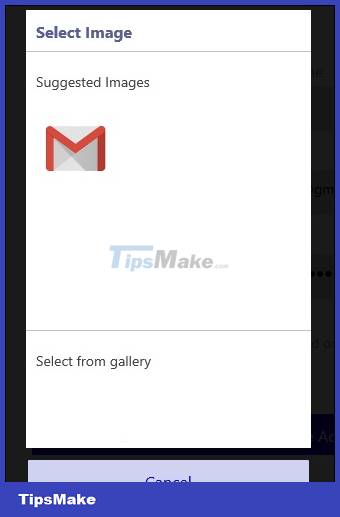
- Tap to add or change color: You choose the icon or color to represent this account.
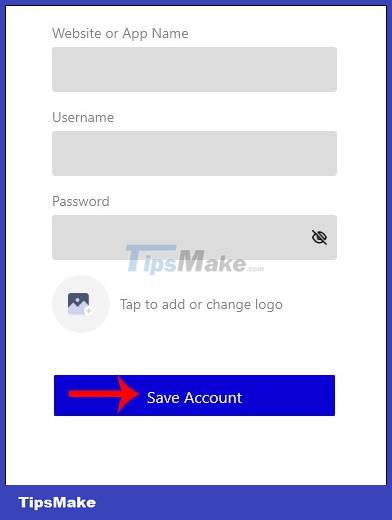
The icon selection for the mPass application automatically suggests for you if the application is popular like Facebook, Google, Twitter, etc. Or if you want, you can click Select an image to upload your personal avatar.
We continue to perform the above operations to save the account that needs to be secured. Then all information is displayed at the My Passwords interface.
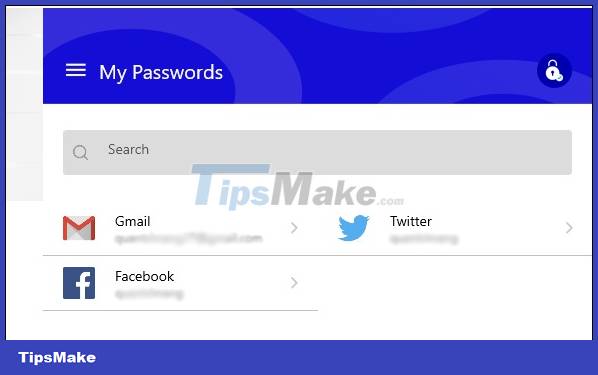
When clicking on the account, there will be an option to edit Edit Account to change the information.
Step 6:
Click on Secure Notes to open the important note writing interface. Also tap the plus icon to write a note.
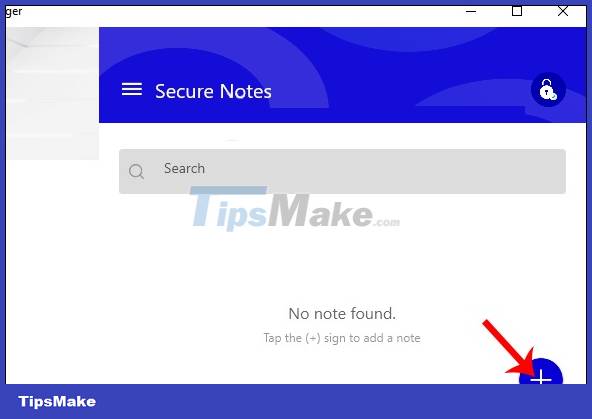
Display interface to enter note content. After entering, click Save Note to save.
- Title note: Enter a note title.
- Enter your details below: Enter the content of the note.
- Tap to add image to your note: Add images to notes (paid feature).

Step 7:
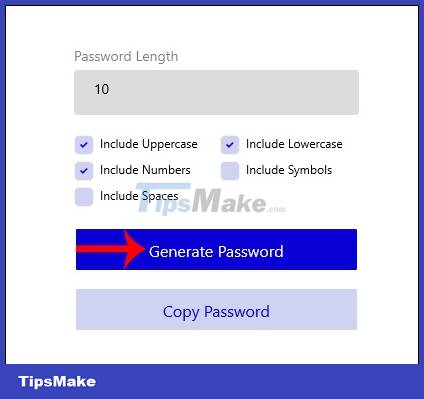
Click on the Password Generator item to use the password generator on the application. First we enter the number of password characters we want to create in the Password length box.
Below the user selects the password creation bridge component including uppercase letters, lowercase letters, numbers, special characters, and spaces depending on the needs to use.
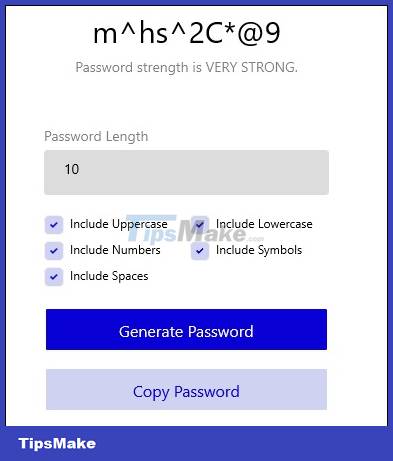
Then click Generate Password to generate a password and copy.
The password generated by mPass is very strong, making it safer for users to use.
Step 8:
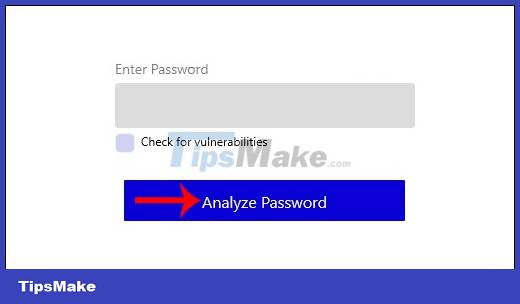
Click on Password Analyzer to see the ability to check password strength on the application. We enter the password to be checked into the box, then click Password Analyzer to conduct password analysis.
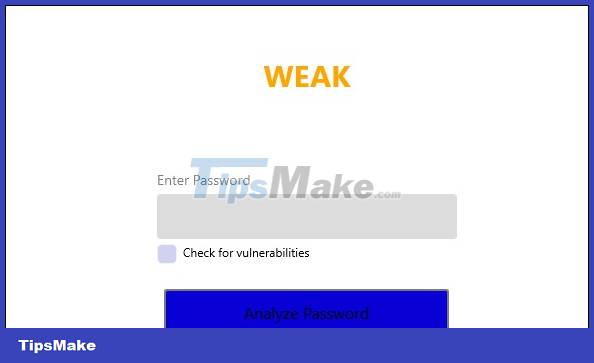
Password analysis results are displayed right on the same interface with 3 different levels.
- Weak: The password is weak.
- Medium: Medium password.
- Strong: Strong password.
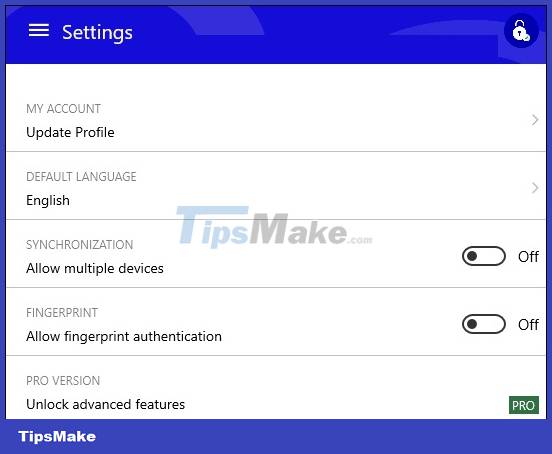
Step 9:
Finally, click Settings to change account information or set up some content such as changing the interface language, logging in via fingerprint, synchronizing content on multiple devices.
Above is the entire way to use the cross-platform password manager mPass application. If you use it on your phone, you should use an additional fingerprint login to increase application security.
Wishing you success!
- Summary of how to create strong passwords and manage the most secure passwords
- How to use Swifty to save personal account information
- How to create secure passwords on Fastword
- How to check for unsecured connections
- How to secure your Netflix account?
- Americans are banned from using password 1234 to ensure safety
- How to make your Tik Tok account more secure
- How do websites protect your passwords?
- You can now manage your Microsoft and Office accounts right in the Settings of Windows 11
- How to fix 'Your Wi-Fi Network Isn't Secure' error on Windows
- Why switch to KeePassXC offline password manager?
- 8 underused features of password managers
- Which browser has the best password manager?
- 4 Mistakes to Avoid When Setting Up a Password Manager
- Should I choose a free or paid password manager?
- 4 best password managers for Windows 11
- Can the security of a password manager be trusted?
- 8 Reasons Password Managers Aren't As Secure As You Think
- 5 best password manager extensions for Firefox
- Mozilla kills Firefox Lockwise password manager
-
 How to view your Facebook password on your phone or computer.
-
Instructions on how to change your Spotify password
-
How to unlock your Acer laptop quickly and effectively when you forget your password.
-
4 Quick Ways to View WiFi Passwords on Windows and Mac Laptops
-
How to unlock a laptop safely and easily after forgetting the password.
-
Forgot your saved Wi-Fi password? Here's how to view your Wi-Fi password on your computer.
 How to view your Facebook password on your phone or computer.
 Instructions on how to change your Spotify password
 How to unlock your Acer laptop quickly and effectively when you forget your password.
 4 Quick Ways to View WiFi Passwords on Windows and Mac Laptops
 How to unlock a laptop safely and easily after forgetting the password.
 Forgot your saved Wi-Fi password? Here's how to view your Wi-Fi password on your computer.