How to Label Faces on Google Photos
Face labeling on mobile apps
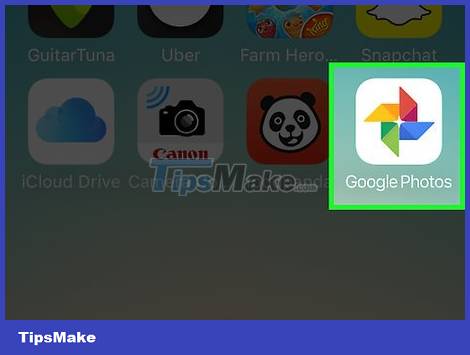
Tap the Google Photos icon. A list of photos will appear when you open the Google Photos app.
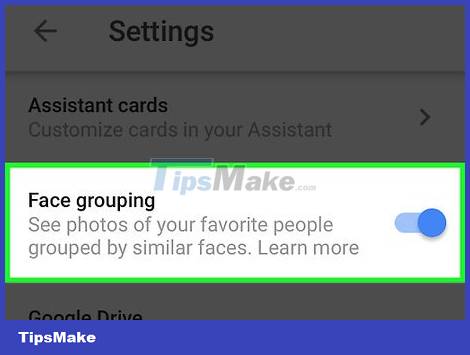
You need to make sure that the Face Grouping feature is enabled. Otherwise, you won't be able to group by face.
Tap the ☰ menu and select 'Settings'.
You need to make sure that the 'Face Grouping' switch is in the On position. You can also disable this feature at any time.
Click the arrow to return to the Photos screen.

Click on the search box. The search menu will expand with a row of options including many small face photos.
If no faces appear, this feature is not available in your country.

Click the arrow on the right to see all faces. You will see the entire face recognized by Google in the photo.
Don't worry if you see two photos of the same person in this list, we will combine them later.

Tap a face to label it. A new screen will appear with the person's face at the top, below is the text 'Who is this?' (Who is this?).
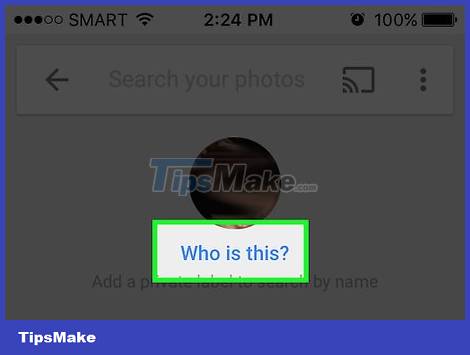
Click 'Who is this?' A text box will appear with a 'New name' box as well as contacts for you to choose from.
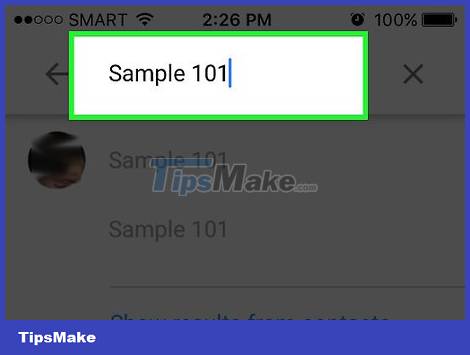
Enter or select a name. Because the label is only used to aid in image search, no one will see the name except you.
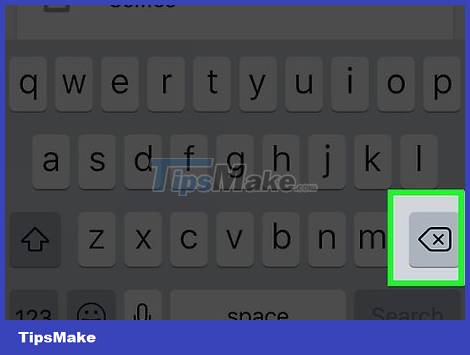
Tap the check mark or 'Return' button on the keyboard. The name you choose will be used as a label for the face.
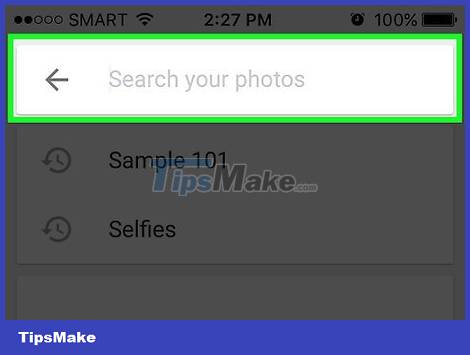
Click on the search box. If this person has multiple facial icons, you can aggregate them by labeling them as similar. Face icons will continue to appear.
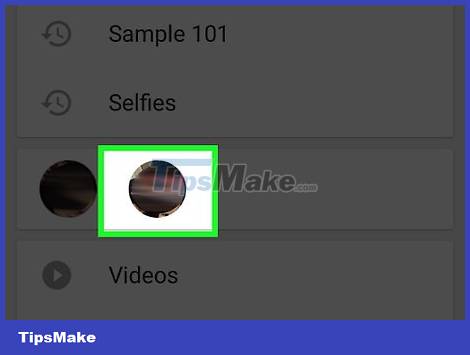
Click on another photo of that person. The 'Who's This?' will appear again in the upper left corner of the screen.
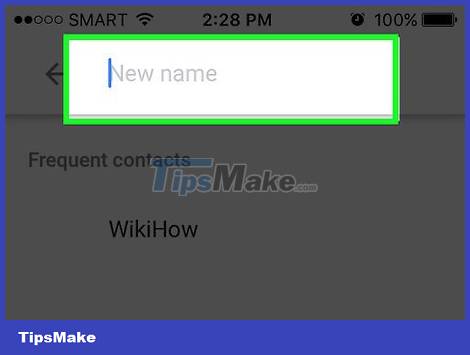
Enter the label you selected earlier. This person's label and face icon will appear in search results.
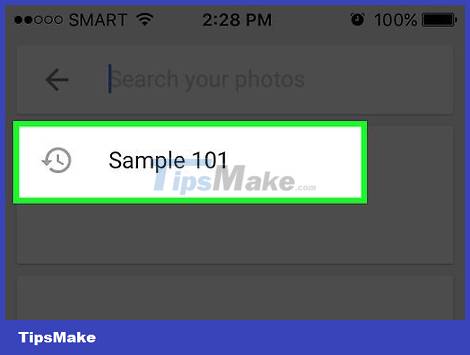
Tap the label in the search results. A dialog box will pop up asking 'Are these the same person?' (same or different person). All of this person's faces will appear right below the question.
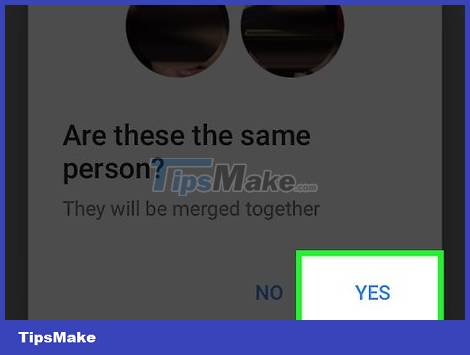
Click 'Yes' (same person). So all the faces will be tagged the same and when you search for this tag, the Google image associated with all the face icons will appear in the results.
You may need to repeat this process multiple times with the same person.
Label faces on websites
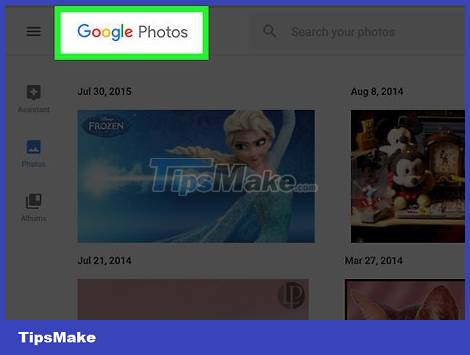
Visit http://photos.google.com . You can use Google's Face Grouping feature to label similar faces and find photos by their names. If you haven't signed in to Google Photos, do so now.
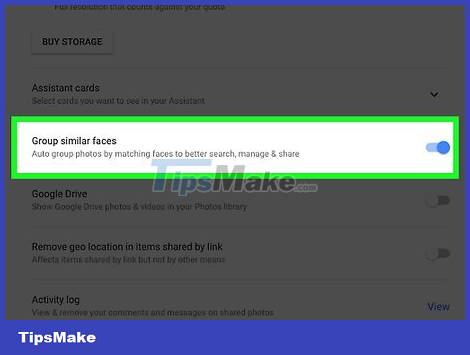
You need to make sure that the Face Grouping feature is enabled. Before labeling and aggregating similar faces, Face Grouping must be enabled and available in your region.
Click the '…' menu on the left side of the screen.
Click 'Settings'.
You need to make sure that the 'Group Similar Faces' switch is in the On position. If you don't see this option, Face Grouping is not available in your country.
Click your browser's back button to return to the photo gallery.
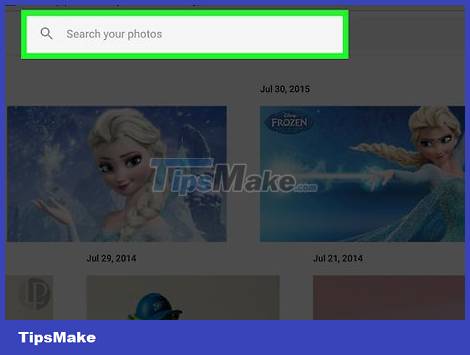
Click on the search box. A list of face icons will appear near the top of the expanded search menu. If you don't find the face you want to label, click the arrow on the right to see more.
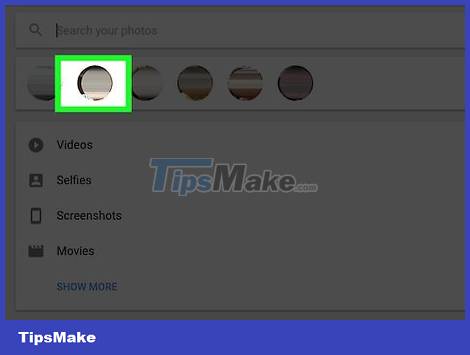
Click on the face photo to label it. Don't worry if you see the same person in multiple face photos. You will group them later.
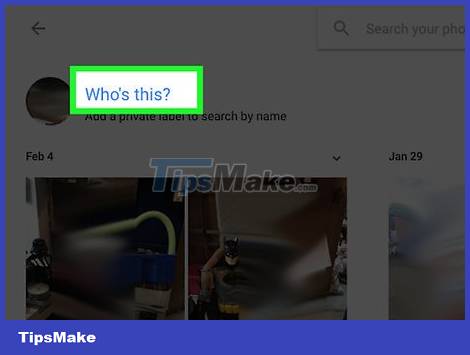
Click 'Who's This?' in the upper left corner of the screen. The option to enter or select a name will appear in the expanded list.
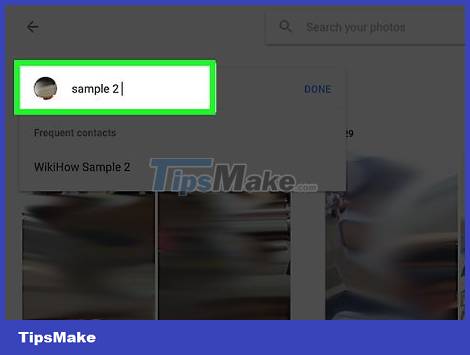
Enter or select a name. No one can see this name but you, you can even safely select the full name from the contact list.
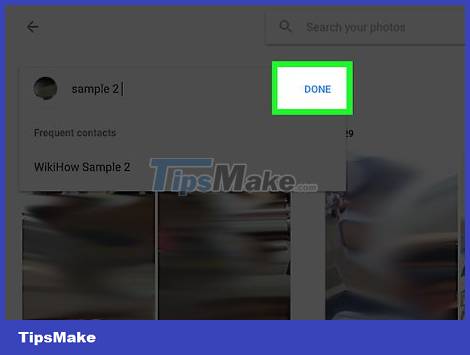
Click 'Done'. From now on every time you enter this name into the search data field, that person's photo will appear in the results.
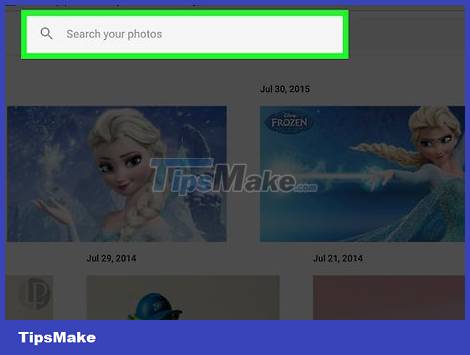
Click on the search box. If you have multiple face icons of the same person, group them by tagging them the same. Face icons will continue to appear.
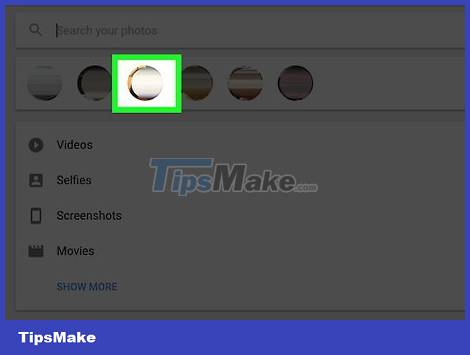
Click another photo of the person's face. The 'Who's This?' will appear again in the upper left corner of the screen.

Enter the label you selected earlier. This person's label and face icon will appear in search results.
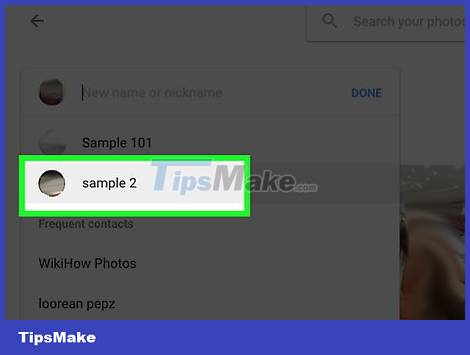
Click the label in the search results. A dialog box will pop up asking 'Are these the same person?'. All of this person's faces will appear right below the question.
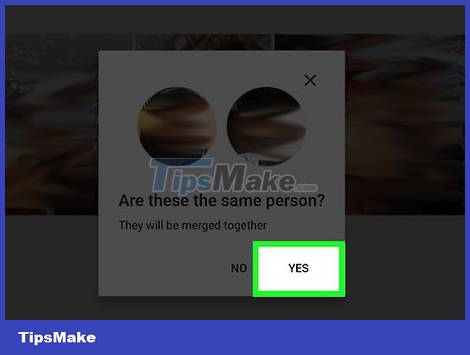
Click 'Yes'. So all the faces will be tagged the same and when you search for this tag, the Google image associated with all the face icons will appear in the results.
You may need to repeat this process multiple times with the same person.
Remove photo from label
Open Google Photos on the device. Start by opening Google Photos on your mobile device or visit http://photos.google.com in a web browser.
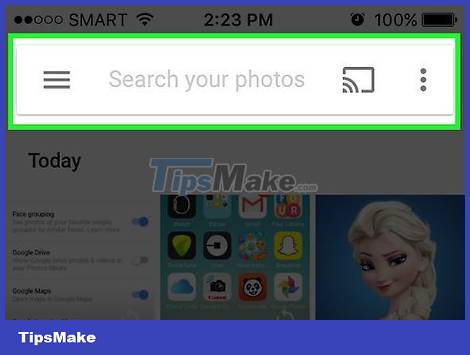
Enter a label in the search field. The label will appear at the top of the search results.
Select the tag from the search results. A page containing all the images associated with that face tag (even unrelated images) will appear.
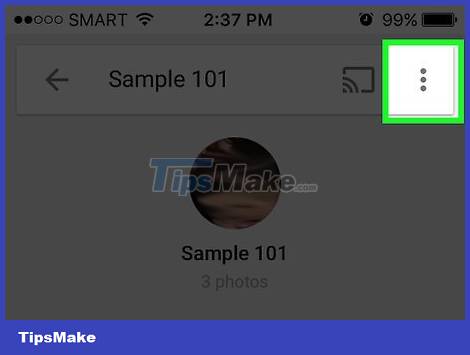
Click the ⁝ menu in the upper right corner of the page. A short menu will appear.
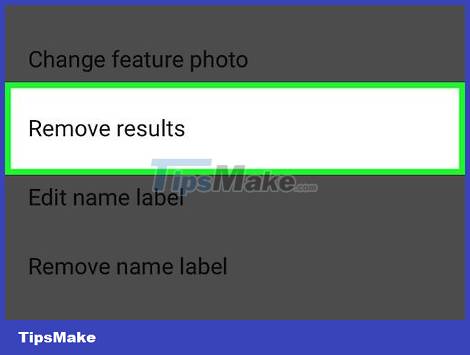
Select 'Remove Results'. A circle will appear in the upper left corner of each photo so you can select multiple photos at once if you want.
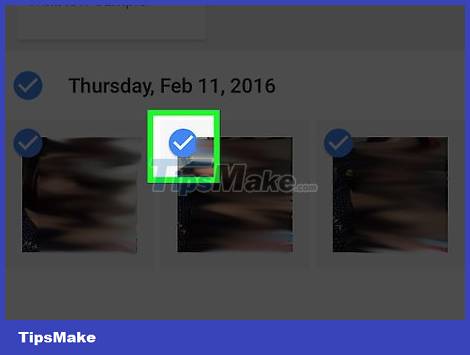
Click or tap the circle to select the photo to delete. You can click or tap multiple photos to select at the same time.
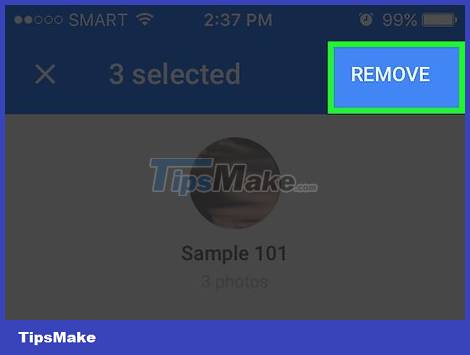
Click or tap 'Remove'. This link is in the upper right corner of the page. Once you click, the face label will be removed from the photo.
Rename or delete the label
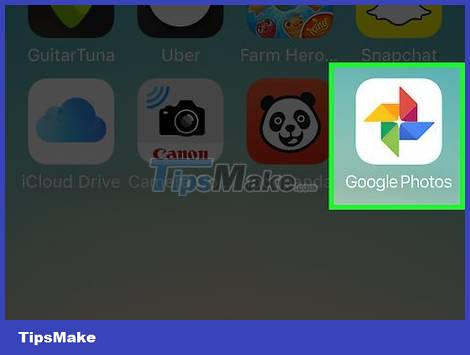
Open Google Photos. Start by opening Google Photos on your mobile device or visit http://photos.google.com in a web browser.
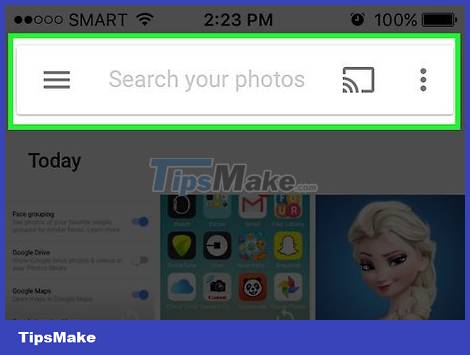
Enter a label in the search field. The label you want to change will appear at the top of the search results.
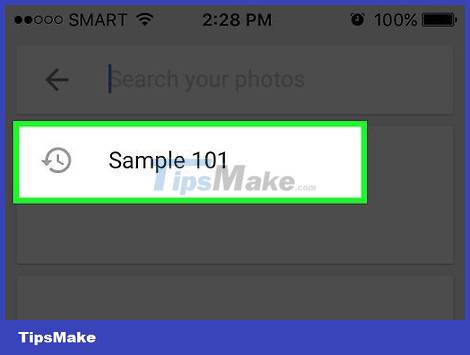
Select the tag from the search results. A page containing all the photos associated with that face tag opens.
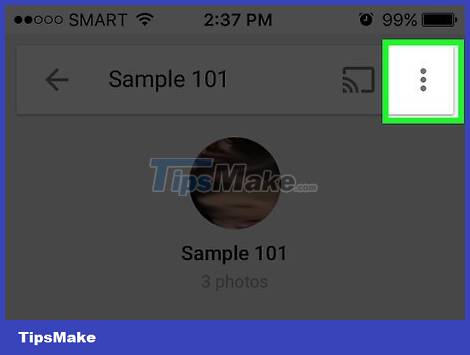
Click the ⁝ menu in the upper right corner of the page. A short menu will appear.
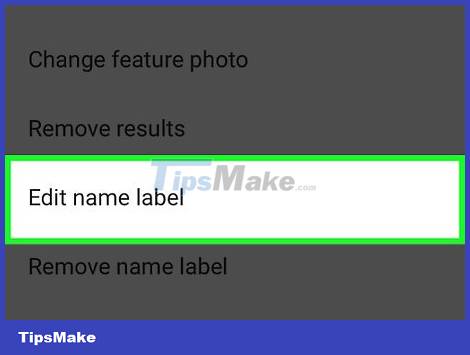
Select 'Edit Name Label'. To rename an existing label:
Delete the current label name.
Enter a new name for the label.
Click the back arrow to save changes.
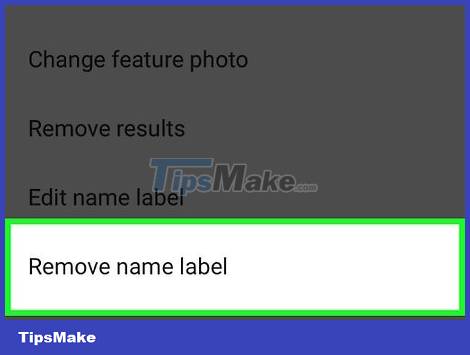
Select 'Remove Name Label'. Google will not remove this photo, instead only removing the label.
The next time you search for a keyword in Google Photos, faces previously associated with that label will appear in the list of unlabeled faces. You can add a new label to this face at any time.
Hide faces from search results
Open Google Photos. You can choose to hide all photos that match a certain face, whether they're labeled or not. Use this method if someone appears in the photo that you don't want to see in search results.
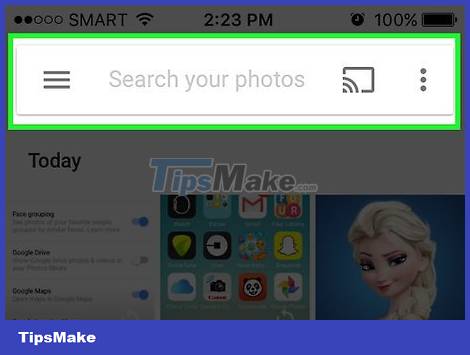
Click the search field. The search menu will appear with a list of faces near the top.
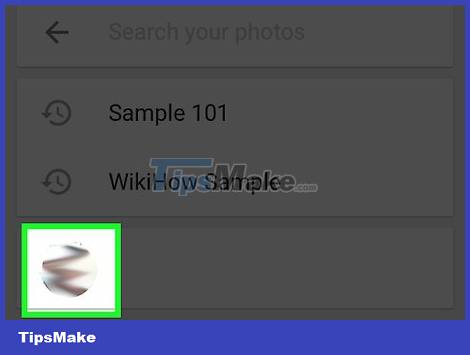
Click or tap the right arrow to see all faces. When faces appear, the ⁝ symbol also appears in the upper right corner of the screen.
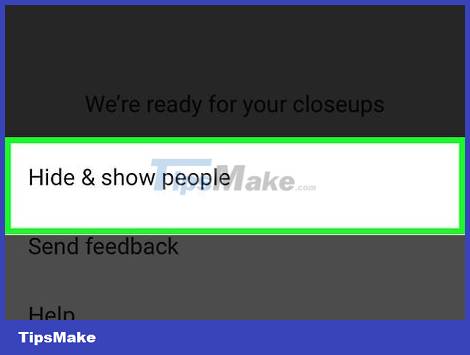
Click the ⁝ icon and select 'Hide & Show People'. On the website, this link will display as 'Show & Hide People'.
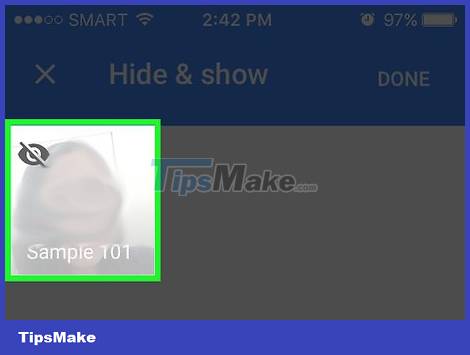
Click the face you want to hide. This could be anyone you don't want to see right now.
To hide multiple people, you click or tap multiple faces in the list.
You will be able to unhide someone by returning to this page and clicking on their face.

Click 'Done' in the top right corner of the screen. So when you search for a photo, this person's face will not appear in the search results.