How to install RTX Voice on a GTX card in Windows
Recently, Nvidia has released a new software called RTX Voice. According to Nvidia, RTX Voice uses RTX and AI cores to filter out any unwanted noise. For example, if you're talking through a mic while using a mechanical keyboard, the RTX Voice can easily filter noise when clicking on that keyboard. So far, tests have confirmed that the new software works quite well.
Due to several reasons, Nvidia chose to limit this feature to Nvidia RTX graphics cards only. So if you're using a GTX card, you can't install RTX Voice software to take advantage of AI-enabled noise filters.
The good news is that they've found a way to remove the limits set by Nvidia. So if you want to try out the new feature, follow the steps below to install and activate Nvidia RTX Voice on the GTX card.
A few things to note
1. This is not an official method and there is no guarantee that it will work on all GTX graphics cards.
2. Up to the present time, the GTX 10XX, 16XX, 9XX and 7XX series are known to be working well.
3. You should install drive version 410.18 or later.
4. Compared to RTX cards, performance on GTX cards is affected a little under heavy load. Of course, that completely depends on your GTX card.
5. You need admin rights to follow the steps below.
6. Finally, Nvidia can fix this 'flaw' at any time with updates. This means that the steps below may stop working at any time.
Steps to install and activate RTX Voice on GTX card
Enabling RTX Voice on GTX is quite simple. Just follow the steps below!
1. First, download RTX Voice here :
https://developer.download.nvidia.com/rtx/broadcast_engine/RTX_Voice/NVIDIA_RTX_Voice_v0.5.12.6.exe
2. After downloading the software, double-click the installation file. Then, Nvidia will check compatibility. Since the GTX card is not officially supported, you will be notified about this. Click the Close button to close the installer.
 Since the GTX card is not officially supported, you will be notified about this
 3. When you execute the installer file, the installer files will be extracted to the temporary directory. You need to edit a file in that temporary directory. So open the Start menu , search for Notepad , right-click on the result and select Run as administrator .
4. After opening Notepad, select File> Open option .
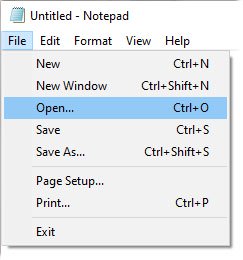 Select File> Open
 5. In the Browse window , copy and paste the link below into the address bar and click Enter. Now, select All Files from the drop-down menu, select the file RTXVoice.nvi and click the Open button .
C:tempNVRTXVoiceNvAFX6. When the file is opened in Notepad, look for the following code lines and delete them.
After deletion, Notepad will look like the following.
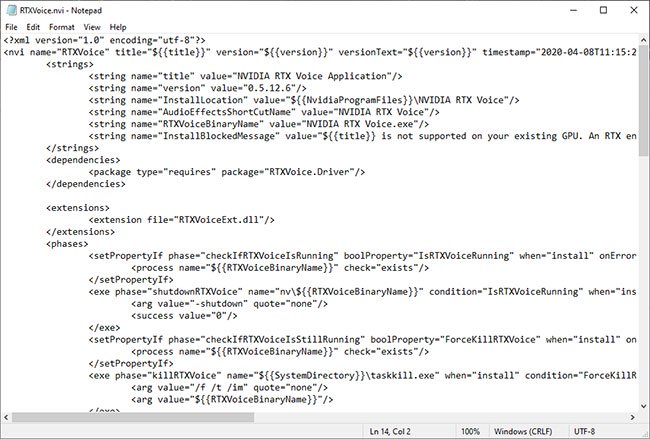 Notepad after deleting the code
 7. Save the file by selecting File> Save or pressing the Ctrl+ shortcut S. You can close Notepad after saving.
8. You removed the restrictions and can now install the application. Open File Explorer and go to the following location. You can simply copy and paste the directory path into the File Explorer address bar and click Enter.
C:tempNVRTXVoice9. Here, double click the setup.exe file . In case you are not sure, this file is extracted by Nvidia Installer in step 2.
10. If all goes well, your system will pass the compatibility test. Just follow the wizard to install Nvidia RTX Voice software.
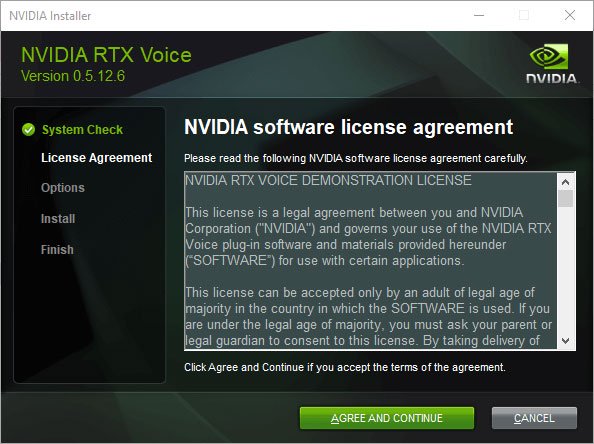
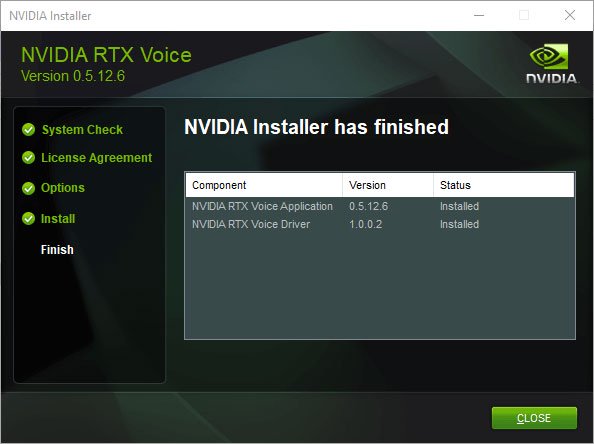
11. After installing the application, open it from the taskbar and configure the output and input devices ( Output device and Input device ) to enjoy the noise filtering process.
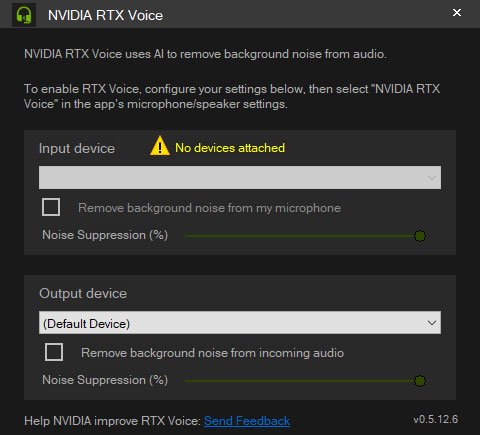 Configure output and input devices