Table of Contents
This practical guide explains how to install a sound card on a computer with clear steps and useful context. It also covers common requirements, potential problems, and the details that can help you get better results.
Many motherboards come with built-in sound cards, and today, integrated sound cards are more than enough for the average user. Even so, sometimes you may want to take your audio experience to the next level. In such cases, a dedicated sound card becomes necessary.
How to Install the Internal Sound Card on the Computer
Installing an internal sound card is pretty straightforward. Just like the graphics card, the sound card connects to your computer via a PCIe (Peripheral Component Interconnect Express) port. There are no wires involved and all you need to do is install and mount the card onto your motherboard.
If you have installed a graphics card before, then the steps below should be very easy. Even if you are a beginner, the steps are quite simple. Just remember to be gentle with your device!
Step 1: Disconnect All Connections from PC
The first thing to do is make sure your computer is turned off, then turn off the power switch on the back of the computer and unplug it. Carefully disconnect all cables, including the power cable, HDMI display, keyboard, mouse, and any other peripherals connected to the PC. This will give you a safe and clear workspace to do the installation.
Step 2: Open the Side of the PC Case
It's time to open your computer. Take out your PC case and set it aside, with the side facing up, on a desk. Open the side panel by removing the screws that secure it to the chassis. In most cases, you can remove the screw by hand. If the side of the case uses traditional screws, take a screwdriver and remove them.
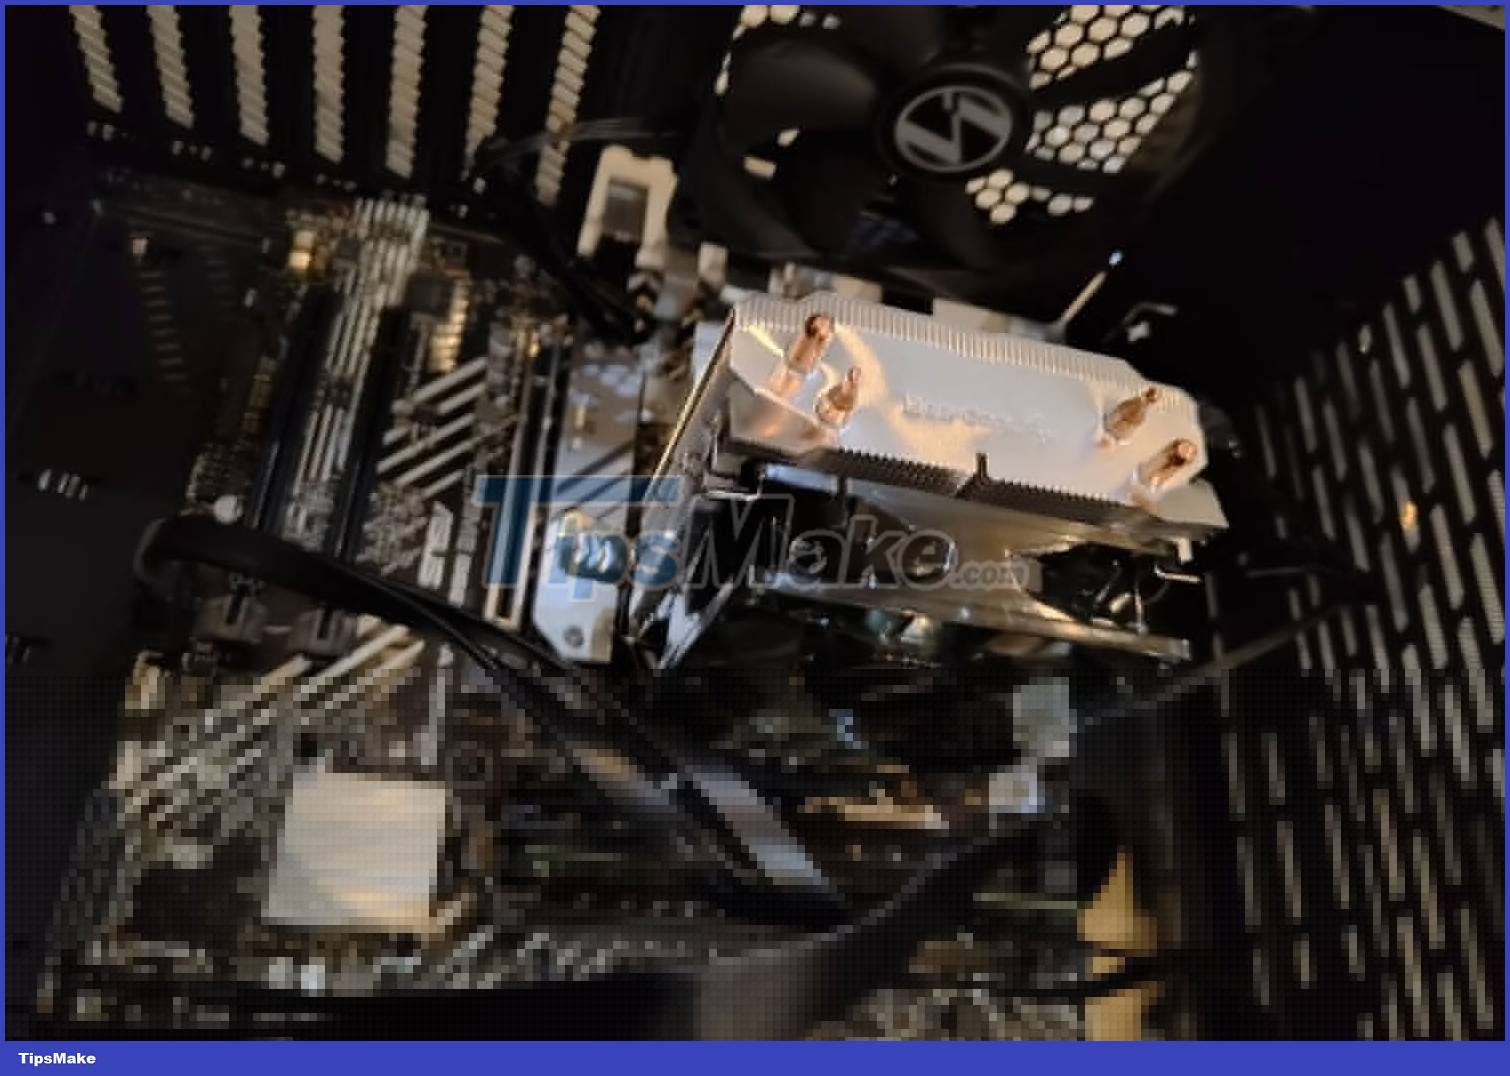
Once you've unscrewed the screws, grab the side and gently slide it out of the chassis of the PC case. You should now be able to see the inside of your computer.
Step 3: Identify the Pcie Slot
Take a close look at your motherboard and identify the PCIe slot where you will install the sound card. Be sure to read the specs on both your motherboard and your sound card to see if the PCIe slot can accommodate a sound card.
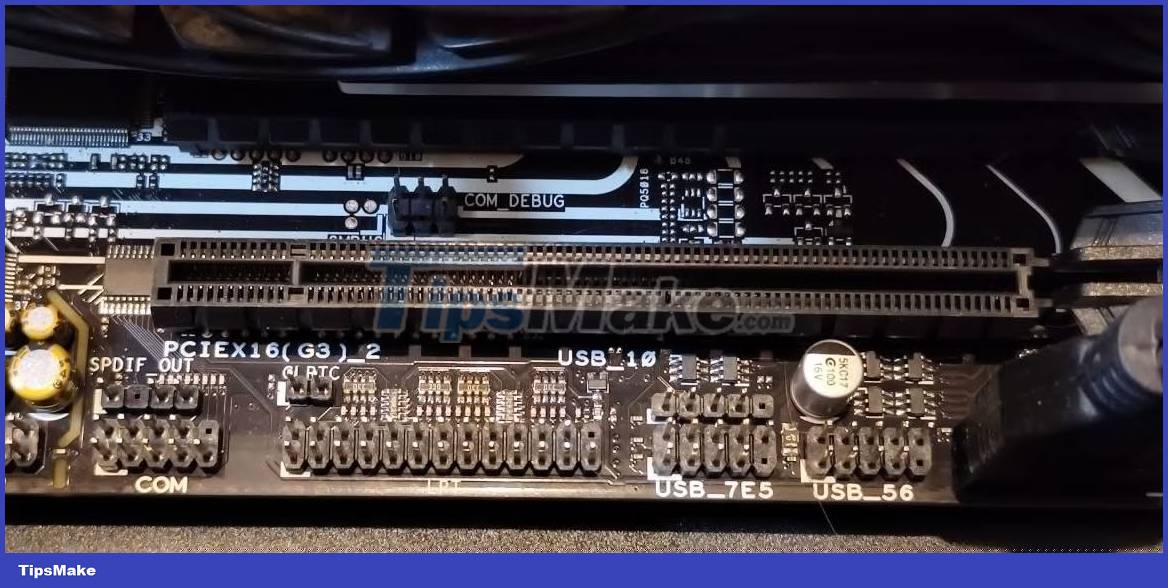
PCIe slots are similar to RAM slots in appearance, and they are usually located perpendicular to the RAM slots on the motherboard.
Step 4: Remove the Pcie Shield
Your sound card comes with a section that will protrude from the outside of the PC case. This part has all the jacks and ports on it, just like a graphics card.
If you look at the back panel of the PC case, you'll notice that the place where the sound card protrudes is covered by a PCIe shield. Shields protect against dust, but since the sound card will fill the void, you need to remove them before inserting the sound card.
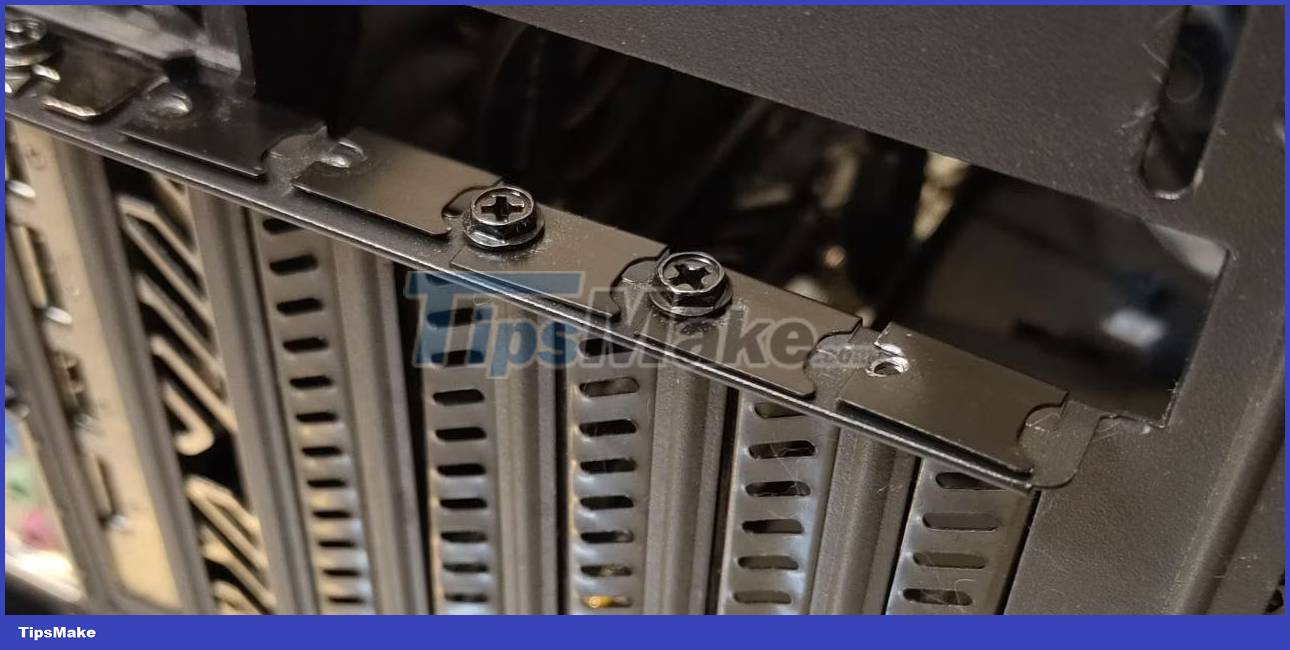
Carefully move your sound card over the PCIe slot to locate and find the PCIe shield you need to remove.
There will be screws holding the PCIe shield in place. In some cases, there is a metal strip that covers the screws of the PCIe shield. In both cases, the PCIe shield and metal strip are held in place by screws. Remove these screws and slide off the PCIe shield. Do not put the screw back, as the sound card will be fixed on the chassis with the same screw holes.
Step 5: Install the Sound Card
Now to the main step. Align the sound card with the PCIe slot to make sure you have the correct angle. The yellow connectors on your sound card should face the motherboard, and the outer protrusion should face the back shield of the PC case.
Some PCIe slots have a lock, like the lock on a RAM slot. You should open them before trying to install the expansion card. The keys will snap into place and lock themselves once you insert the sound card.
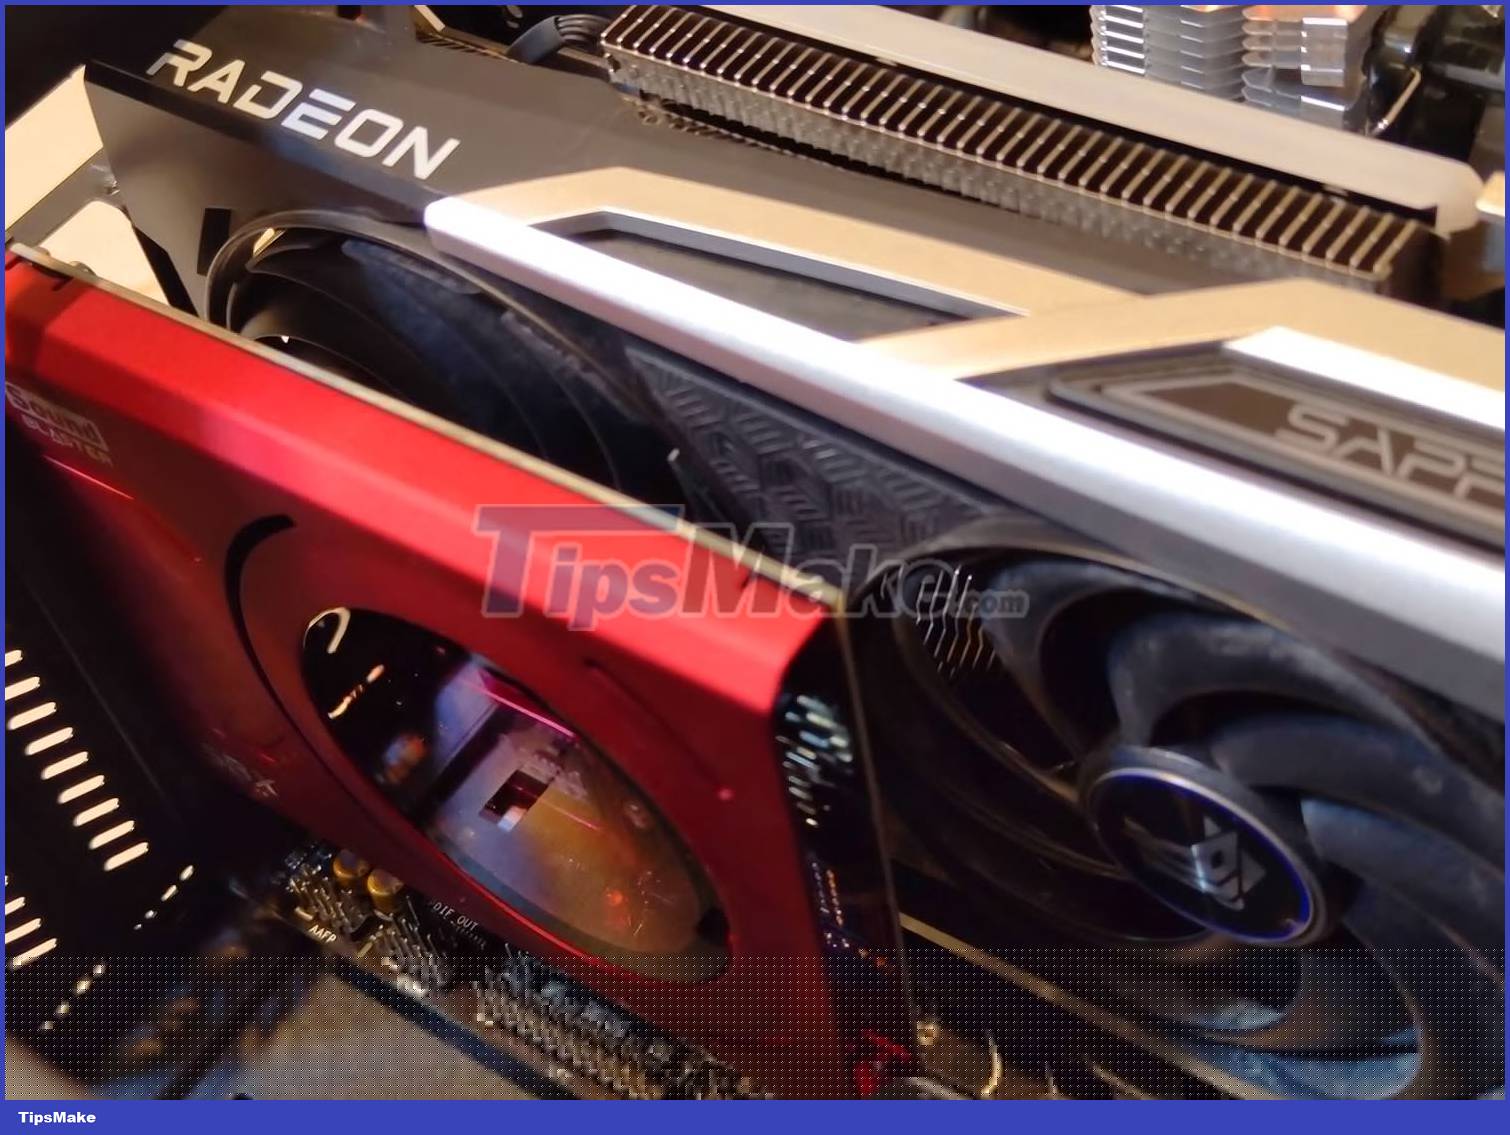
Unlock, align, and gently press the sound card into the PCIe slot until you hear a click. You now have a dedicated sound card inside. Check the card to make sure that the connection is firmly established. No gold connector is visible.
Step 6: Insert the Sound Card
Once you've installed the sound card securely, it's time to secure it to the chassis. The screws and screw holes that previously held the PCIe shield will now be used to secure the sound card.
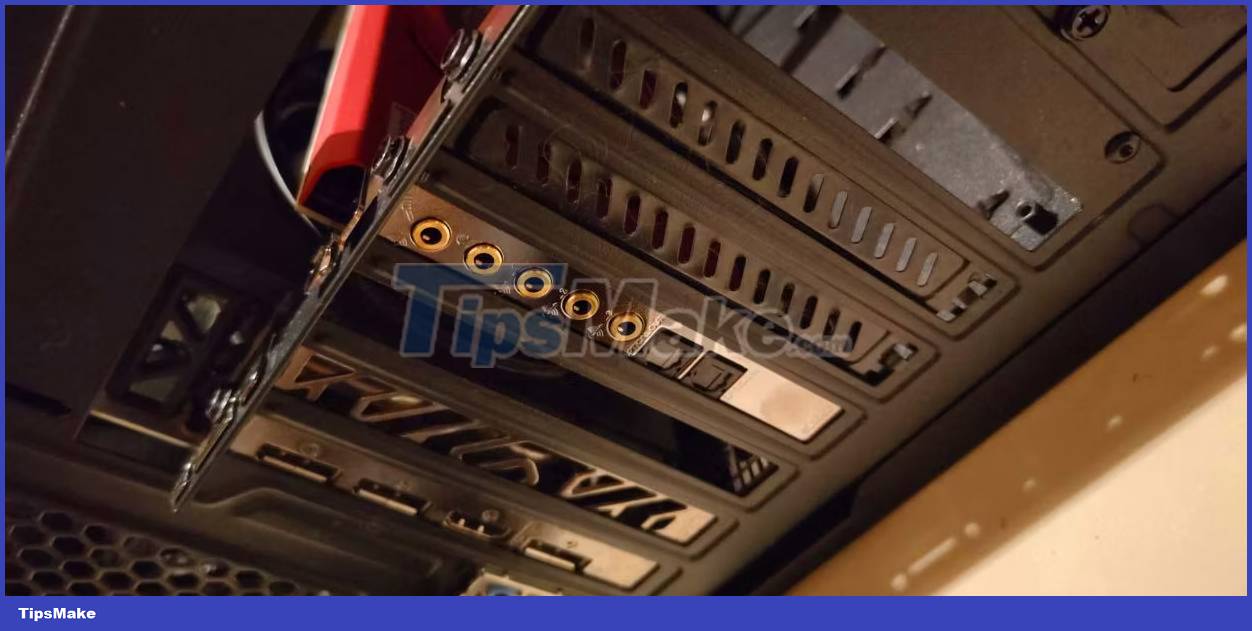
Screw the sound card into the case using the provided hole. Then, gently pull the sound card to make sure it's securely mounted.
Step 7: Reinsert the Case Shield and Connect the Peripherals
Now that you've installed and mounted the sound card, it's time to reassemble the PC case. Slide the side shield back to its original position, straighten your PC case, then connect peripherals and power.
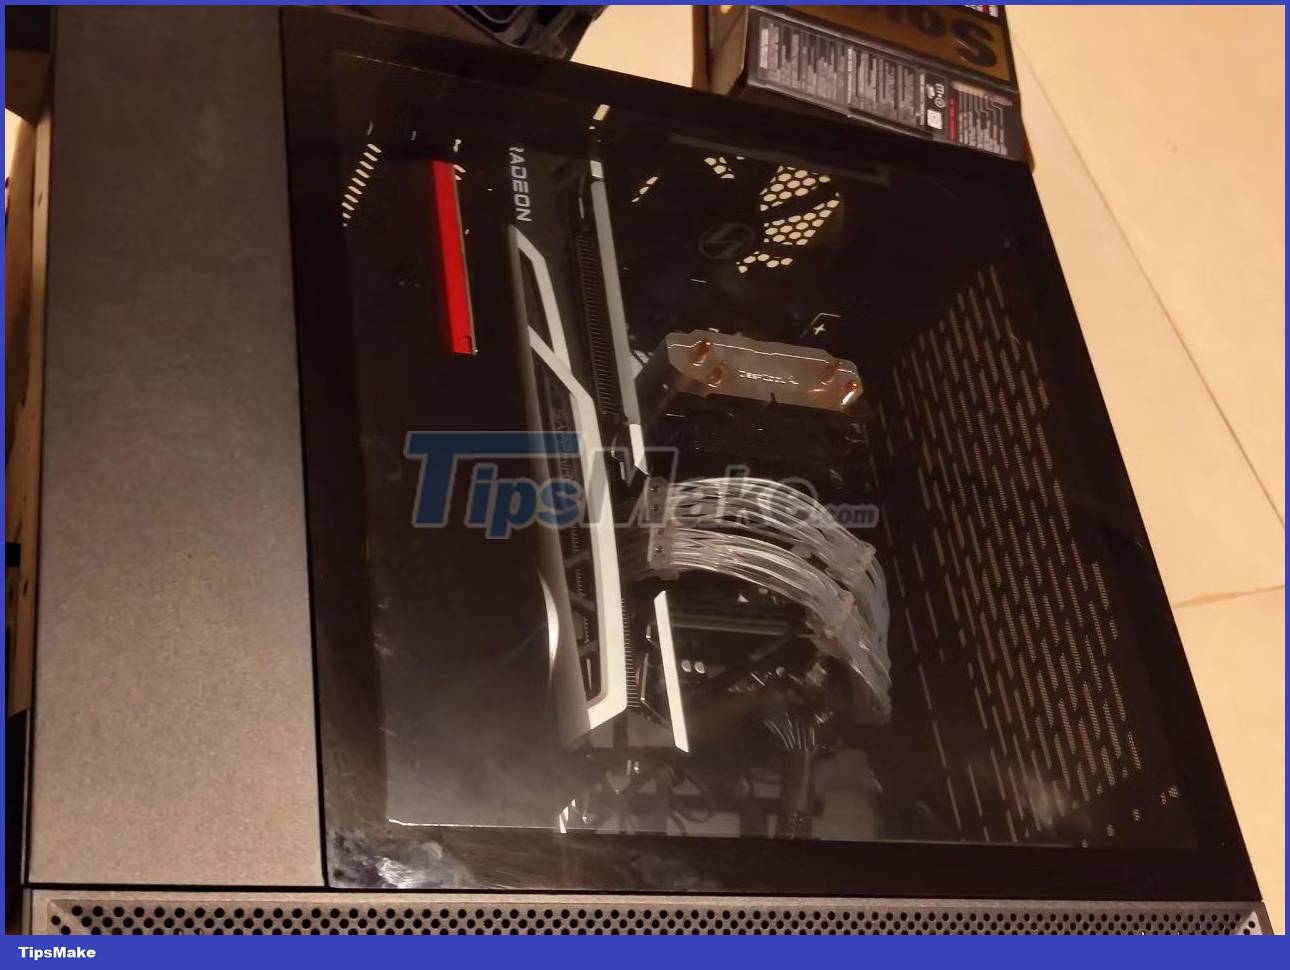
Once everything is set up, start your computer and try out your new sound card! You'll probably need to install a separate audio driver to get the most out of your device, but you'll be able to see it in your audio output right away.
Conclusion
Understanding Sound Card makes it easier to compare options, avoid common mistakes, and apply the information in this guide more effectively. Review the relevant requirements before making changes or choosing a solution.
FAQ
How do you install a sound card on a computer?
Follow the steps in this guide in order, confirm the required settings or tools, and verify the result before making additional changes.
Is it safe to install a sound card on a computer?
It is generally safe when you follow the recommended instructions, use trusted tools, and avoid changing settings you do not understand.
What should you do if the process does not work?
Recheck the requirements, restart the device or application when appropriate, and review each step for missed settings or compatibility issues.
Related Articles
 How to Install a Separate Sound Card: Step-by-Step Guide8 minutes read
 How to Check If Your Computer Has a Sound Card: Step-by-Step Guide7 minutes read
 How to Update Sound Drivers: Step-by-Step Guide6 minutes read
 How to Fix a PC Not Detecting a Dedicated Sound Card7 minutes read
 How to Fix Sound Errors on Realtek Onboard Sound Card3 minutes read
 What Is a Discrete Sound Card for? Features, Uses, and Key Details6 minutes read
Reader Comments 0
Sign in with email or Google to join the discussion.